Frame Layout and Hanging Height
A gallery wall is the easiest way to add personality to a rental, and the hardest to hang straight. This planner shows how your frames will look on your wall and tells you where to hang them. Enter your wall size, frame count, size and gap to see a scaled preview and the ideal hanging height.
- Measure your wall width and height in inches.
- Choose how many frames you want, their size and portrait or landscape orientation.
- Set the gap between frames. 2 to 3 inches looks tidy.
- Tap Plan my gallery wall to see the preview, the total size and the hanging height.
- Center the gallery around 57 inches from the floor, which is average eye level.
- Keep gaps consistent between frames. Uneven spacing is what makes a gallery wall look messy.
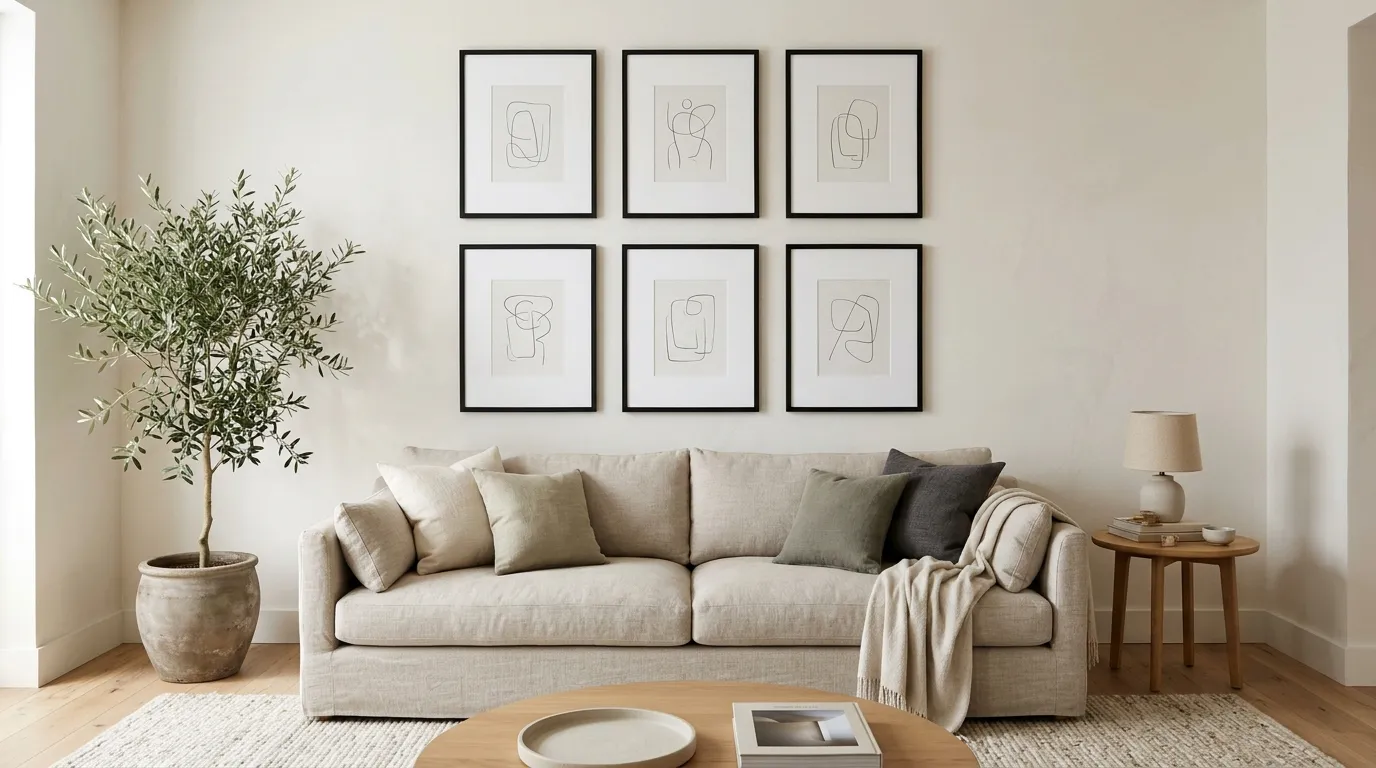
- Over a sofa or bed, hang the art 6 to 8 inches above the furniture and make the gallery about two thirds of its width.
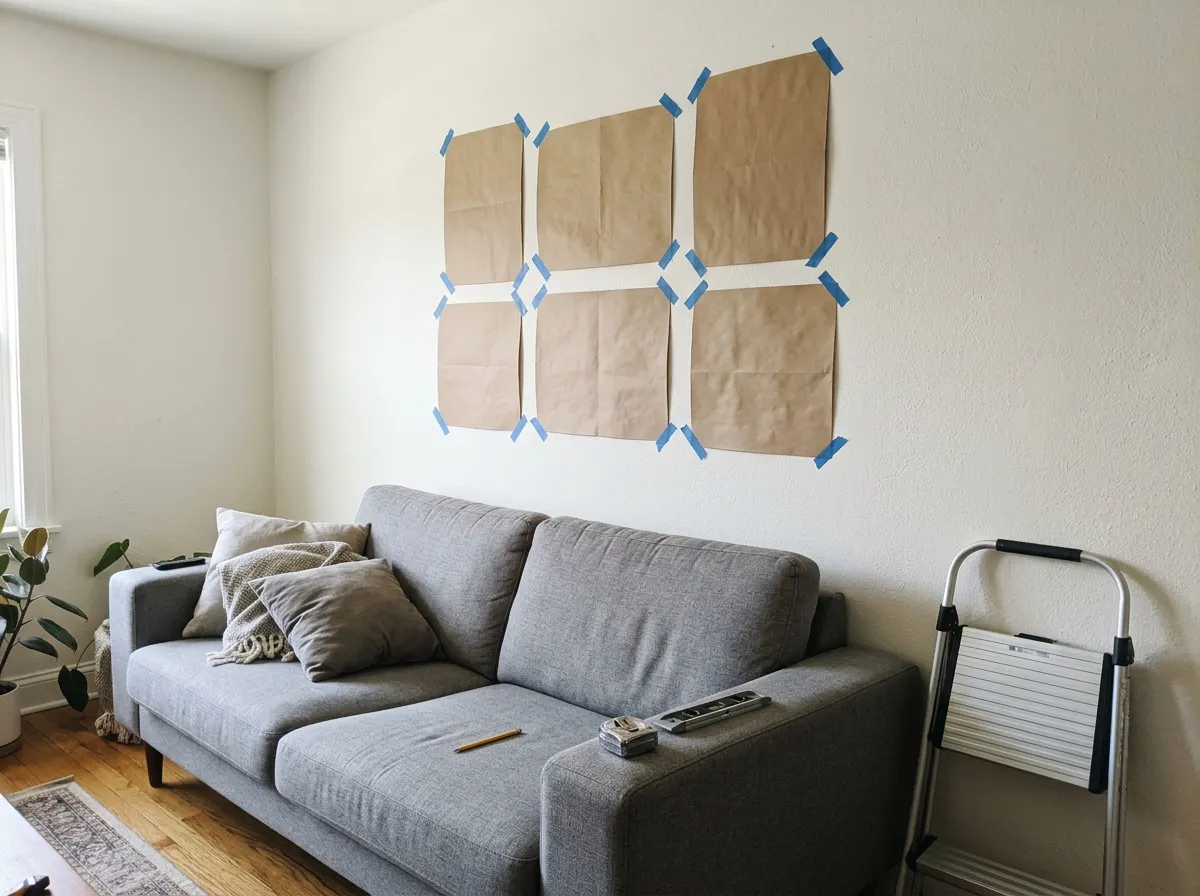
- Trace each frame on paper, tape the templates to the wall and adjust before you hammer.
- Mix a few frame finishes and a piece or two with no frame for a collected look.
How high should I hang a gallery wall?
Aim for the center of the arrangement to sit around 57 inches from the floor, and lower it a little if it’s over furniture.
How far apart should frames be?
Two to three inches is the most common and looks cohesive.
How many frames should I use?
Odd numbers like 3, 5 or 9 often look balanced, but the best number is whatever fits your wall.
Can I mix different frame sizes?
Yes. The planner uses one frame size for a clean grid, so use it as a starting point and swap in larger or smaller frames.
How do I hang frames in a rental without damage?
Use removable hanging strips or small nails, which leave tiny holes. Check your lease first.
Read the full gallery wall guide ↓
How to Plan and Hang a Gallery Wall That Looks Intentional
A great gallery wall looks effortless. A bad one looks like someone threw frames at the wall and hoped. The difference is almost never the art. It is the spacing, the height and the plan.
The planner above shows your frames to scale on your wall and tells you exactly where the gallery should sit. This guide explains the rules behind those numbers, so you can adapt them to your own wall, your own furniture and your own collection.
How the planner works
- Enter your wall width and height in inches. The preview is drawn to scale.
- Choose the number of frames, their size (5×7, 8×10, 11×14 or 16×20) and portrait or landscape orientation.
- Set the gap between frames. Two to three inches looks tidy.
- Tap Plan my gallery wall. You get a scaled preview, the total size of the gallery and its hanging height.
- Watch for the warning. If the gallery is too big for the wall, the planner tells you to try fewer or smaller frames.
The planner centers the gallery horizontally on the wall and places the center of the arrangement at 57 inches from the floor, which is average eye level.
What to measure first
- Wall width and height. Measure from corner to corner and floor to ceiling.
- Furniture below the gallery. Note the width and height of any sofa, bed, console or desk that will sit underneath.
- Obstacles. Light switches, outlets, vents, door frames and window trim all change how much space you really have.
- Your frames. Measure the outside size of each frame, not just the picture opening.
- The hanging point on each frame. Pull the wire or hook taut and measure from the top of the frame to the highest point of the hanger. You will need this number for the nail height.
How the grid is built
The planner arranges your frames in a neat grid. The number of columns depends on how many frames you choose:
| Frames | Columns × rows | Layout |
|---|---|---|
| 3 | 3 × 1 | One row |
| 4, 5 or 6 | 3 × 2 | Two rows of up to three |
| 8 | 4 × 2 | Two rows of four |
| 9 or 12 | 4 × 3 | Three rows of up to four |
With 4 or 5 frames the last row is partly empty, and the size shown covers the full block of columns and rows. Here is the default example drawn to scale: a 96 × 96 inch wall with six 8×10 frames and a 2.5 inch gap.
- Gallery size: 29 × 22.5 in (three across, two rows).
- Center: 57 in from the floor. Bottom edge: about 46 in. Top edge: about 68 in.
Gallery sizes at a glance
These are the gallery dimensions for every frame size and layout in the planner, using portrait frames and a 2.5 inch gap. Use them to see what will fit before you buy frames.
| Layout | 5×7 | 8×10 | 11×14 | 16×20 |
|---|---|---|---|---|
| 3 frames (3 × 1) | 20 × 7 | 29 × 10 | 38 × 14 | 53 × 20 |
| 4 to 6 frames (3 × 2) | 20 × 16.5 | 29 × 22.5 | 38 × 30.5 | 53 × 42.5 |
| 8 frames (4 × 2) | 27.5 × 16.5 | 39.5 × 22.5 | 51.5 × 30.5 | 71.5 × 42.5 |
| 9 or 12 frames (4 × 3) | 27.5 × 26 | 39.5 × 35 | 51.5 × 47 | 71.5 × 65 |
Width × height in inches. Landscape frames swap each frame’s width and height, so the gallery becomes wider and shorter.
On a 96 inch wall, the planner warns you when the gallery is taller than 78 inches, because it is centered at 57 inches. Also check the bottom edge: a very tall gallery can end up close to the floor.
Choosing the gap
The gap between frames has more effect on the look than most people expect. The planner suggests 2 to 3 inches, and it defaults to 2.5.
- About 1 to 2 inches looks tight and graphic. It suits modern spaces and matching frames.
- 2 to 3 inches is the most common choice. It looks cohesive without feeling crowded.
- 4 inches or more looks looser and more relaxed, but the frames start to read as separate pieces rather than one group.
Whatever you choose, keep the gap the same between every frame. Uneven spacing is what makes a gallery wall look messy.
Hanging height
The most common gallery wall mistake is hanging it too high. Art looks best when its center sits at eye level, which averages around 57 inches from the floor. The planner uses that number, and it tells you where the bottom and top edges end up.
For a quick check, remember that a 22.5 inch tall gallery centered at 57 inches has its bottom edge at about 46 inches and its top edge at about 68 inches, as in the diagram above.
Hanging over furniture
Over a sofa, bed or console, treat the furniture and the art as one unit. Two rules from the planner’s tips make this easy:
- Hang the gallery 6 to 8 inches above the furniture.
- Make the gallery about two thirds of the furniture’s width.
When you hang over furniture, the center of the gallery will usually sit a little lower than 57 inches, and that is fine. The relationship with the furniture matters more than the exact eye-level number.
| Furniture (width) | Two thirds | Frame combinations that come close |
|---|---|---|
| Sofa (84 in) | 56 in | Three across of 16×20 (53 in) or four across of 11×14 (51.5 in) |
| Loveseat (58 in) | 39 in | Four across of 8×10 (39.5 in) or three across of 11×14 (38 in) |
| Queen bed (60 in) | 40 in | Four across of 8×10 (39.5 in) or three across of 11×14 (38 in) |
| Console table (48 in) | 32 in | Three across of 8×10 (29 in) |
| Twin bed (38 in) | 25 in | Four across of 5×7 (27.5 in) |
Furniture widths are typical sizes. Measure your own piece, then use the sizes table above to pick a combination.
Quick calculator: where does the gallery go?
Enter the height of your furniture and the height of your gallery (from the planner’s result) to see where the gallery sits and where the nail goes.
The defaults assume a sofa about 34 in tall and 84 in wide. Measure your own piece.
Want to try your own wall? Back to the planner ↑
Layout styles beyond the grid
The planner builds a clean grid with one frame size, which is the easiest style to get right. Once you know your gallery’s overall size and height, you can use that as a starting point for other styles.
| Style | Look | Best for | Tip |
|---|---|---|---|
| Grid | Orderly, modern, symmetrical | Matching frames and a calm look | Keep gaps identical and align the edges |
| Salon | Collected, mixed sizes, a dense cluster | Large walls and eclectic collections | Pick one large piece first, then build around it |
| Ladder | Relaxed, informal, frames on a shelf or ledge | Renters and people who like to swap art | Overlap frames slightly and mix sizes |
| Staggered | Modern, with intentional variation | Narrow walls and staircases | Keep the overall outline simple |
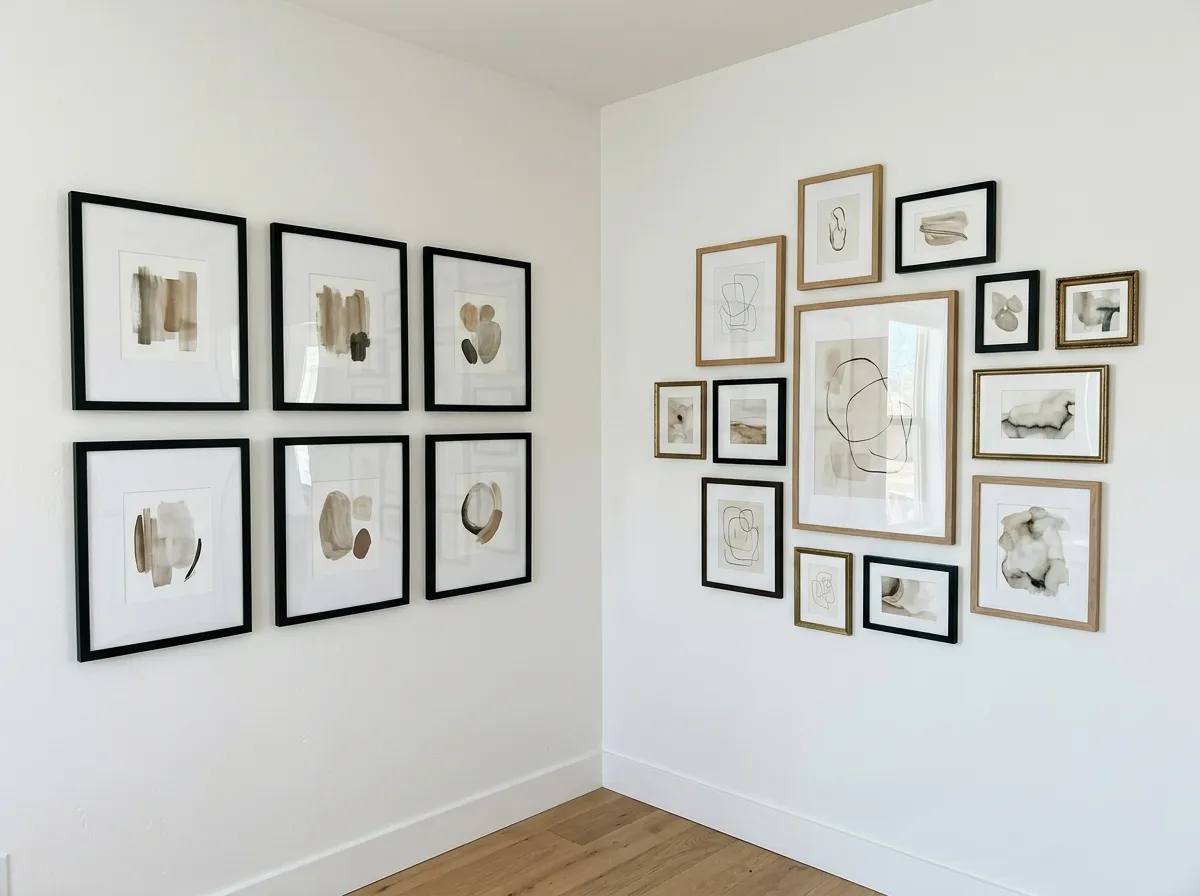
If you want to mix sizes, replace a few frames in your plan with larger or smaller ones. Keep the outer shape of the gallery the same so it still fits the wall. Mixing a few frame finishes and a piece or two with no frame gives a collected look.
How to hang it straight
Do not hammer anything until you have tested the layout on the wall. The planner’s tip is the best method there is: trace each frame on paper, tape the templates to the wall and adjust before you commit.
- Trace each frame on paper or kraft paper and cut out the shapes.
- Mark the hanging point on each template, using the distance from the top of the frame to the hanger.
- Tape the templates to the wall using the planner’s sizes and gaps. Use painter’s tape.
- Step back and adjust. Move templates until the arrangement feels right, keeping the gaps even.
- Check the height. The center should sit around 57 inches, or the bottom edge 6 to 8 inches above your furniture.
- Mark each nail position through the template, then remove the paper.
- Hang the first frame and check it with a level. Then add the rest, working outward from it.
Hanging in a rental
Use removable hanging strips or small nails, which leave tiny holes. Check your lease first, and follow the weight limit on the strip packaging. Heavy frames are better on a nail than on adhesive.
Choosing art and frames
A gallery wall works when the pieces feel related. A few simple choices make that happen:
- Choose a color story. Pull two or three colors from the room so the art and the space belong together. Our Color Palette Generator can help you pick them.
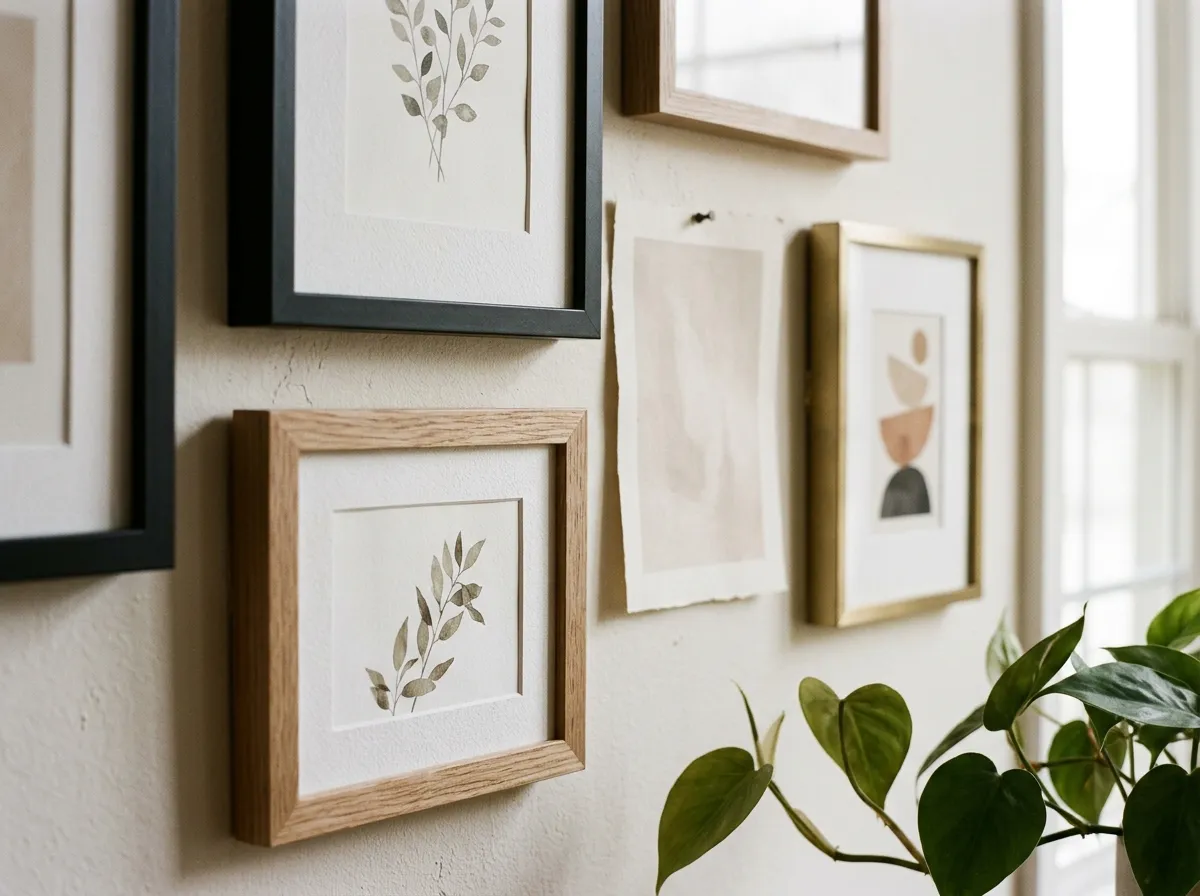
- Mix frame finishes carefully. Two or three finishes, such as black, wood and brass, look intentional. Ten finishes look random.
- Use mats. A white or off-white mat makes mismatched art look cohesive.
- Add variety in content. Combine photos, prints, drawings and a textile or mirror so the wall has depth.
- Set a budget. In our Decorating Budget Planner, wall art and mirrors get 10% of a standard home budget. Prints and thrifted frames go a long way.
Planning the whole room? Decide where the furniture goes first with the Furniture Layout Planner, then plan the wall above it. If you want a backdrop for your gallery, our Peel-and-Stick Wallpaper Calculator shows how much you need, and good lighting helps the art stand out, so try the Lighting Calculator.
Common mistakes
- Hanging too high. The center should sit near eye level, around 57 inches, not near the ceiling.
- Uneven gaps. Keep the spacing identical between frames.
- Making the gallery too small. A small cluster over a big sofa looks lost. Aim for about two thirds of the furniture’s width.
- Hanging too far above the furniture. More than 8 inches and the art floats away from the sofa or bed.
- Skipping the paper templates. Extra nail holes are hard to hide, especially in a rental.
- Centering on the wall instead of the furniture. If your sofa is not centered on the wall, center the gallery over the sofa.
- Forgetting the hanger drop. The nail goes lower than the top of the frame, so account for the distance between the top of the frame and the hanger.
Before you hammer: checklist
Tick these off before you make a hole.
More questions
The most common questions are answered in the planner above. Here are a few more.
Should I center the gallery on the wall or on the furniture?
The planner centers the gallery on the wall width. If you are hanging over a sofa, bed or console that is not centered on the wall, center the gallery over the furniture instead and shift your nail positions to match.
How do I hang frames straight?
Use paper templates taped to the wall, mark each nail position and hang the first frame with a level. Then work outward from it, keeping the gaps the same.
How many frames do I need for my wall?
It depends on the wall and the frame size. Use the sizes table above to see how big each layout will be, then pick the one that fills about two thirds of the space over your furniture.
What if my gallery is too big for the wall?
The planner warns you when the layout does not fit. Try fewer frames, a smaller frame size or a smaller gap, and check the result again.
Ready to plan your wall? Scroll back up, enter your measurements and see your gallery to scale. Once the walls are done, the next step is making sure the rest of the apartment has everything it needs.