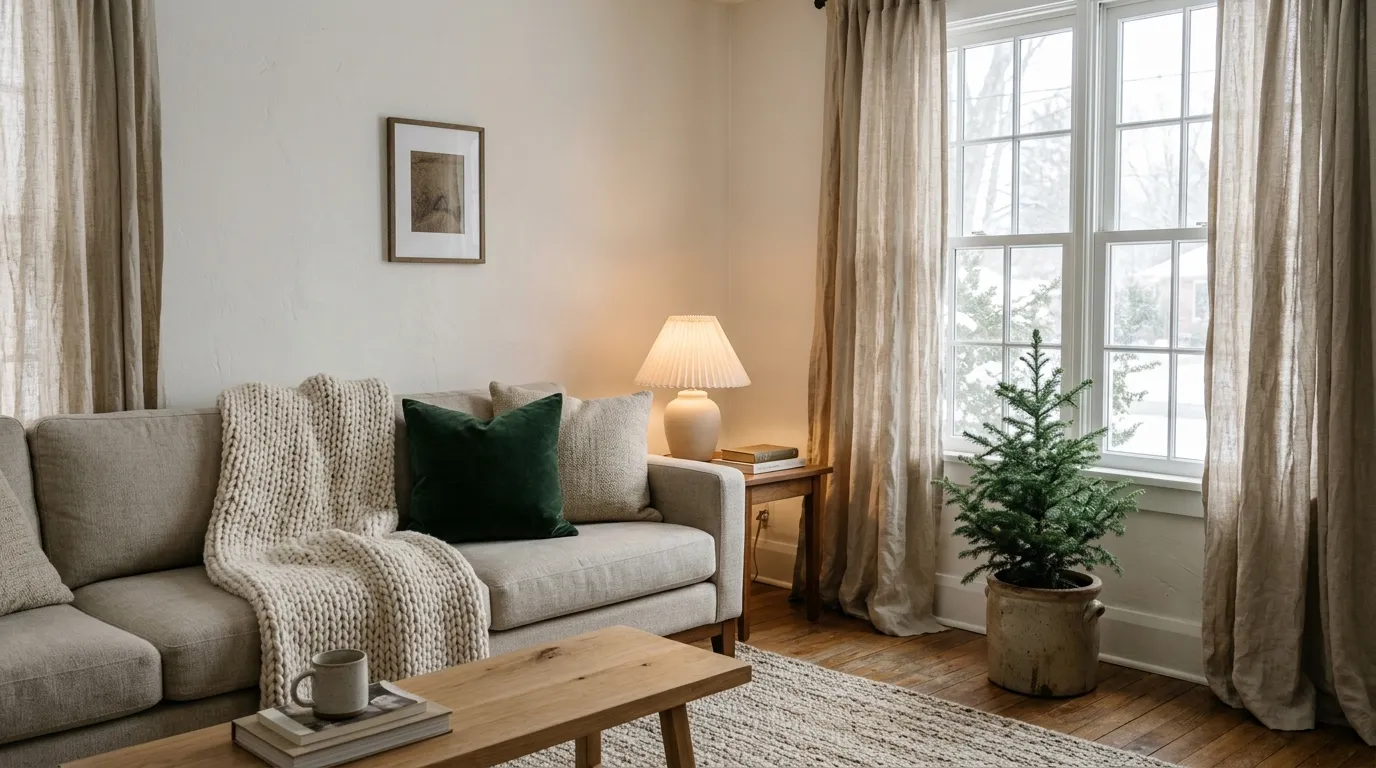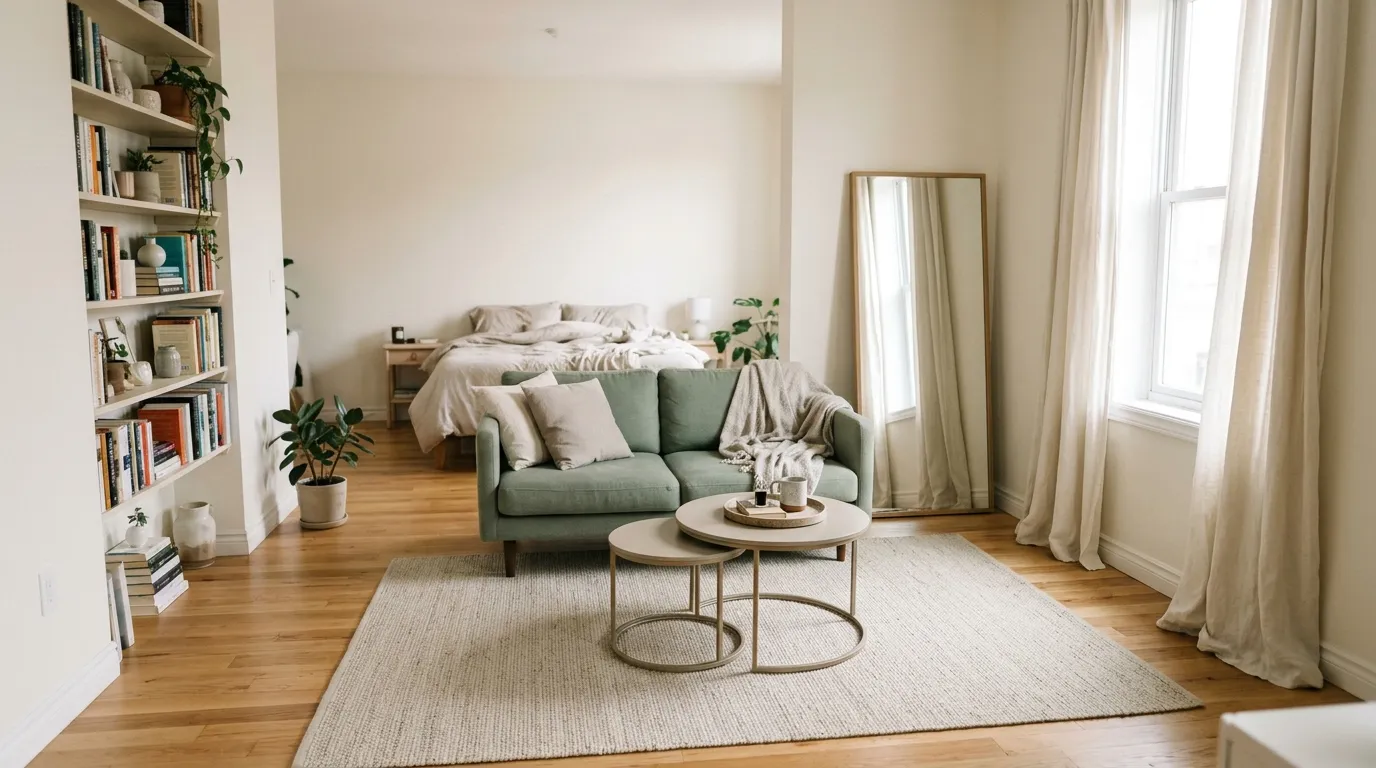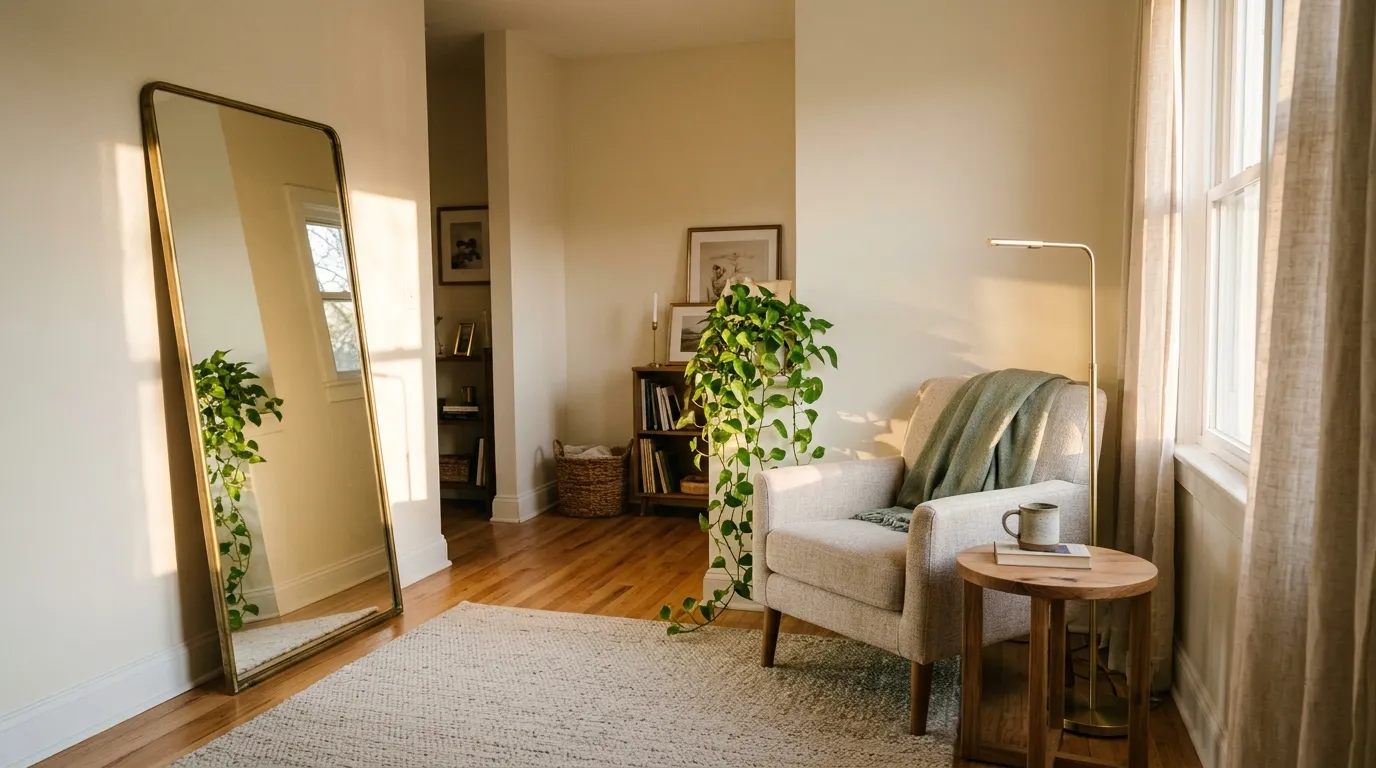

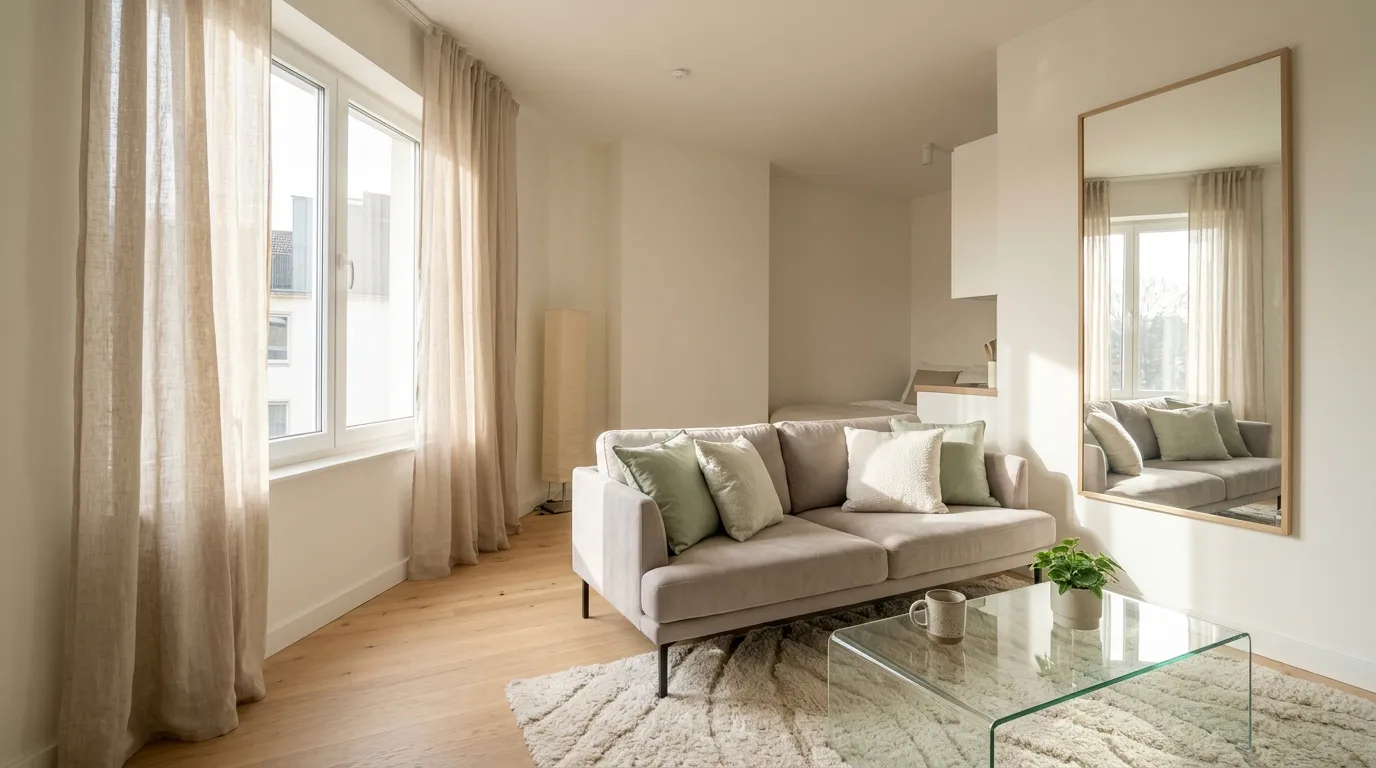
You know the feeling: the sofa, the desk, and a pile of shoes all share one corner, and the room feels full even though you don’t own that much. If you’ve ever typed “make small apartment look bigger” into a search bar, here’s the short answer: it’s rarely more square feet. It’s usually fewer things competing for your attention.
What you actually need is a plan that works in a rental, doesn’t ask for a big budget, and can be done one weekend at a time. Small rooms respond well to light, clear floor space, and a few well-placed pieces.
I’d start with the cheapest changes first and move toward the bigger ones, so here are seven steps in the order I’d do them.
Before You Start: Materials and Time
- Time: one weekend, or one step per evening
- Difficulty: easy
- Budget level: budget-friendly
- Renter-friendly: check your lease before painting or drilling
What You’ll Need
- Tape measure
- Painter’s tape
- Baskets or lidded boxes
- One large mirror
- Plug-in lamps
- Curtains and a tension rod
- Light-colored throw pillows or a throw
1. Clear the Visual Clutter
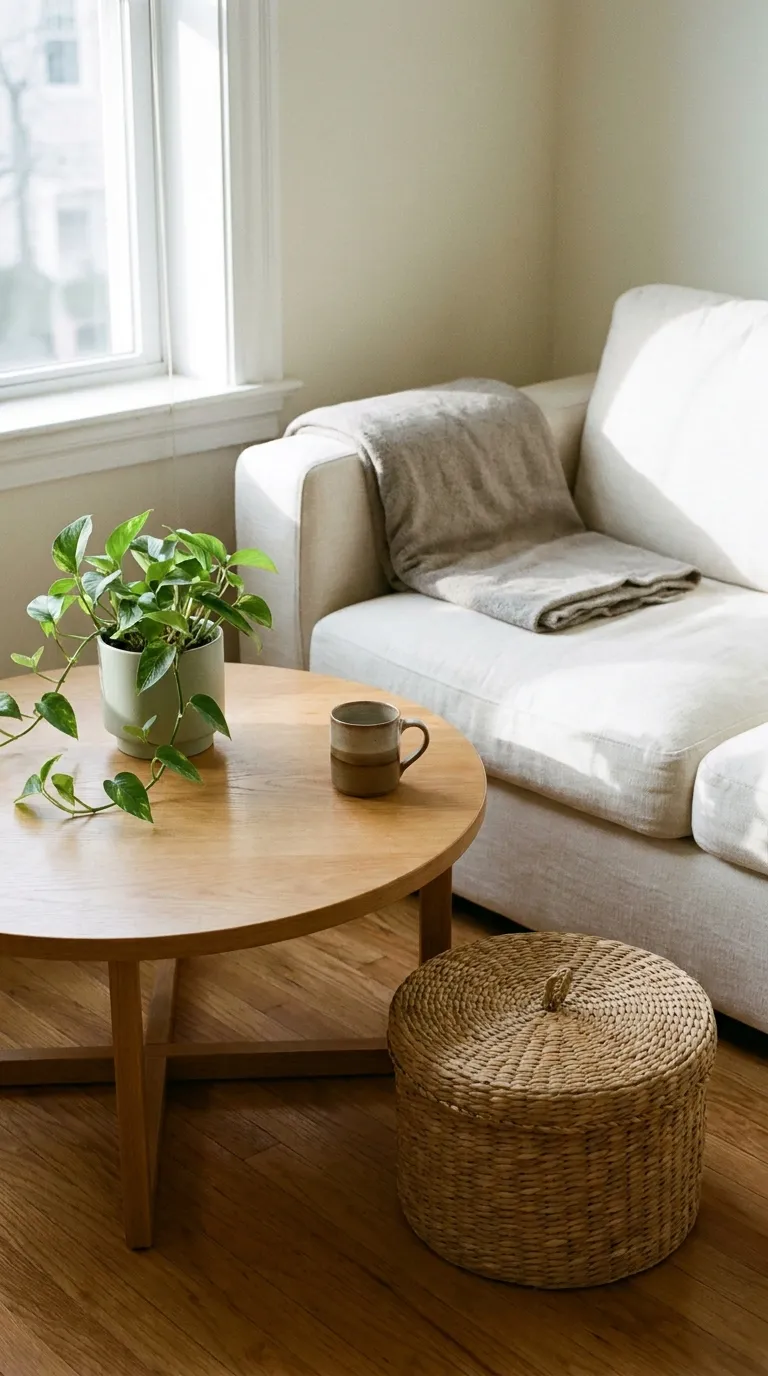
A small room rarely feels crowded because of its size alone. It feels crowded because your eye has too many places to land. Clearing surfaces is the fastest change you can make, and it costs nothing.
If you skip this step, every other idea in this guide has to work harder. Mirrors and light colors can’t help much when the coffee table, shelf, and desk are all full.
How to Do It
- Pick one surface at a time, starting with the coffee table, then the dresser, then the desk.
- Take everything off and wipe the surface clean.
- Put back only what you use weekly or truly love, and leave about one-third of the surface empty.
- Move the rest into a closed basket, drawer, or lidded box.
- Repeat on the floor near the door, where shoes and bags tend to pile up.
Why It Works
Empty space gives the eye a place to rest, so the room reads as calmer and more open. Closed storage keeps the same belongings from competing with each other.
Common Mistakes to Avoid
- Hiding clutter in open baskets that still show everything
- Clearing the surface but leaving the floor crowded
- Buying more storage before editing what you own
A Simple Rule to Remember
If you can’t name where it lives, it doesn’t belong on the surface.
2. Measure the Space and Map Zones
Before you move or buy anything, take a few minutes to measure your room and note where the door swings, where the windows sit, and where the outlets are. Small rooms punish guesses, and a few numbers on paper save a lot of rearranging later.
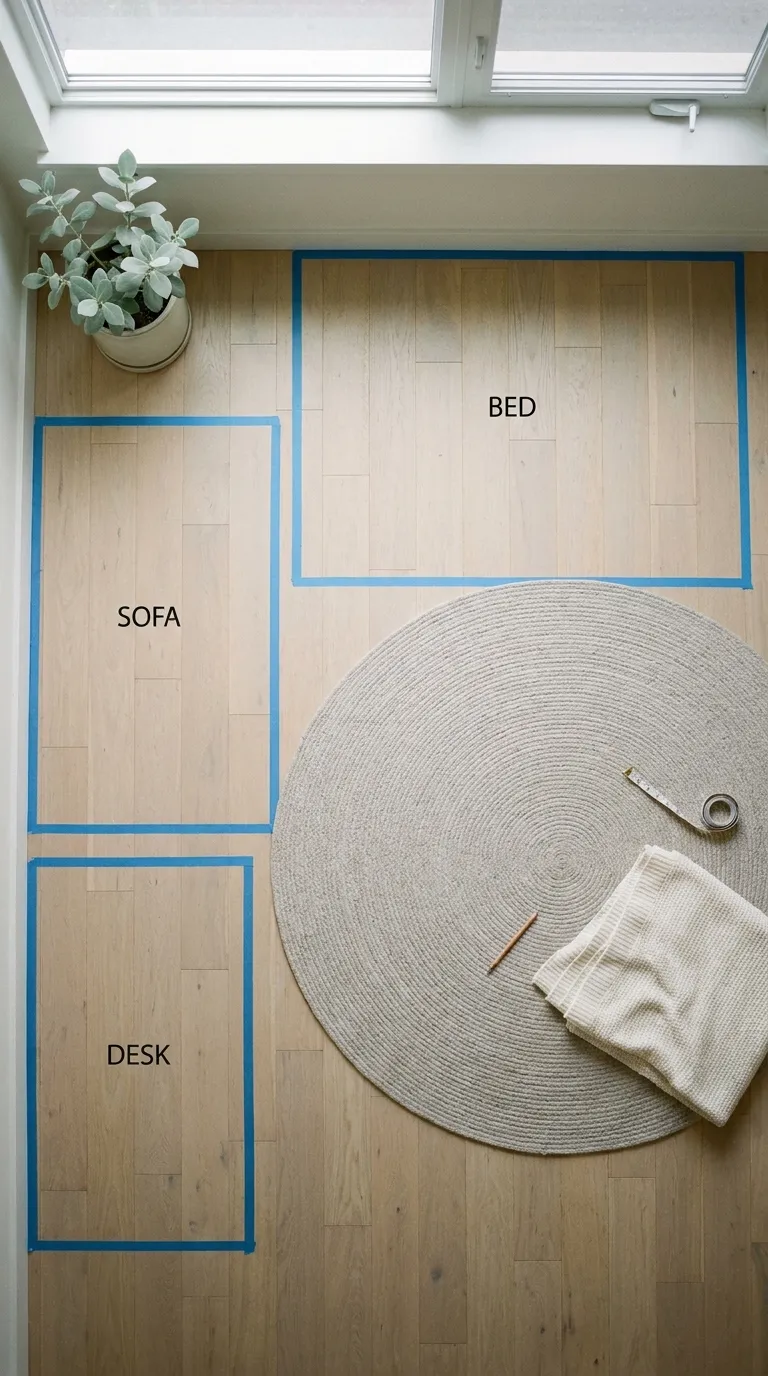
Next, decide what the room has to do. Most small apartments need three zones: one for sleeping, one for sitting, and one for working or eating. Seeing them as zones, not as separate rooms, helps you keep each one simple.
How to Do It
- Measure the length and width of the room, then the main walls and the doorway.
- Sketch the room on paper and mark the door swing, windows, and outlets.
- Use painter’s tape on the floor to outline where the bed, sofa, and desk could go.
- Leave about 30 inches for walkways, so you can move through without turning sideways.
- Live with the taped layout for a day before you move any furniture.
Why It Works
Planning on the floor with tape shows you how much space each piece really takes. It’s much easier to move a line of tape than a sofa.
Common Mistakes to Avoid
- Pushing every piece against the wall, which can leave a dead zone in the middle
- Blocking a window or doorway with a tall piece
- Skipping the walkway measurement
Enter your room’s length and width below to see its size in square feet and square meters.
3. Stick to a Light, Cohesive Palette
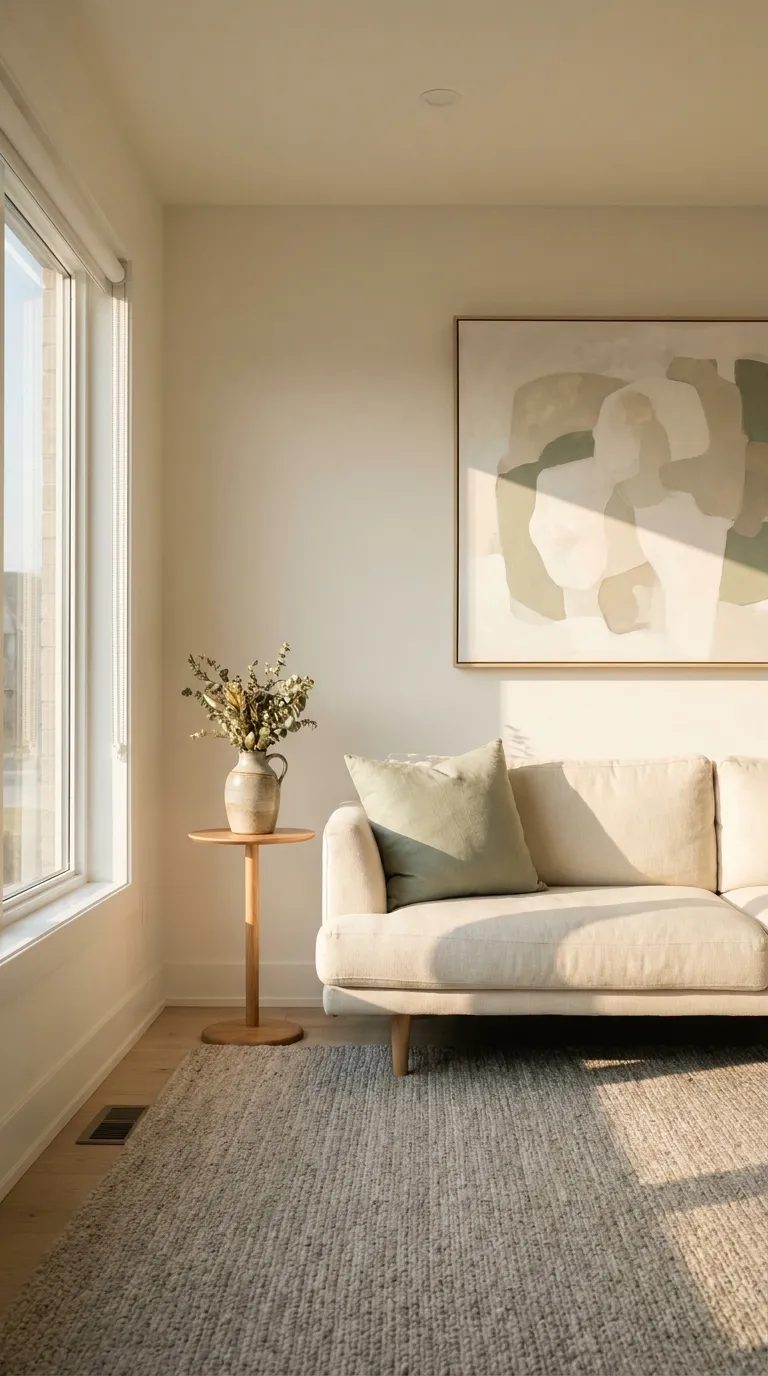
Light colors tend to reflect more light, and a repeated palette keeps the eye moving instead of stopping at every change. In a small room, a few quiet colors usually look bigger than many strong ones.
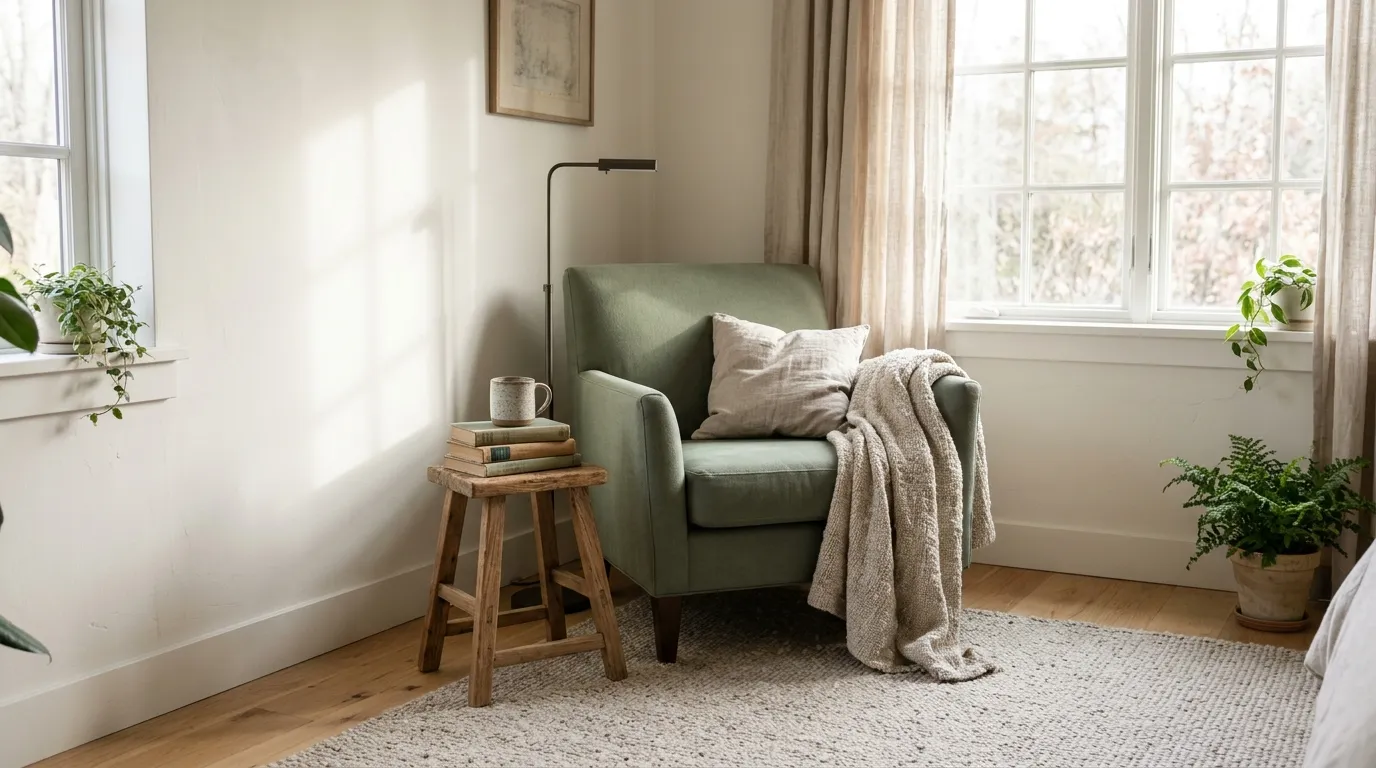
Pick one light base, one mid tone, and one accent, then repeat them across the walls, textiles, and larger pieces. In this guide I’m using warm white, soft greige, and pale sage green.
How to Do It
- Choose one light base color for the walls, curtains, and largest pieces.
- Add a mid tone, such as greige, in the rug, throw, and pillows.
- Pick one accent color, such as pale sage, and repeat it in three or four small places.
- Keep the bigger pieces, like the sofa and bed, in the base or mid tone.
- Hold a fabric sample next to the wall in daylight and again in the evening before you commit.
Why It Works
When colors repeat, the room reads as one calm space instead of a collection of separate objects. Fewer color breaks mean fewer visual stops.
Common Mistakes to Avoid
- Using a different accent color in every corner
- Choosing a very dark sofa without a light rug to balance it
- Matching everything so closely that the room feels flat
Renter Note
Check your lease before painting. If you can’t change the walls, bring the palette in through curtains, bedding, rugs, and removable wall art.
4. Place Mirrors to Bounce Light
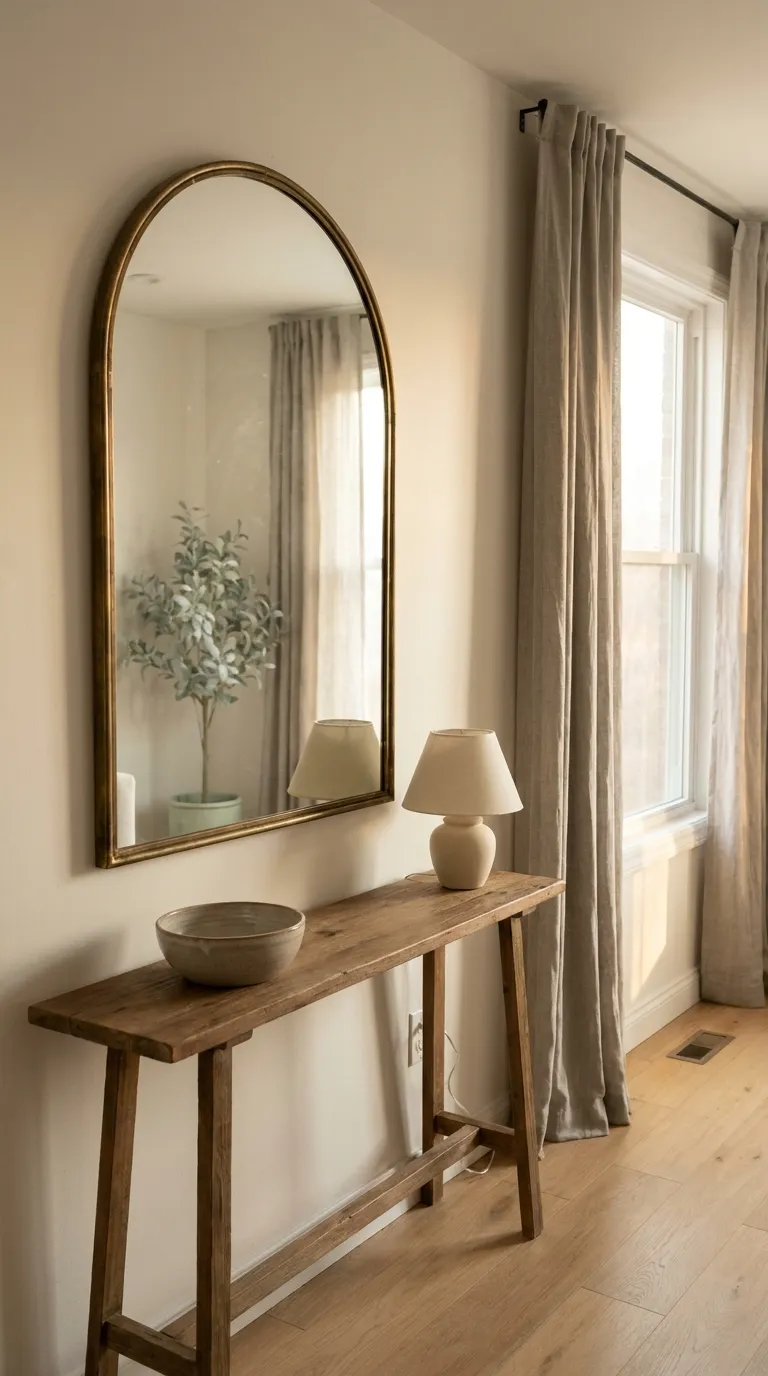
A mirror works like a second window. Placed well, it spreads daylight deeper into the room and gives the walls a sense of depth. Placed badly, it just doubles whatever is in front of it.
The best spot is usually the wall across from, or beside, your main window. Before you pick a spot, look at what the mirror would reflect from where you sit, and move it if the answer is a pile of laundry.
How to Do It
- Stand where you spend the most time and note where the daylight comes in.
- Choose the wall across from or beside the window.
- Hold the mirror against the wall and check what it reflects from your sofa or desk.
- Pick a large mirror over several small ones, since one big surface reads as calmer.
- Mount it with hardware rated for its weight, and follow the product’s instructions.
Why It Works
A large mirror repeats the view of the window and the light on the opposite wall. That repeated brightness makes the room feel wider and less enclosed.
Common Mistakes to Avoid
- Facing the mirror toward a cluttered corner
- Hanging several tiny mirrors that break up the wall
- Placing it where it only reflects a dark wall
Renter Note
Check your lease before drilling. Heavy mirrors need anchors rated for their weight. If you can’t drill, ask your landlord what is allowed, or use a freestanding option set on a sturdy surface and secured as the product instructions say.
5. Choose Furniture That Shows Floor
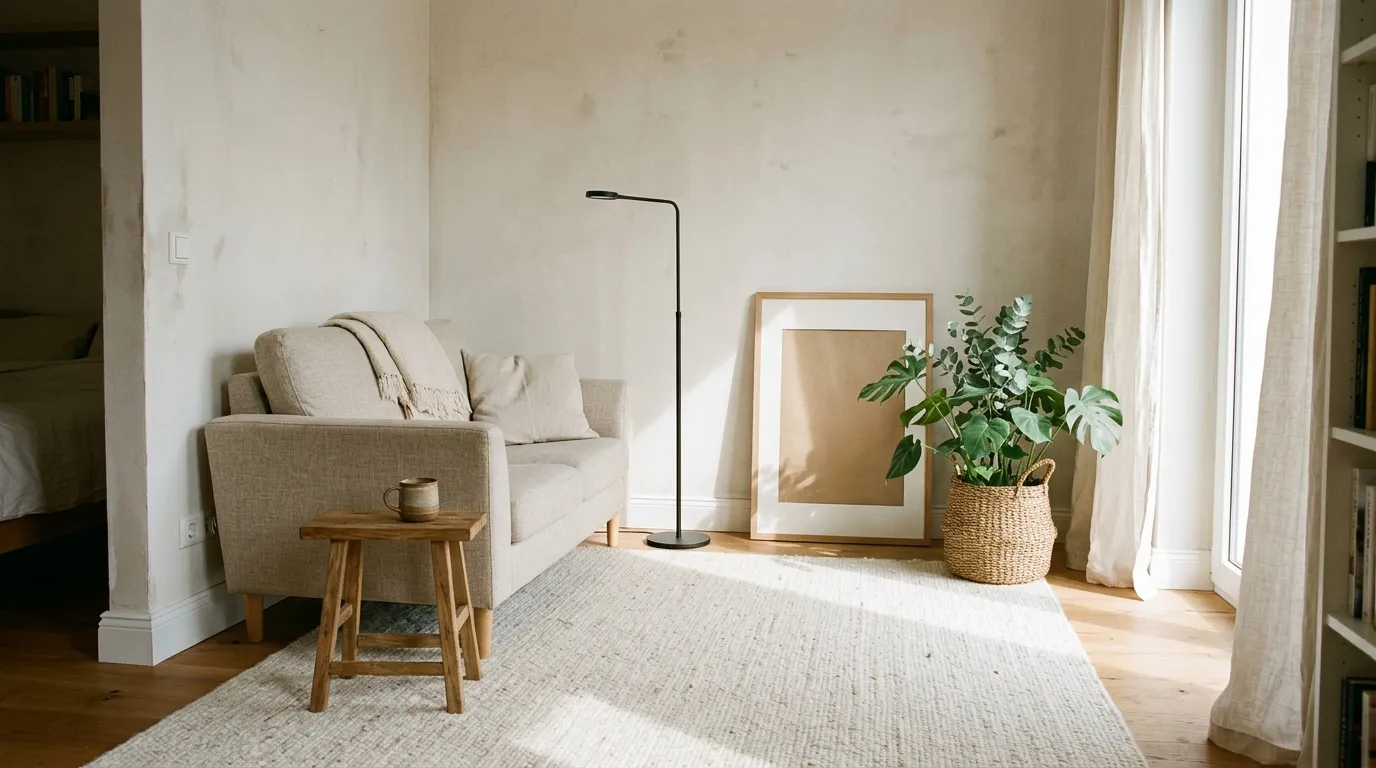
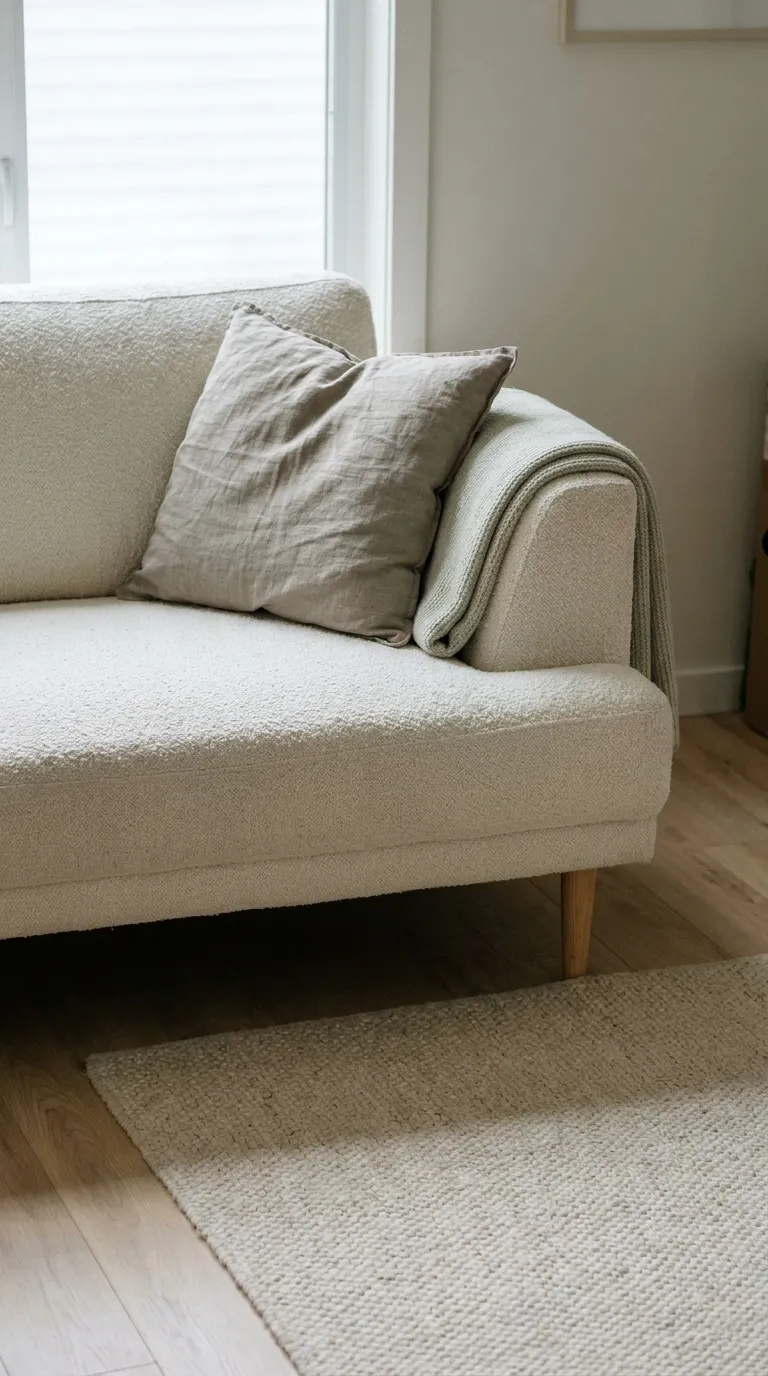
The more floor you can see, the bigger a room tends to feel. Pieces on slim legs let the floor run underneath them, while heavy, boxy pieces sit like blocks and cut the room into smaller parts.
Look for four traits: visible legs, a low back, a color from your palette, and a size that leaves your walkways open. Before you buy anything large, measure the doorway, the stairs, and the hallway turns and ask will it fit before you pay for delivery.
How to Do It
- Measure the space where the piece will go, and keep your 30-inch walkways clear.
- Choose sofas, beds, and tables with legs that leave about 6 inches of floor visible underneath.
- Pick low backs and slim arms over tall, bulky ones.
- Match the piece to your light base or mid tone from Step 3.
- Measure the doorway width and height, plus any hallway turns, before you order.
Why It Works
Visible floor under a piece gives the eye a longer line to follow. Low backs also keep sight lines open across the room, so you can see more of the walls.
Common Mistakes to Avoid
- Buying an oversized sofa because it looks comfortable in a showroom
- Skipping the doorway measurement
- Choosing a dark, heavy piece with no light rug nearby
A Simple Rule to Remember
Visible floor equals visual space.
Try it: sort each piece of furniture into Keep or Skip, based on the four traits above.
6. Layer Light at Three Heights
One overhead light flattens a small room and leaves the corners dark. Dark corners make the walls feel closer, so lighting them is one of the easiest ways to widen the room.
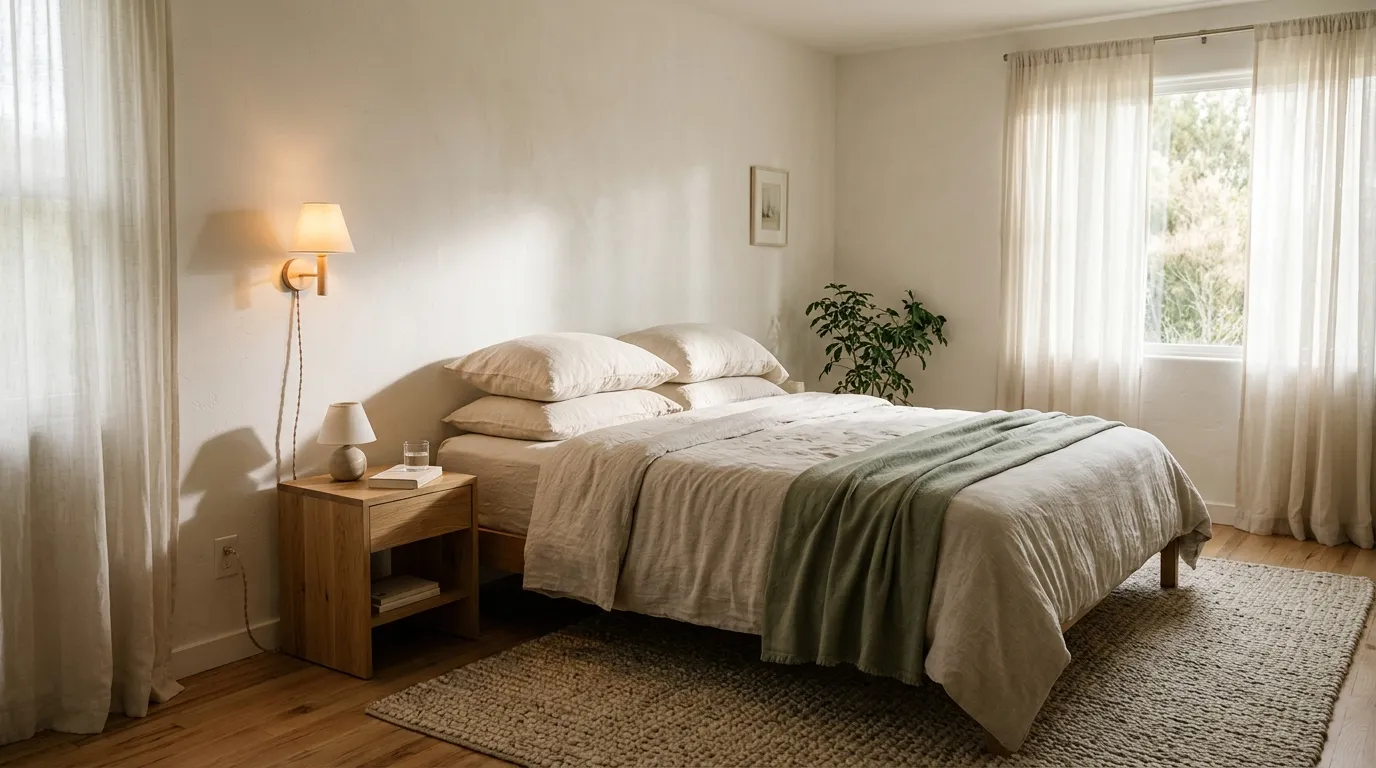
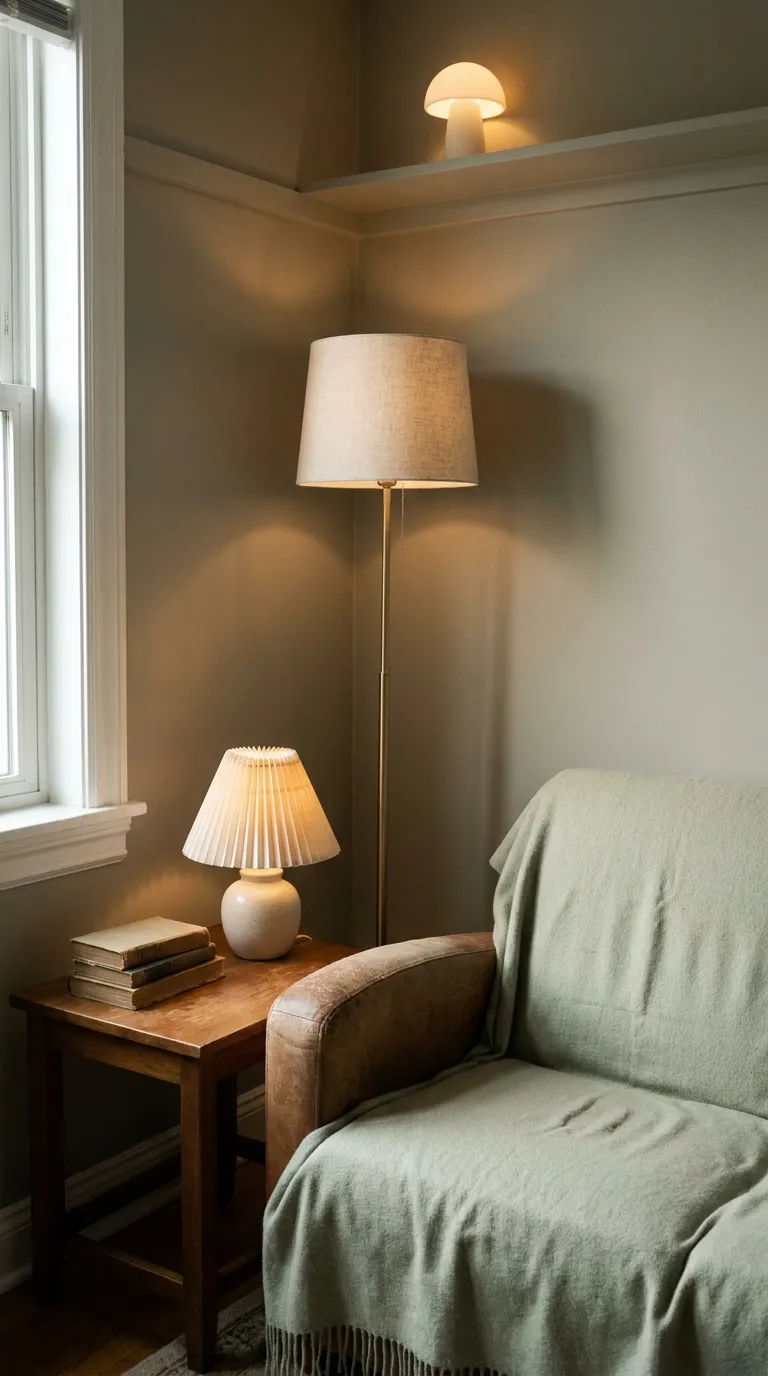
Aim for three heights: a floor lamp for the corners, a table or desk lamp at seat level, and one small light up high, such as a lamp on a shelf. Together they spread the light around the room instead of leaving it in the middle.
How to Do It
- Switch off the overhead light in the evening and see which corners go dark.
- Put a floor lamp in the darkest corner.
- Add a table or desk lamp where you sit, read, or work.
- Place a small lamp on a shelf or high surface to light the upper wall.
- Use bulbs with the same warm tone in every lamp, so the light looks even.
Why It Works
Light that reaches the corners and the upper walls makes the edges of the room easier to see. When you can see where the room ends, it doesn’t feel like it closes in on you.
Common Mistakes to Avoid
- Relying on a single ceiling light
- Mixing cool and warm bulbs in the same room
- Aiming every lamp at the same spot
Renter Note
Plug-in lamps need no wiring and move with you. For anything hardwired, such as changing a fixture, hire a licensed electrician and check your lease first.
7. Draw the Eye Up With Curtains and Art
Where the eye goes decides how tall the room feels. Curtains hung high and art hung at a sensible height pull the gaze upward, so the walls seem taller and the room feels less squat.
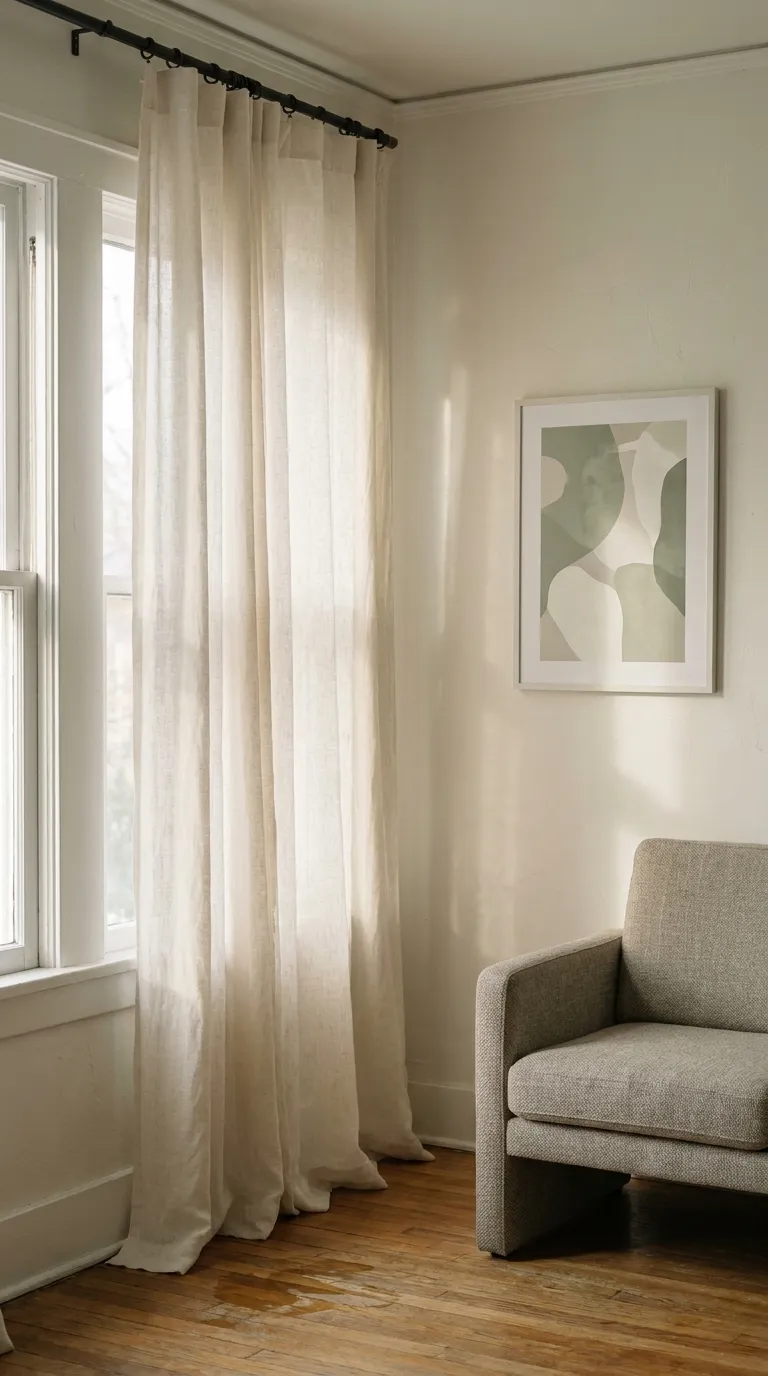
Hang the curtain rod several inches above the window frame, as close to the ceiling as your space allows, and let the panels fall to the floor. Choose a light fabric in your base or mid tone so the curtains blend into the wall instead of cutting it in two.
How to Do It
- Measure from the top of the window frame to the ceiling and decide where the rod will sit.
- Mount the rod above the frame, and extend it past each side of the window.
- Hang panels that reach the floor without pooling.
- Choose one larger piece of art, such as an abstract print with soft shapes, instead of many small ones.
- Hang the art so its center sits near eye level, about 57 inches from the floor.
Why It Works
High curtains create a long vertical line, and a single larger piece of art gives the wall one calm focal point. Together they make the walls feel taller and the room feel less crowded.
Common Mistakes to Avoid
- Hanging the rod right at the top of the window frame
- Using short curtains that stop above the floor
- Filling the wall with many small frames
Renter Note
Check your lease before drilling. If you can’t make holes, a tension rod holds light curtains inside the window frame, and leaning art on a shelf or console is a simple option.
Quick Step Cheat Sheet
Keep this table handy when you’re working through the steps.
| Step | Why It Works | Quick Fix |
|---|---|---|
| 1. Clear the Visual Clutter | Gives the eye places to rest | Leave a third of each surface empty |
| 2. Measure the Space and Map Zones | Shows how much room each piece takes | Tape the layout on the floor |
| 3. Stick to a Light, Cohesive Palette | Repeated colors read as one space | Use one base, one mid tone, one accent |
| 4. Place Mirrors to Bounce Light | Spreads daylight deeper into the room | Hang one large mirror across from the window |
| 5. Choose Furniture That Shows Floor | Visible floor makes the room feel open | Choose legs with about 6 inches of clearance |
| 6. Layer Light at Three Heights | Lights corners and upper walls | Add a floor, table, and shelf lamp |
| 7. Draw the Eye Up With Curtains and Art | Makes walls feel taller | Hang the rod high and art near 57 inches |
The Principles Behind These Steps
Measure Twice, Move Once
A tape measure saves more time than any rearranging. Whenever a layout feels wrong, go back to the numbers and the taped outline before you move heavy pieces.
Keep Sight Lines Open
Try to see from the door to the window without a tall piece in the way. Low backs and visible legs keep the line open, so the eye can travel across the room.
Repeat Colors, Not Objects
Repeating a few colors ties the room together, while repeating the same object can feel busy. Echo your accent color in small places, and let each piece do a different job.
Leave Breathing Room
Empty surfaces and clear floor are part of the design, not unfinished space. A room that has room to move feels easier to live in.
Why These Steps Make Small Apartment Look Bigger
None of these steps adds square feet, but each one changes what you see. Less clutter, more light, visible floor, and a taller line of sight all work on the eye, which is what makes a room feel big or small.
Common Small-Apartment Decor Mistakes Worth Skipping
Buying Furniture Before Measuring
It’s easy to fall for a piece in a store and then find it crowds the room. The fix: tape its footprint on the floor first and check your walkways.
Hanging Art Too High
Art that sits near the ceiling can look disconnected from the furniture. The fix: hang it so the center sits near eye level, about 57 inches from the floor.
Pushing Everything Against the Walls
It feels logical, but it can leave a dead zone in the middle. The fix: pull the main seating a few inches in from the wall and keep your 30-inch walkways clear.
Final Tips for Success
Edit Before You Add
Every new item makes the room a little more crowded, so remove something first and see how the room feels before you buy anything new.
Change One Thing at a Time
Do one step, live with it for a few days, and then decide on the next. That way you can see what actually makes a difference in your space.
Basics Worth Owning
- Tape measure
- Painter’s tape
- Lidded baskets or boxes
- One large mirror
- Plug-in lamps
- Tension rod and light curtains
Conclusion
You don’t need a bigger apartment to feel like you have more room. Clearing surfaces, mapping zones, repeating a light palette, and letting the floor show are all small changes that add up.
Whenever you’re tempted to search “make small apartment look bigger” again, start with the free steps, like clearing and measuring, and add mirrors, lamps, and curtains as you go.
Take it one weekend at a time, and let the room tell you what it needs next.
Save this guide for the next time you rearrange the room.