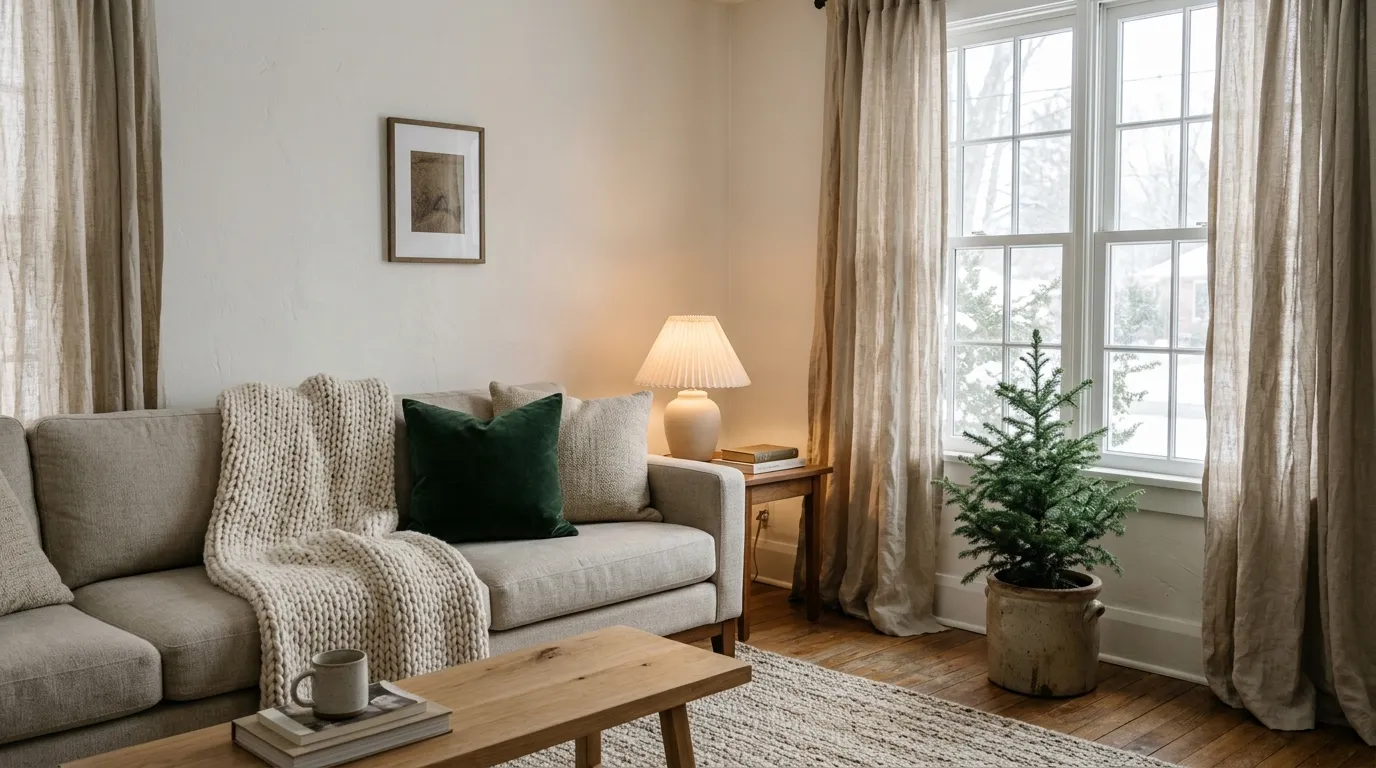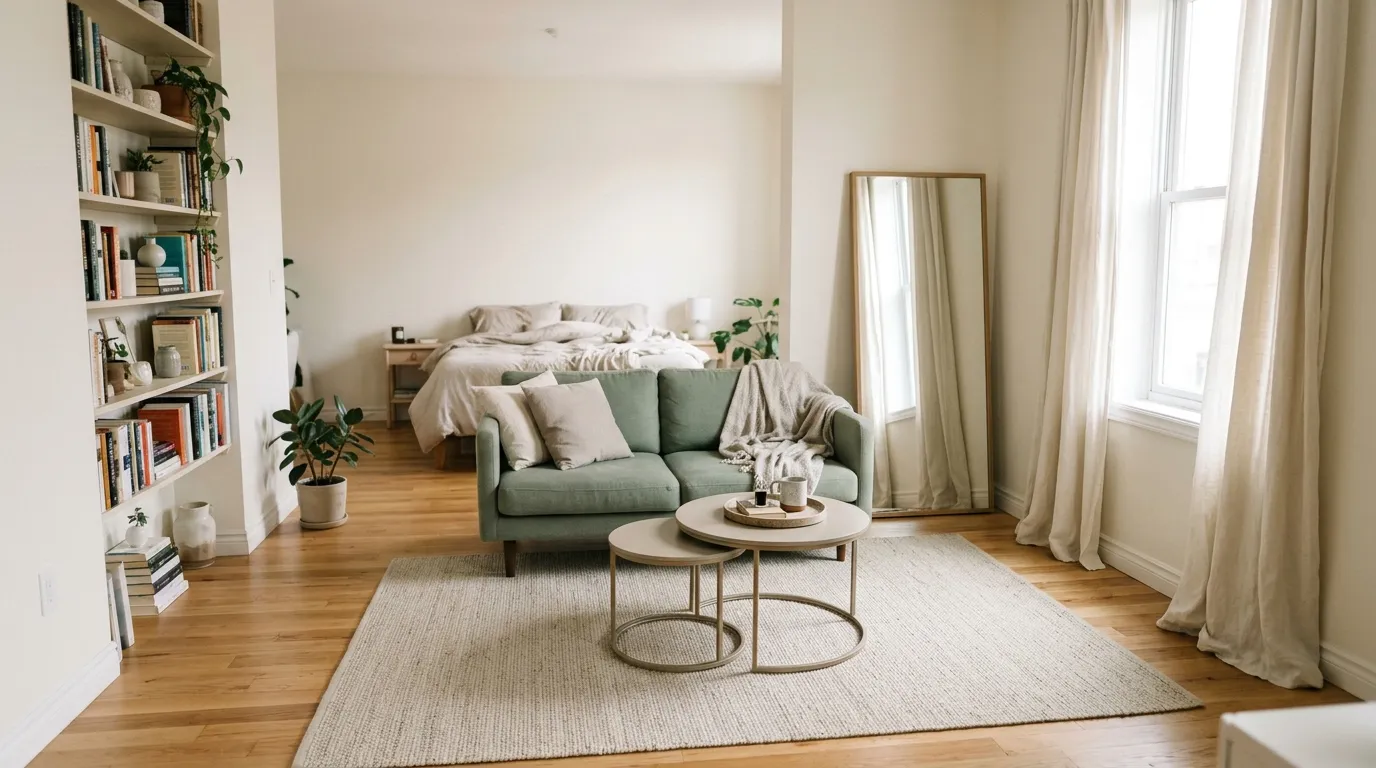

You move into a new rental, set down the last box, and look at four blank walls. Then you remember the lease says no holes, and the bare walls start to feel like a rule you have to live with. The good news is that you can decorate walls without nails and still end up with a room that feels like yours.
What you need is a way to hang, lean, and layer things that comes off cleanly when you move out. That means knowing which wall you have, which hanger suits which weight, and where to begin.
I’d start with the lease, then plan on paper before anything touches the wall. Here are eight steps to follow in order.
Before You Start: Materials and Time
- Time: 1 to 2 hours for one wall
- Difficulty: easy
- Budget level: budget-friendly
- Renter-friendly: yes, but check your lease first
What You’ll Need
- Painter’s tape
- Kraft paper or newspaper
- Measuring tape and pencil
- A small level
- Removable adhesive strips and hooks
- A soft cloth and mild cleaner
- Lightweight frames or prints
- Peel and stick wallpaper (optional)
- A tapestry or fabric panel (optional)
1. Check Your Lease and Wall Type
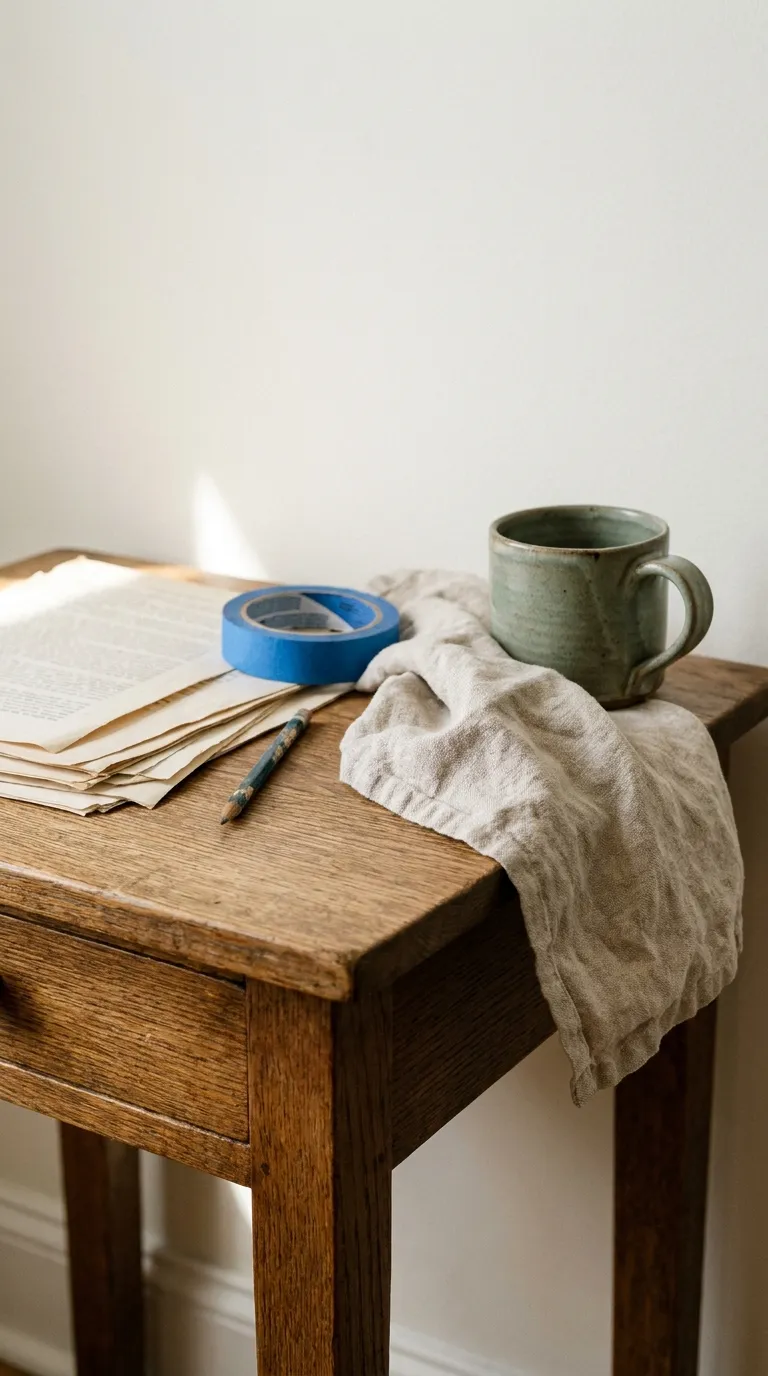
Before you buy a single strip, read what your lease says about walls. Some landlords allow small nail holes, some allow only adhesive products, and some want the walls left exactly as found.
Skipping this step is how a cheap project turns into a deposit dispute. It also pays to know your surface, because smooth, flat paint takes adhesive far better than texture, brick, or wallpaper.
How to Do It
- Read the lease section on walls, paint, and “alterations,” and note what is allowed.
- Ask your landlord in writing if anything is unclear, and keep the reply.
- Touch the wall: smooth, flat paint takes adhesive best, while textured, brick, or wallpapered surfaces often do not.
- Wipe one hidden patch with a soft cloth and let it dry fully.
- Take a photo of each wall before you start, so you have a record.
Why It Works
Knowing the rules and the surface first means you pick products that will actually hold and come off without damage. It also gives you a clear answer if anyone asks about the walls later.
Common Mistakes to Avoid
- Assuming “removable” is safe on every wall
- Sticking strips onto freshly painted walls before the paint has cured
- Skipping a written okay from your landlord
Renter Note
Check your lease before you hang anything, and follow the product label for the surfaces it names. If the lease bans adhesives too, stick to the leaning and layering ideas later in this guide.
2. Plan the Layout With Paper Templates
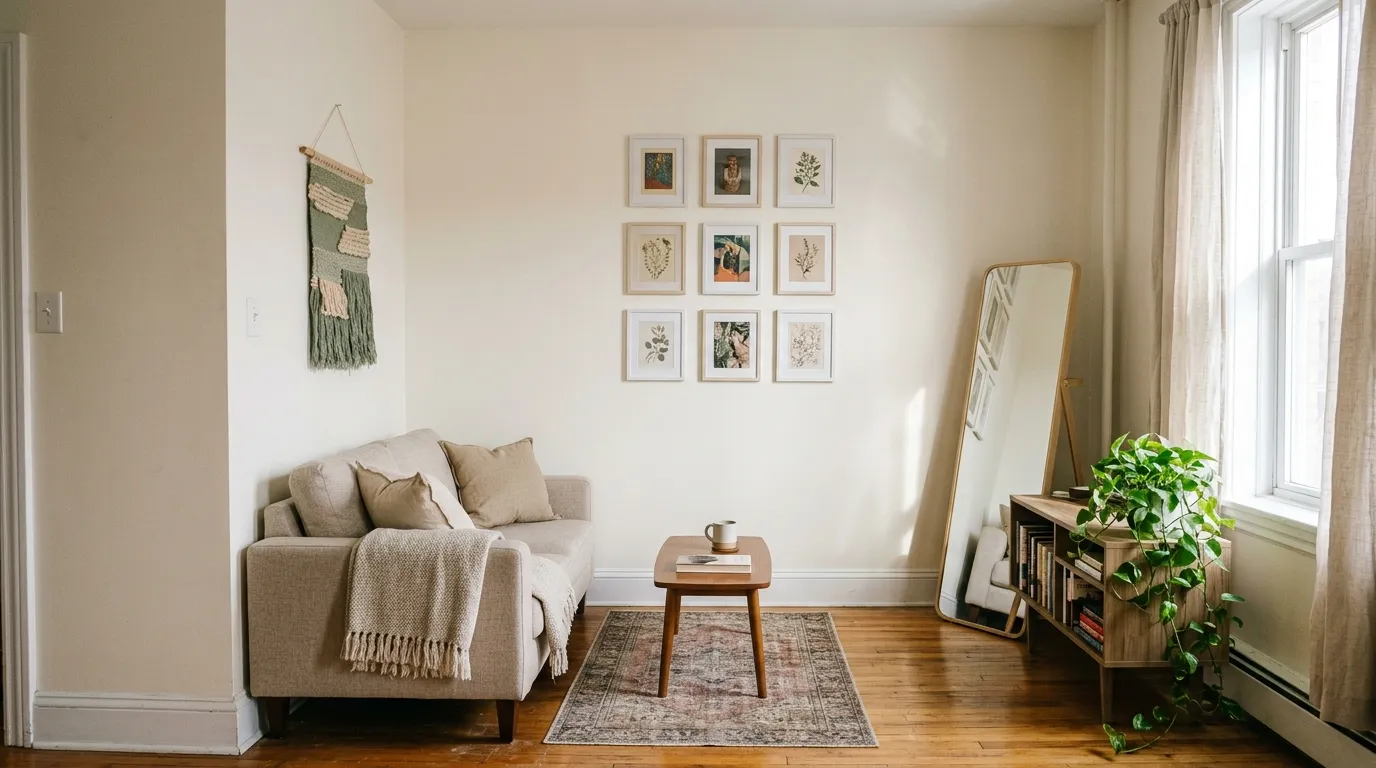
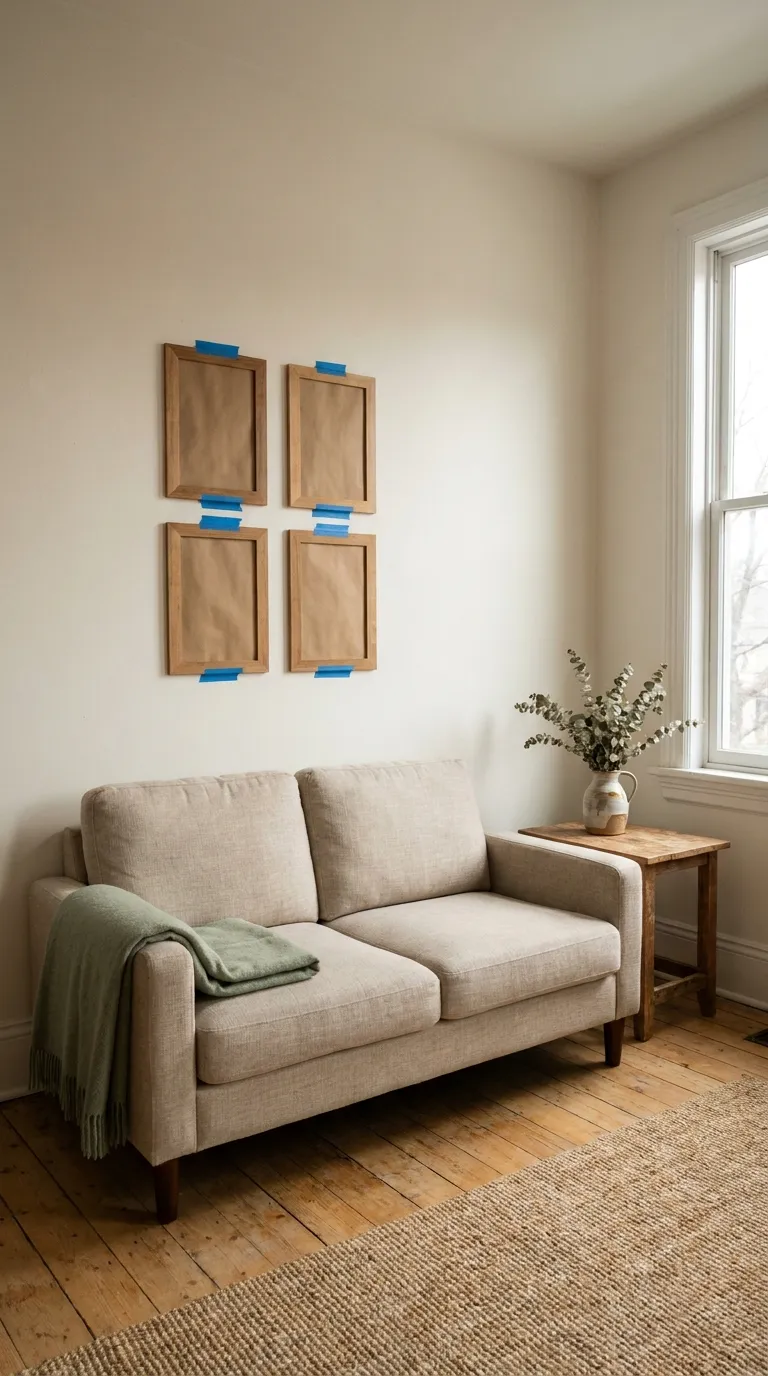
Once the lease is settled, plan before you stick. Trace each frame on kraft paper, cut the shapes out, and tape them to the wall with painter’s tape. Paper shapes are the quickest way to test a gallery wall layout, because you can see the spacing before anything is stuck down.
Skip this step and you end up peeling strips off and re-sticking them, which weakens the hold and can pull paint. A few minutes with paper saves that.
How to Do It
- Trace each frame on kraft paper and cut the shapes out.
- Mark where the hook or strip will sit on each shape.
- Tape the shapes to the wall with painter’s tape.
- Step back, shift the pieces around, and take a photo of the version you like.
- Peel each shape off one at a time and put the real frame in its place.
Why It Works
Paper shapes let you edit the layout while it is still free to change. You see scale and spacing at eye level, not on a screen.
Common Mistakes to Avoid
- Hanging the group too high
- Leaving uneven gaps between frames
- Skipping a level check on the first piece
A Simple Rule to Remember
Aim for the center of the group at about 57 inches from the floor, and keep the gaps between frames equal, around 2 to 3 inches.
Enter your wall size, the number of frames, and the frame size to see how the layout fits.
3. Hang Light Art With Adhesive Strips
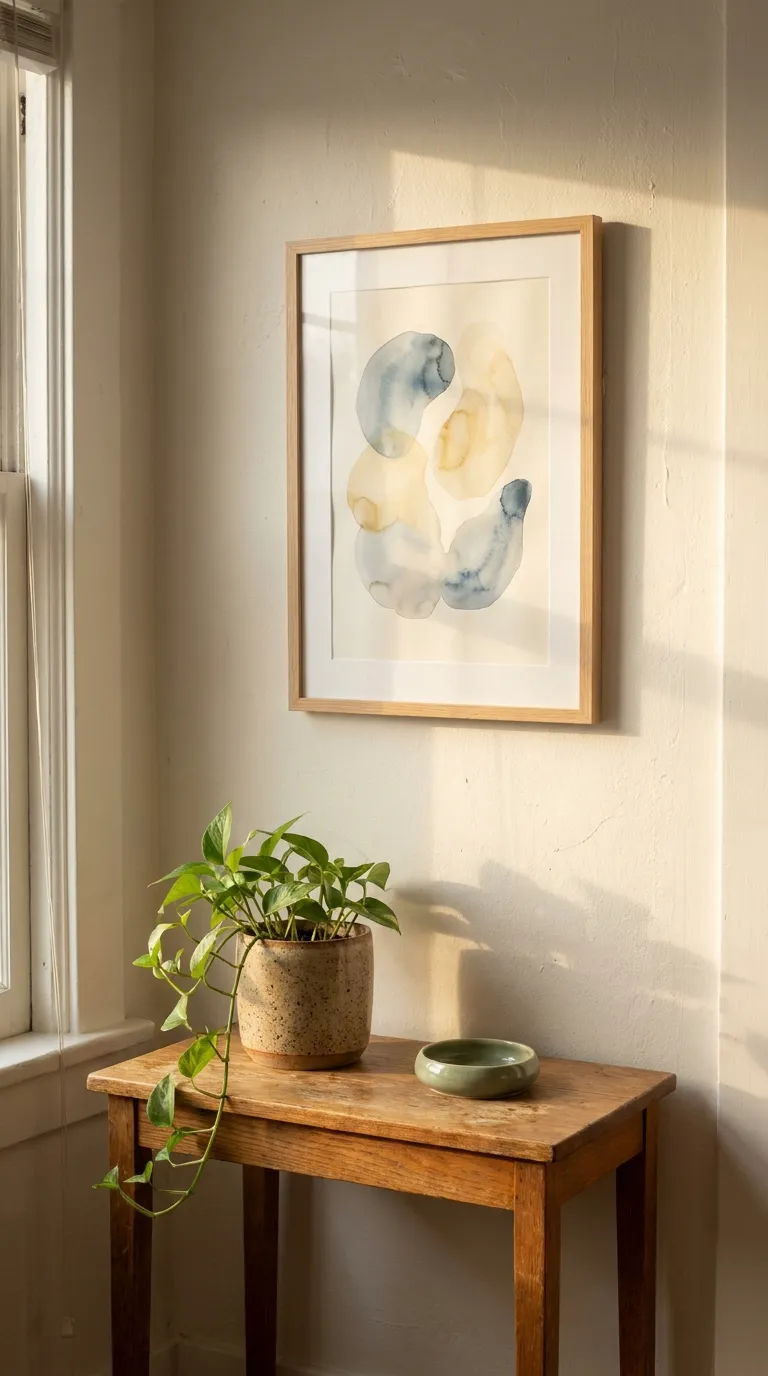
Adhesive strips are the easiest way to hang a light frame without making a hole. They work best on smooth, clean, fully cured paint, and they hold only up to the weight printed on the package.
The most common failure is a dusty or textured wall, or a frame that is heavier than the strips allow. Follow the package for the weight limit and the number of strips each frame needs.
How to Do It
- Wipe the wall spot with a soft cloth and let it dry fully.
- Check the package for the weight limit and the strip count per frame.
- Press the strips onto the back of the frame first.
- Hold the frame to the wall with a level on top, then press firmly for the time the package states.
- Wait the time the package suggests before you let the frame carry its full weight.
Why It Works
Strips spread the load across a flat surface, so a light frame stays put without a hole in the wall. Prepping the spot and pressing for the full time is what makes the bond reliable.
Common Mistakes to Avoid
- Using a frame heavier than the package allows
- Pressing strips onto dusty or textured walls
- Pulling the frame straight off instead of following the removal directions
Renter Note
Strips are renter-friendly when used as directed, but check your lease and test one hidden spot first. When it is time to move out, follow the package’s removal directions slowly so the paint stays on the wall.
4. Use Removable Hooks for Frames
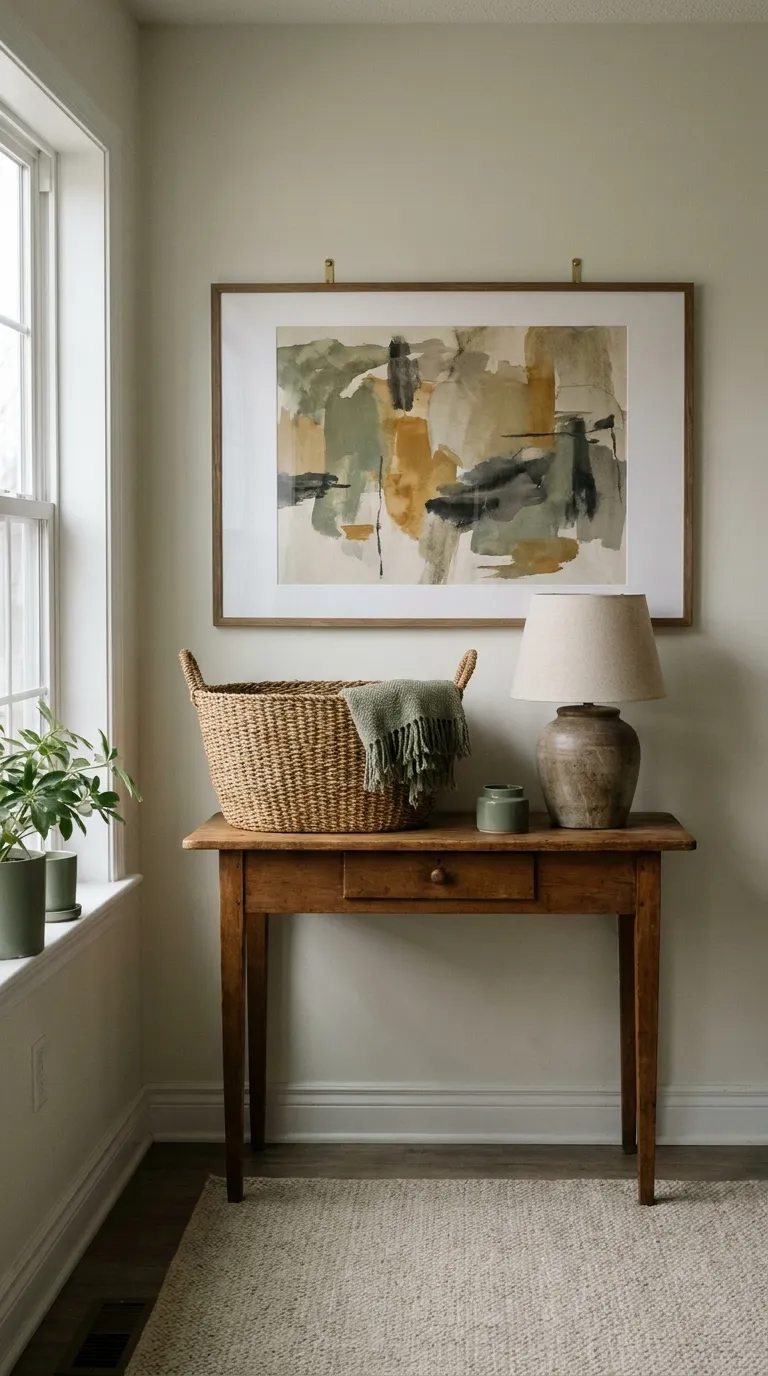
Removable hooks suit frames that are a bit heavier or have a wire or sawtooth hanger on the back. They stick to the wall like strips, but the hook lets the frame hang the way it was built to.
The rule that matters most is the weight limit on the package. Check the frame’s weight and stay under the limit, and use two hooks on a wide frame so it hangs level.
How to Do It
- Weigh the frame on a bathroom scale so you know what you are hanging.
- Pick a hook rated above the frame’s weight, using the limit on the package.
- Clean the wall spot and let it dry fully.
- For a wide frame, use two hooks and measure so they sit level with each other.
- Press each hook to the wall for the time the package states, then hang the frame and check it with a level.
Why It Works
The hook holds the frame the way it was designed to hang, so you keep the look of a nailed picture without the hole. Two hooks share the load and keep wide pieces from tilting.
Common Mistakes to Avoid
- Guessing a frame’s weight instead of checking it
- Using one hook on a wide frame
- Hanging a glass-heavy frame on a hook rated for light art
A Simple Rule to Remember
If a piece is close to the hook’s weight limit, pick a bigger hook or lean it instead. For heavy mirrors and shelves, lean them, or use anchors rated for the weight and follow the product’s instructions, but only with your landlord’s okay.
Try it: sort each piece into the right hanging method.
5. Lean Art on Ledges and Furniture
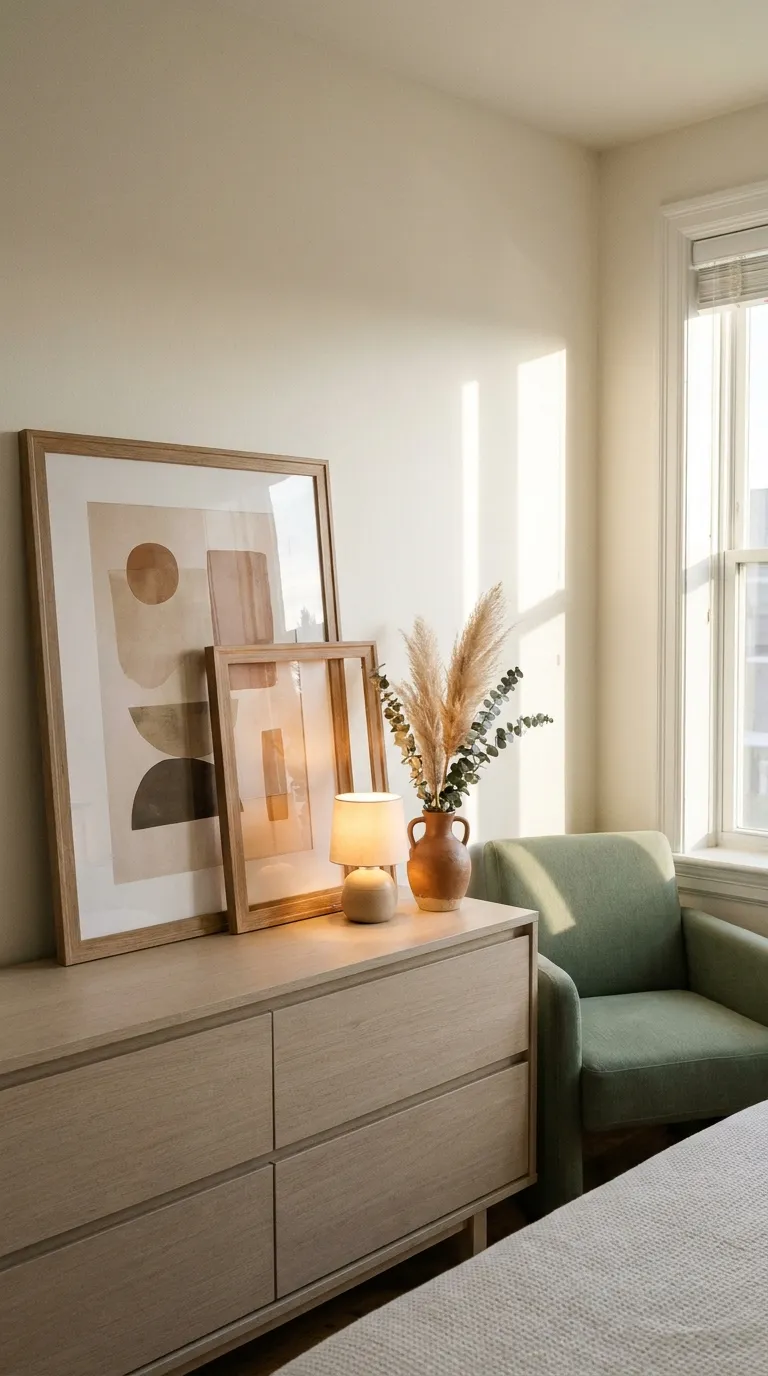
Leaning is the lowest-risk way to decorate walls without nails, because nothing is attached to the wall at all. A dresser, a console, a freestanding shelf, or even the floor can hold art, and you can swap pieces whenever you like.
It works best with a plan: lean the biggest piece against the wall and layer smaller ones in front. Heavy pieces need a spot away from walkways, because anything leaning can be bumped.
How to Do It
- Pick a flat, stable surface, like a dresser, console, or freestanding shelf.
- Place the largest piece at the back, leaning slightly against the wall.
- Layer one or two smaller frames in front, overlapping the edges a little.
- Add one small object, like a vase or a stack of books, to soften the line.
- Check that the bottom edge sits flat and the frame does not slide.
Why It Works
Layering adds depth and makes a wall feel finished without any hardware. Nothing touches the paint, so there is nothing to remove when you move out.
Common Mistakes to Avoid
- Leaning a heavy piece where it can be knocked over
- Using a slick surface without checking that the frame holds
- Placing every piece at the same height
A Simple Rule to Remember
Lean the biggest piece first, then layer smaller ones in front and let the edges overlap a little.
6. Add Peel and Stick Wallpaper Panels
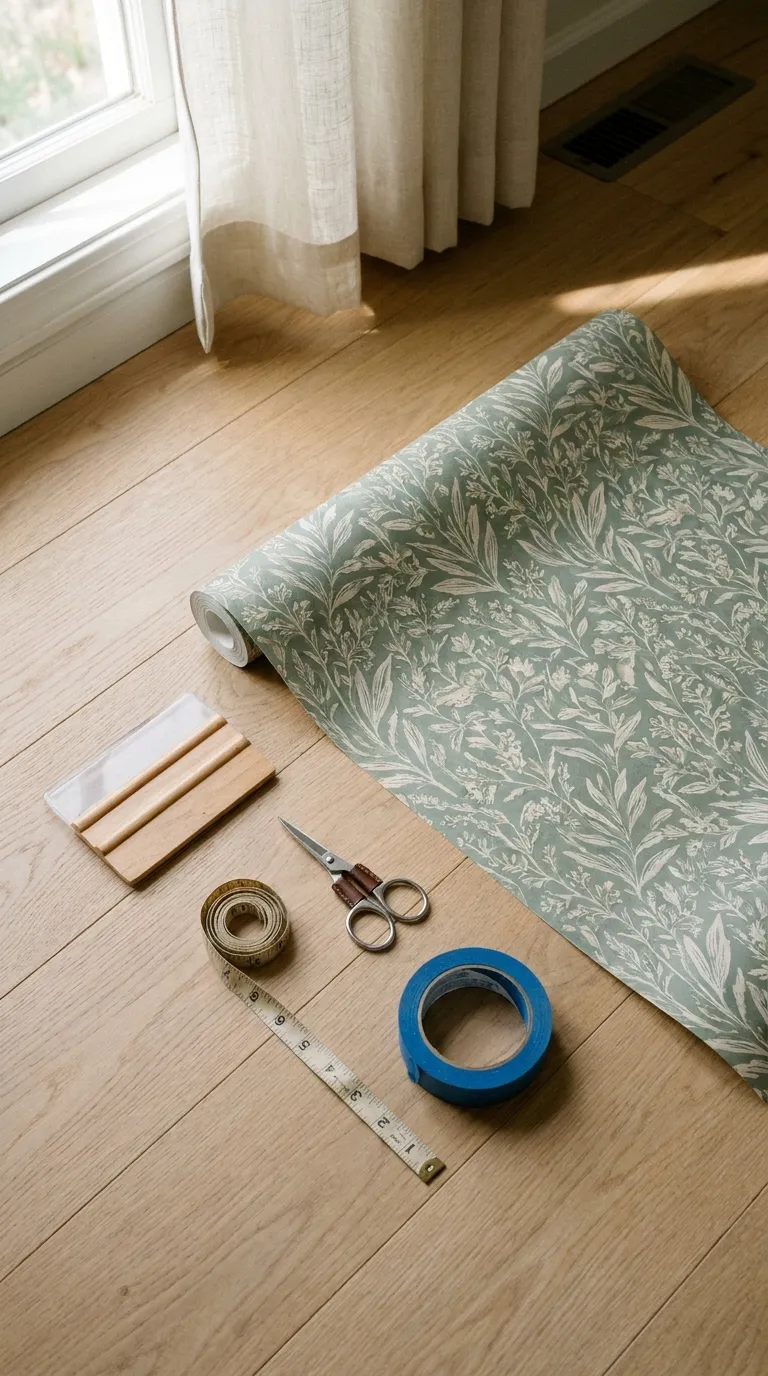
Peel and stick wallpaper can change a whole wall, but it asks the most of your lease and your surface. It sticks best to smooth, clean, fully cured paint, and it may not suit textured walls or fresh paint.
You don’t have to cover the whole room. A single panel behind a bed, a desk, or a shelf gives you a strong focal point and is easier to remove later, and a small decor budget goes further when you cover one wall instead of four.
How to Do It
- Stick a small test piece in a hidden spot, leave it for a few days, then peel it to see how the paint reacts.
- Clean the wall and let it dry fully.
- Measure the wall and cut each strip a couple of inches longer than the height.
- Peel back the top of the backing, press the panel to the wall from the top, and smooth it down with a squeegee or a stiff card.
- Trim the extra at the top and bottom with a sharp blade, working slowly.
Why It Works
A single panel creates a focal wall with no holes at all. Smoothing from the top down pushes air out as you go, which helps you avoid bubbles.
Common Mistakes to Avoid
- Skipping the hidden test patch
- Pulling too hard while peeling, which can lift paint
- Buying enough for a whole room when one wall would do
Renter Note
Ask your landlord before you start, since wallpaper is the step most likely to affect the paint. Follow the product label for application and removal, and ventilate the room if you use any adhesive or cleaner.
7. Hang Fabric and Tapestries Gently
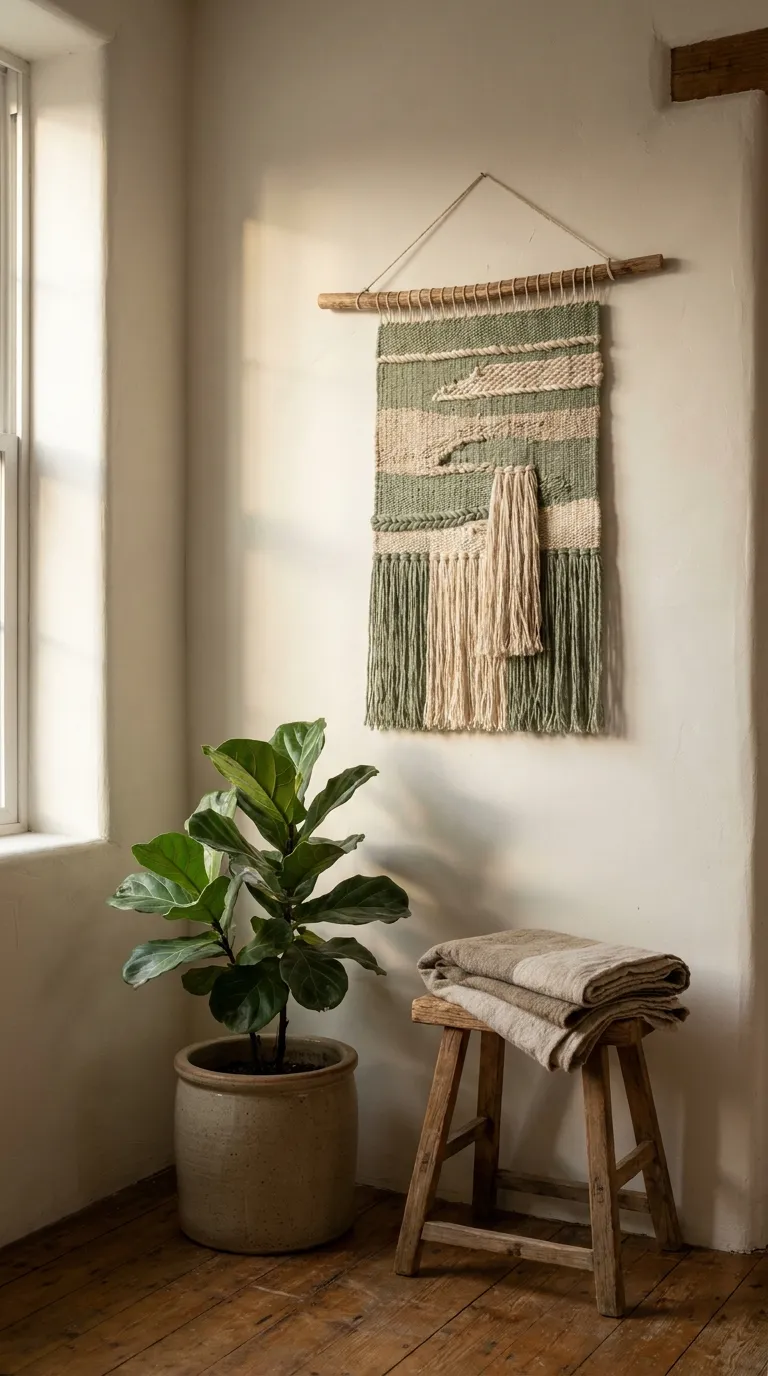
Fabric is one of the softest ways to cover a wall. A tapestry, a woven hanging, or a simple fabric panel adds texture, color, and warmth, and it is light enough for removable hooks or clips.
The trade-off is that fabric can sag or pull on a single point. Spread the weight across two or three hooks along the top edge, and keep it away from heaters and candles.
How to Do It
- Pick a light fabric, like cotton, linen, or a thin weave, and check the care label.
- Stick two or three removable hooks along the top, evenly spaced and level, within the package’s weight limit.
- Rest a slim rod on the hooks, or clip the fabric’s top edge to them.
- Hang the fabric and smooth it flat with your hands.
- Step back and check that it hangs straight, and check the care label before you iron or steam it.
Why It Works
Fabric softens a hard wall and adds texture without a single hole. Because the weight is shared across several hooks, nothing pulls on one spot.
Common Mistakes to Avoid
- Hanging heavy fabric from a single hook
- Placing it close to a heater or a candle
- Skipping the care label before washing or steaming
Renter Note
Use only removable hooks or clips that suit your wall, and check your lease before you stick anything. Skip pins and tacks, since they leave holes.
8. Finish With Mirrors and Plug-In Lights
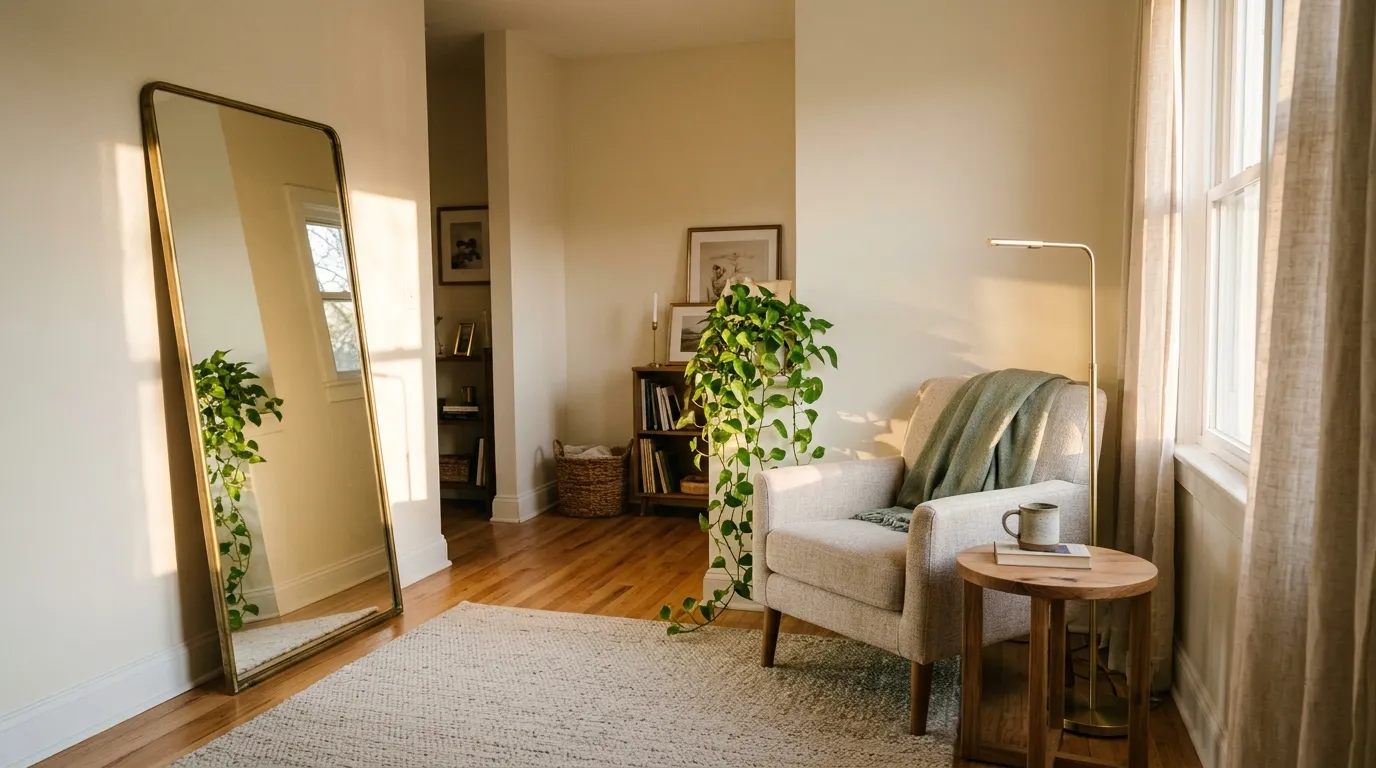
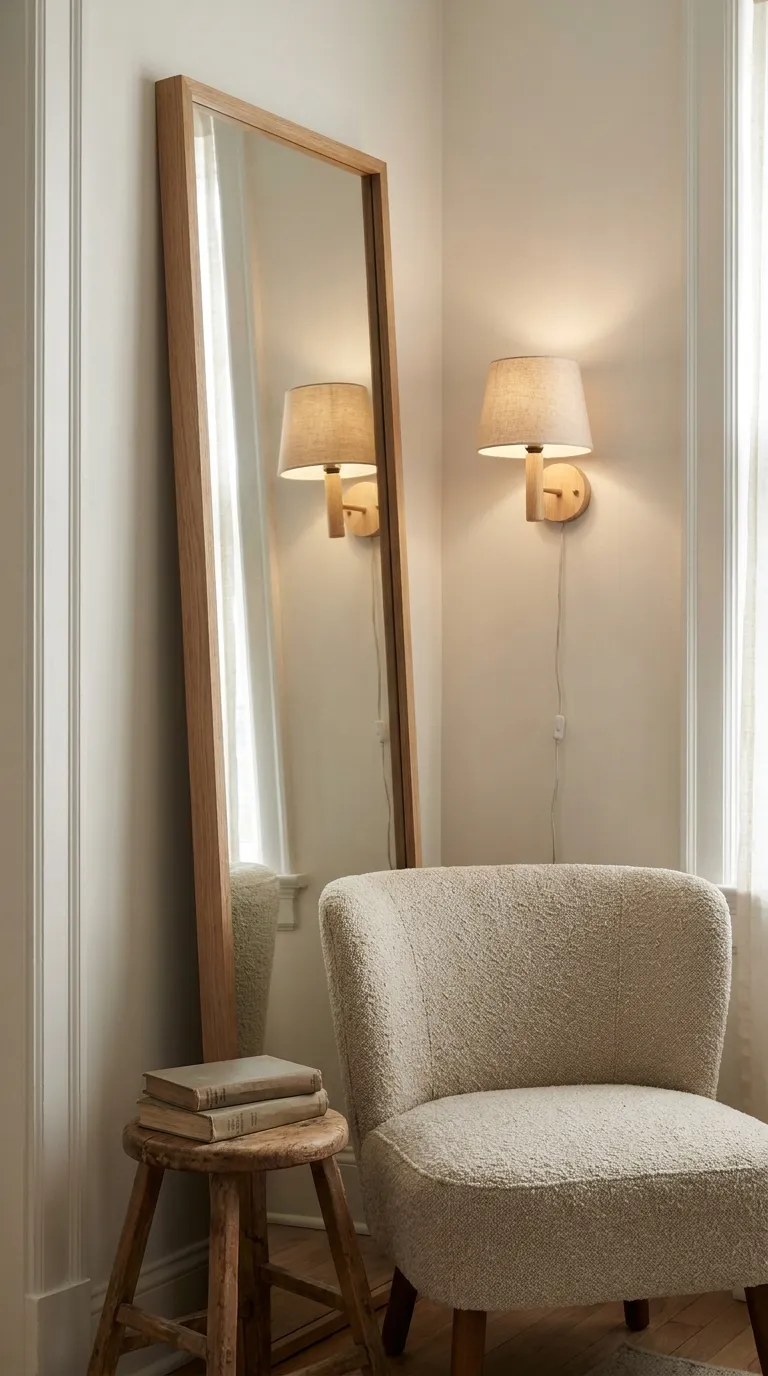
Once the wall has color and texture, a mirror or a plug-in light adds the finishing layer. A leaning mirror bounces window light across the room, and a plug-in sconce lights a wall without any wiring.
Mirrors are heavy, so lean them on the floor against a stable wall unless you have anchors rated for the weight, and always follow the product’s instructions. For electrical work beyond plugging something in, hire a licensed electrician.
How to Do It
- Pick a mirror that fits where it will lean, and check its weight first.
- Set the bottom edge on a non-slip pad or a rug so it cannot slide.
- Tilt it slightly against the wall and keep it away from doors and walkways.
- Choose a plug-in light with a cord that reaches the outlet.
- Clip the cord along the baseboard with removable clips, and place the light beside your art so the wall gets a soft glow.
Why It Works
A mirror makes a wall feel wider by reflecting the light you already have. A plug-in light adds a softer layer in the evening without touching the walls or the wiring.
Common Mistakes to Avoid
- Leaning a tall mirror where a door can hit it
- Hanging a heavy mirror on adhesive strips that are not rated for it
- Running a cord across a walkway
Renter Note
Check your lease before using anchors or fixtures. Leaning mirrors and plug-in lights are the renter-friendly route, and any anchor needs your landlord’s okay and the product’s instructions.
Quick Step Cheat Sheet
Use this table when you want the whole plan at a glance.
| Step | Why It Works | Quick Fix |
|---|---|---|
| 1. Check Your Lease and Wall Type | You pick products that suit the wall | Photograph walls and ask in writing |
| 2. Plan the Layout With Paper Templates | You edit the layout before sticking | Retape the shapes and re-level |
| 3. Hang Light Art With Adhesive Strips | Strips spread the load without holes | Clean the wall and recheck weight |
| 4. Use Removable Hooks for Frames | Hooks keep the frame hanging as designed | Add a second hook on wide frames |
| 5. Lean Art on Ledges and Furniture | Nothing touches the wall | Move heavy pieces away from walkways |
| 6. Add Peel and Stick Wallpaper Panels | One panel gives you a focal wall | Test a hidden patch first |
| 7. Hang Fabric and Tapestries Gently | Fabric adds texture with light hooks | Add a hook to share the weight |
| 8. Finish With Mirrors and Plug-In Lights | They add light without wiring | Lean the mirror on a non-slip pad |
The Principles Behind These Steps
Measure Twice, Stick Once
Adhesive is hard to adjust once it is pressed down. Measure, mark with painter’s tape, and check with a level before anything sticks.
Work From the Center Out
Place your anchor piece first, with its center at about 57 inches from the floor, then build outward. That keeps the group balanced instead of drifting up or down the wall.
Test in a Small Spot First
Every wall and every product reacts a little differently. A hidden test patch tells you what will happen before you commit a whole wall.
Leave Breathing Room Between Pieces
Gaps of 2 to 3 inches between frames keep a group tidy, and some bare wall around the edge keeps it calm. Not every inch needs art.
Common Wall Decorating Mistakes Worth Skipping
Ignoring the Weight Limit
It is easy to trust a strip or a hook too far. Weigh the piece and choose a hanger rated above that number.
Sticking to a Dusty Wall
Dust and grease stop adhesive from gripping. Wipe the spot with a soft cloth, let it dry, then stick.
Pulling Strips the Wrong Way
Yanking a strip or hook can take paint with it. Follow the package’s removal directions and go slowly.
Final Tips for Success
Decorate Walls Without Nails, One Wall at a Time
Start with one wall, test a hidden spot, and see how the products behave in your space. Then repeat the same steps on the next wall.
Keep the Removal Steps Handy
Keep the package directions for each product in a drawer or a photo folder. They make moving out far less stressful.
Basics Worth Owning
- Painter’s tape
- A small level
- Removable strips and hooks in a few sizes
- A soft cloth
- A measuring tape
- Kraft paper for templates
Save Spare Strips for Later
Keep unused strips in their package so they are ready when you rearrange. It makes a refresh a ten-minute job instead of a project.
Conclusion
A rental wall doesn’t have to stay bare to protect your deposit. With the right hanger for the right weight, a plan on paper, and a few leaning and layered pieces, you can decorate walls without nails and still end up with a room that feels finished.
Start with the lease, test one small spot, and build one wall at a time. If something doesn’t sit right, peel it off and try again, because the whole point of these steps is that they are easy to change.
When you move out, the walls go back the way you found them, and your art goes with you.
Save this guide for the next time you rearrange the room.