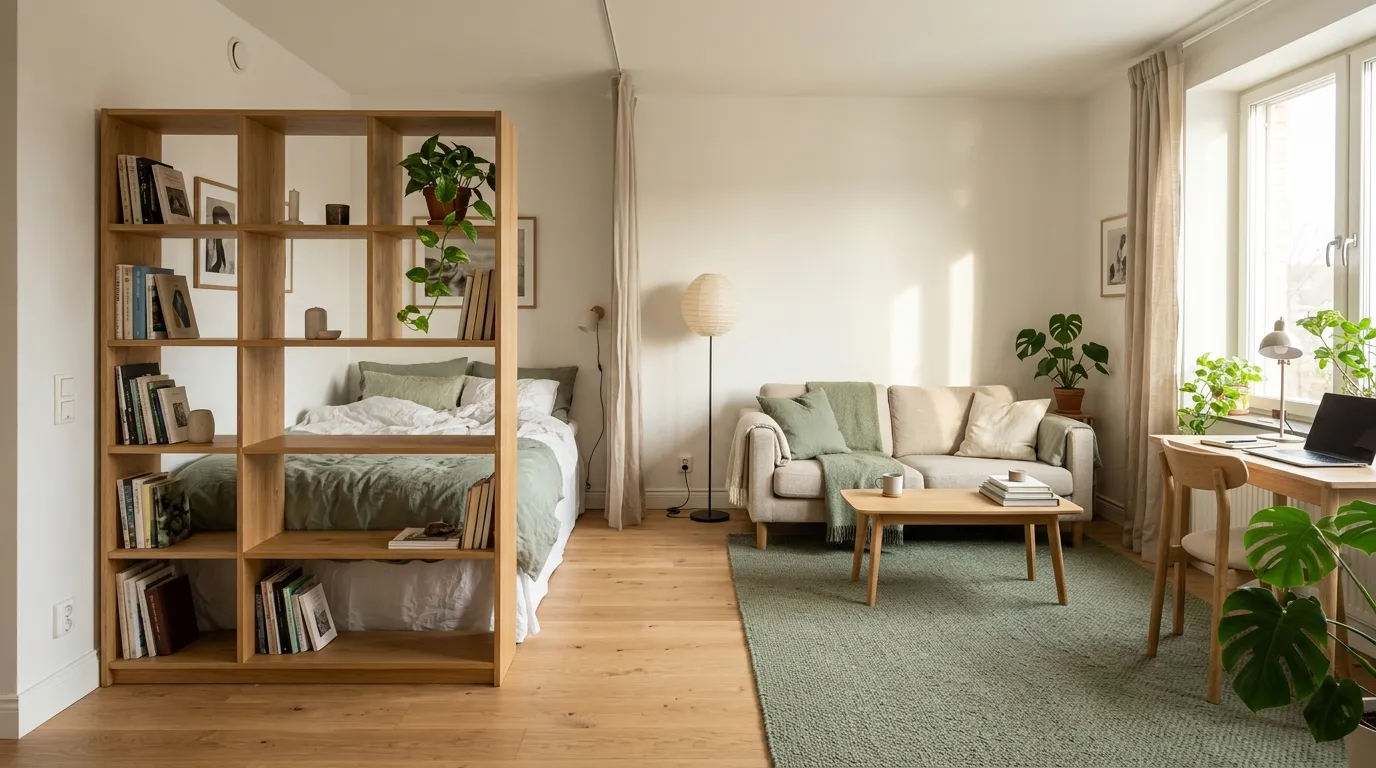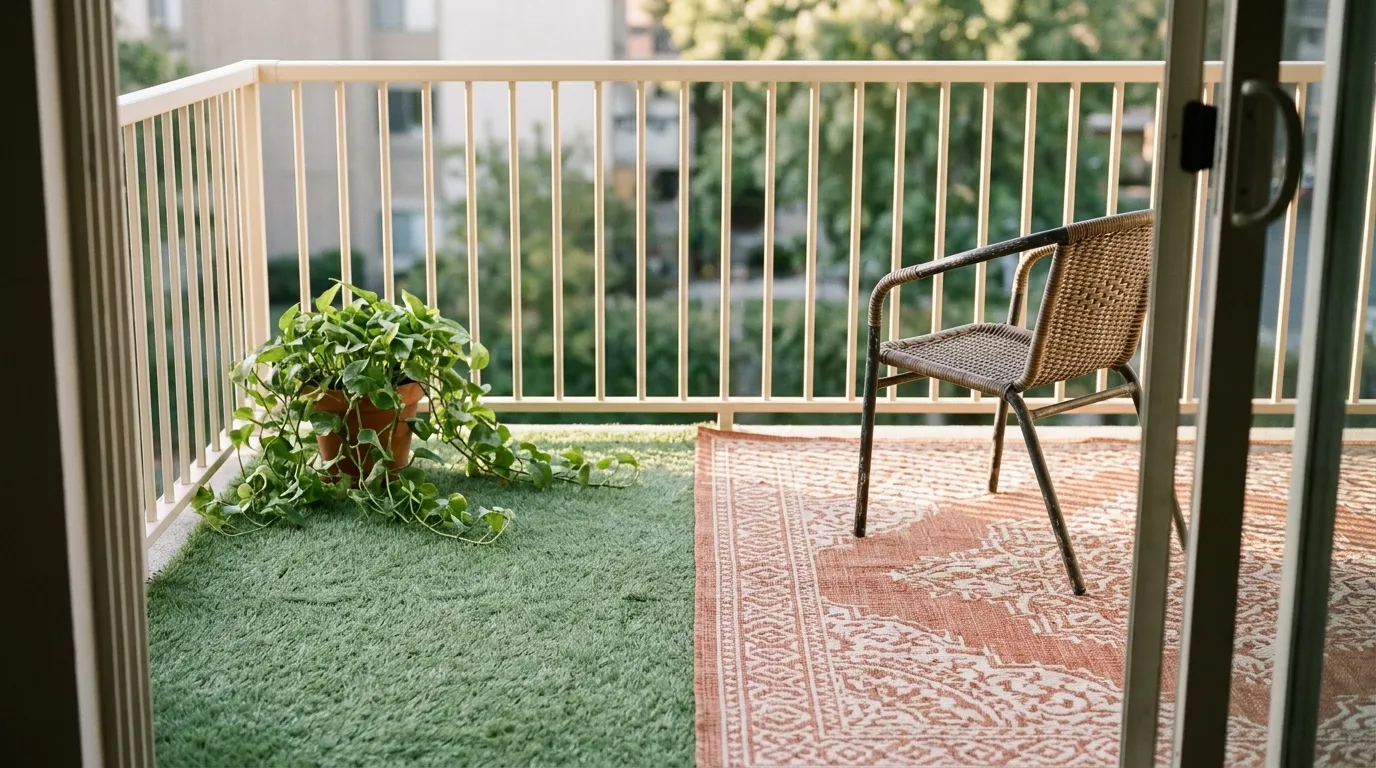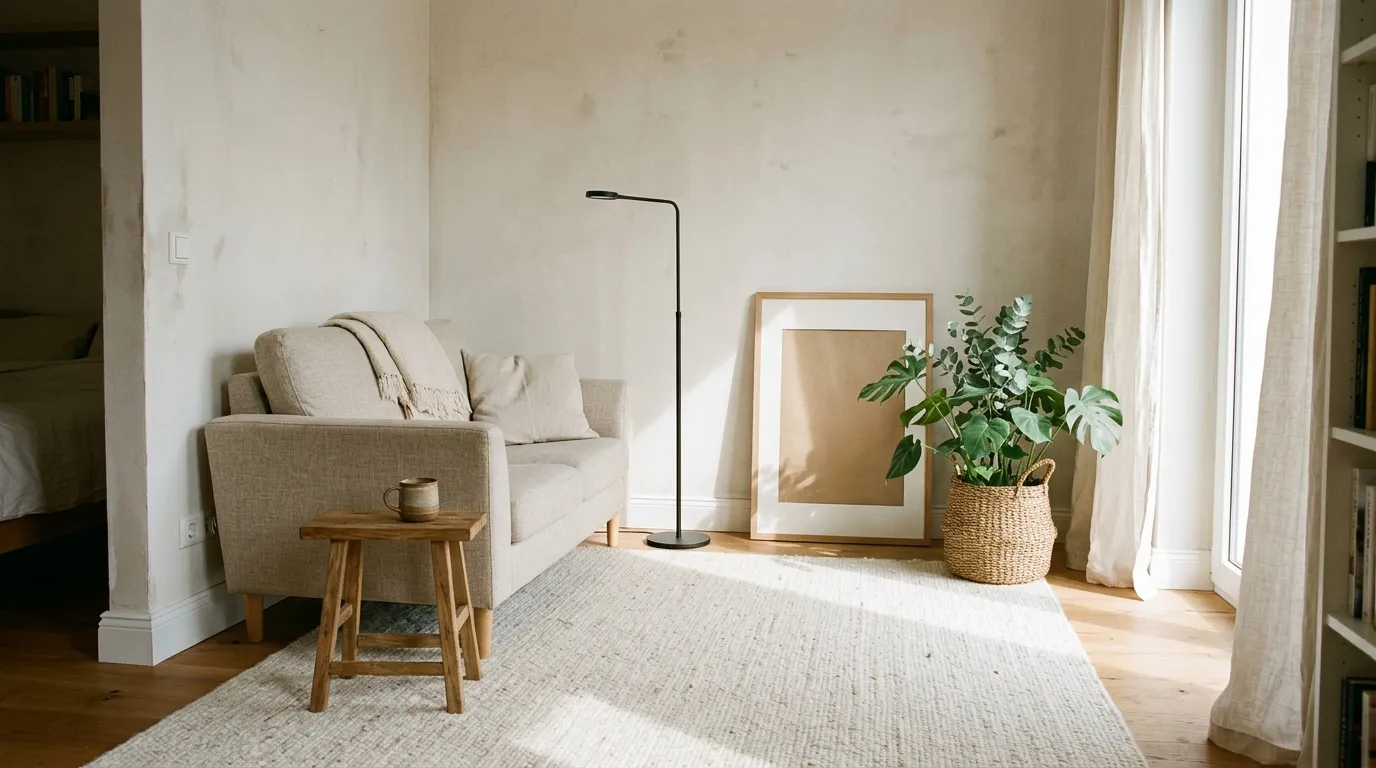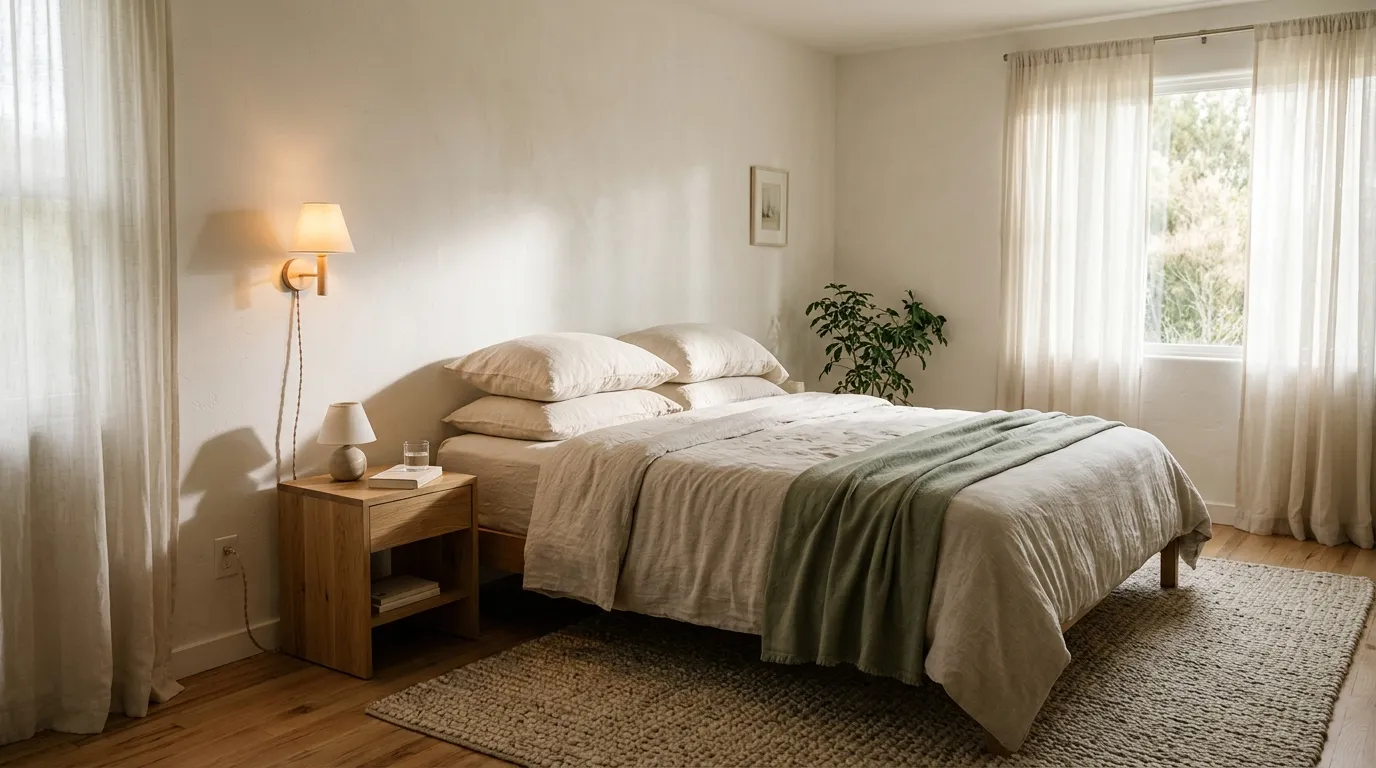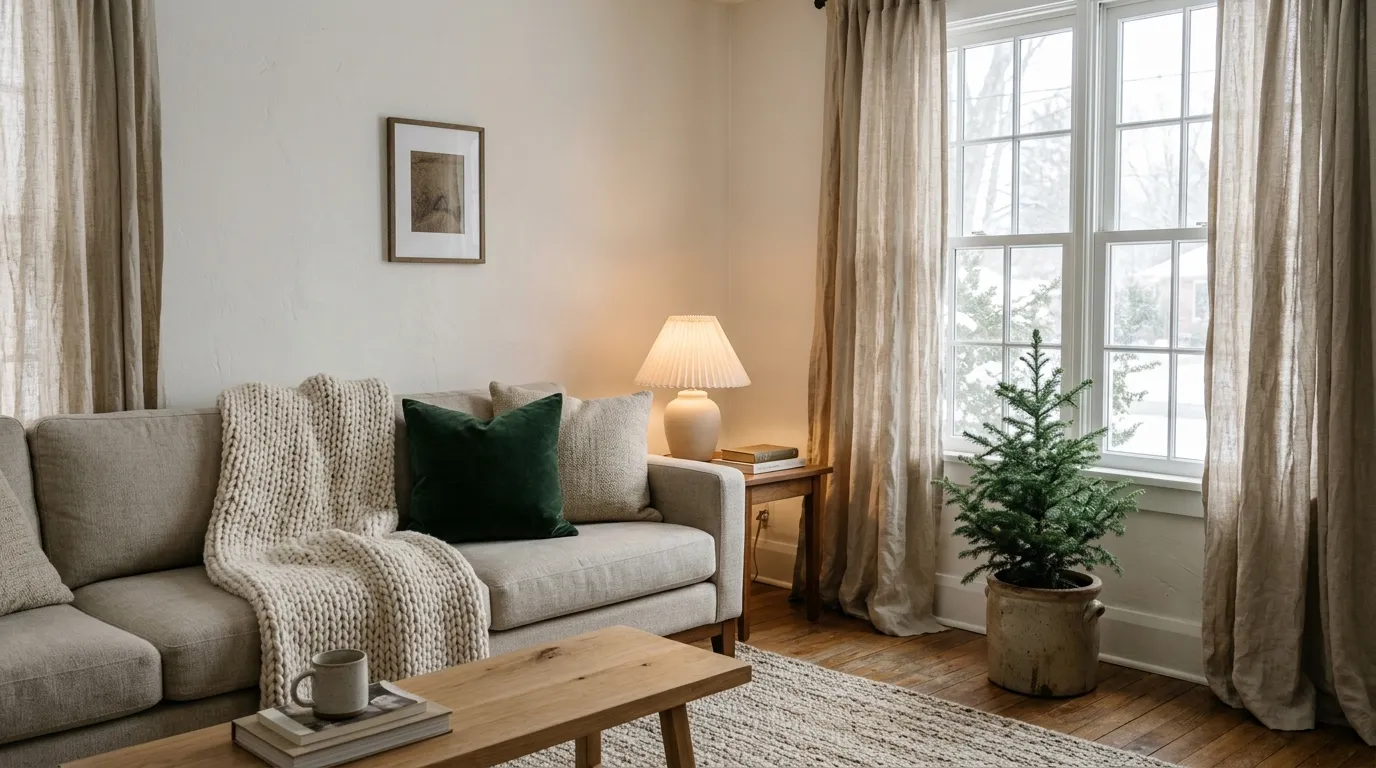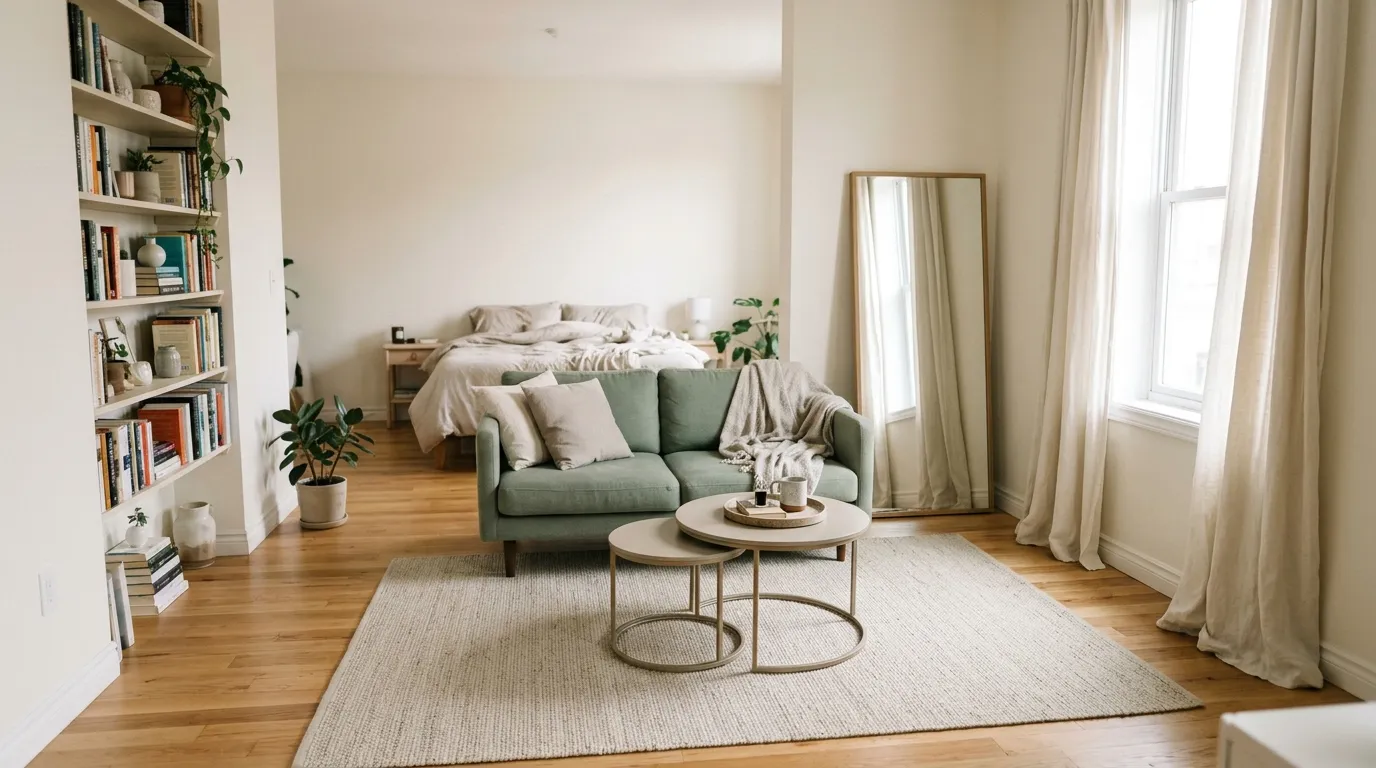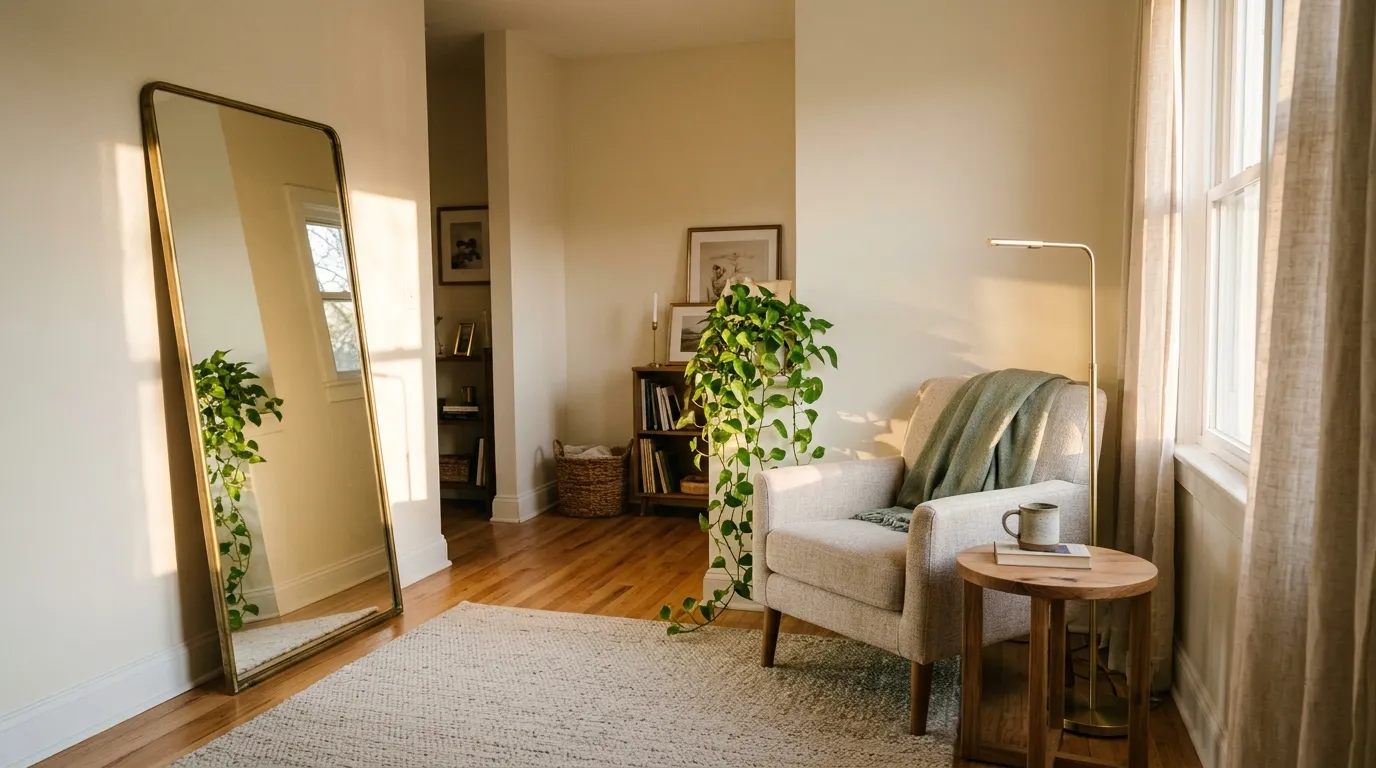

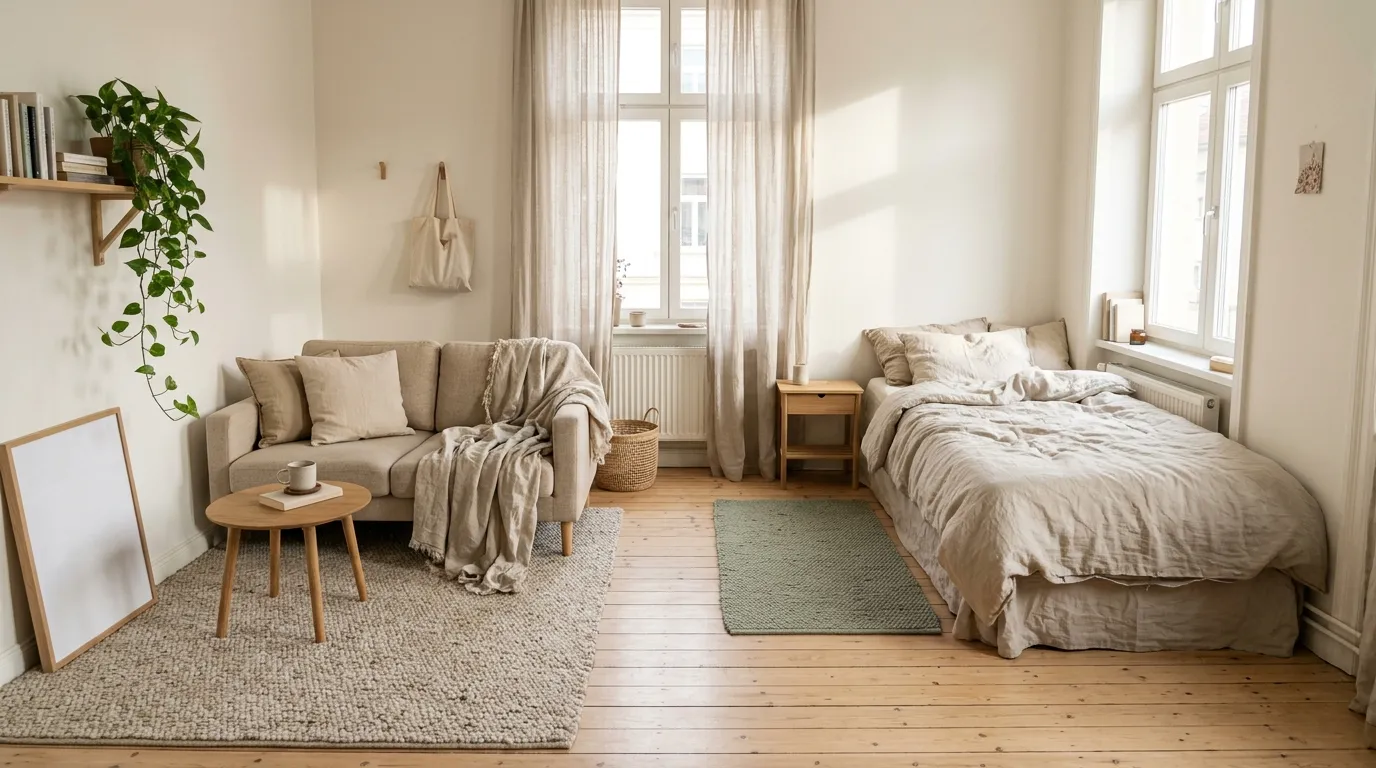
You unroll a new rug in your studio and it looks fine on its own, then the sofa, the bed, and the desk all end up on different sides of it. Planning a studio apartment rug layout is harder than choosing a rug for a living room, because one floor has to handle sitting, sleeping, and working.
What you need is a plan before you buy: how many rugs, how big, and where each one sits. That plan keeps the room feeling organized instead of cluttered.
I like to work in order, from mapping the floor to testing with tape, so here are 7 steps I’d follow.
Before You Start: Materials and Time
- Time: about 1 hour to map and measure, plus shopping time
- Difficulty: easy
- Budget level: budget-friendly
- Renter-friendly: yes
What You’ll Need
- Tape measure
- Painter’s tape
- Paper and pencil
- Rug pad
1. Map Your Studio Zones
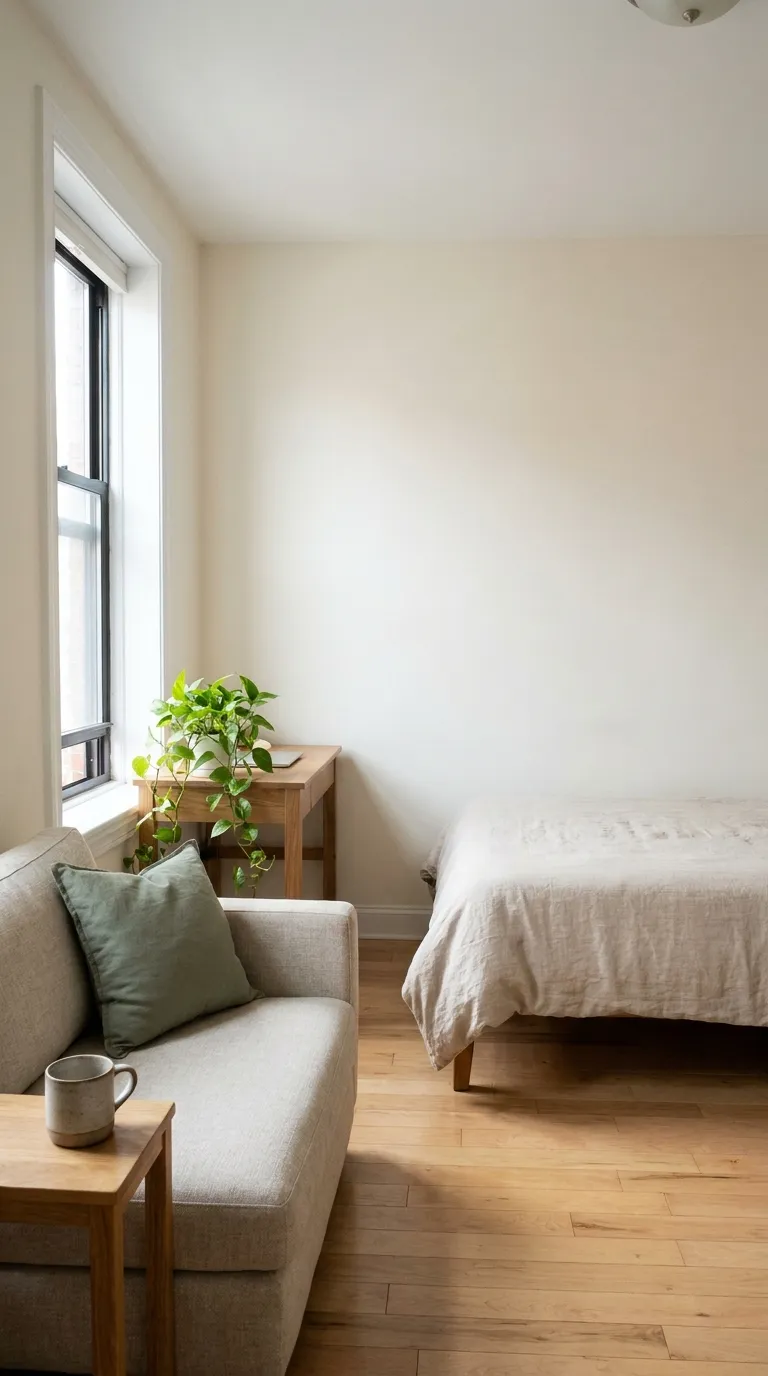
A studio floor does several jobs at once, so one rug rarely covers all of them. Naming each job first tells you how many rugs you need and where each one belongs.
Before you shop, sketch your current furniture layout on paper, even roughly, and label every area by what happens there. Skipping this step is how people end up with a rug that fits the room but not the way they live in it.
How to Do It
- Measure the full floor, wall to wall, in feet and inches.
- Draw a simple box and add the bed, sofa, desk, and table to scale.
- Label each area: sleep, sit, work, or eat.
- Circle the spots where your feet land every day, like beside the bed.
- Note which areas sit close together and which have a clear gap.
Why It Works
Seeing the zones on paper shows where one large rug makes sense and where two smaller ones would work better. It also keeps you from buying for an empty room instead of the furnished one you live in.
Common Mistakes to Avoid
- Measuring only the open floor and ignoring furniture
- Forgetting where doors and closet doors swing
- Counting a walkway as part of a zone
A Simple Rule to Remember
Count your zones before you count rugs.
2. Pick One Anchor Zone
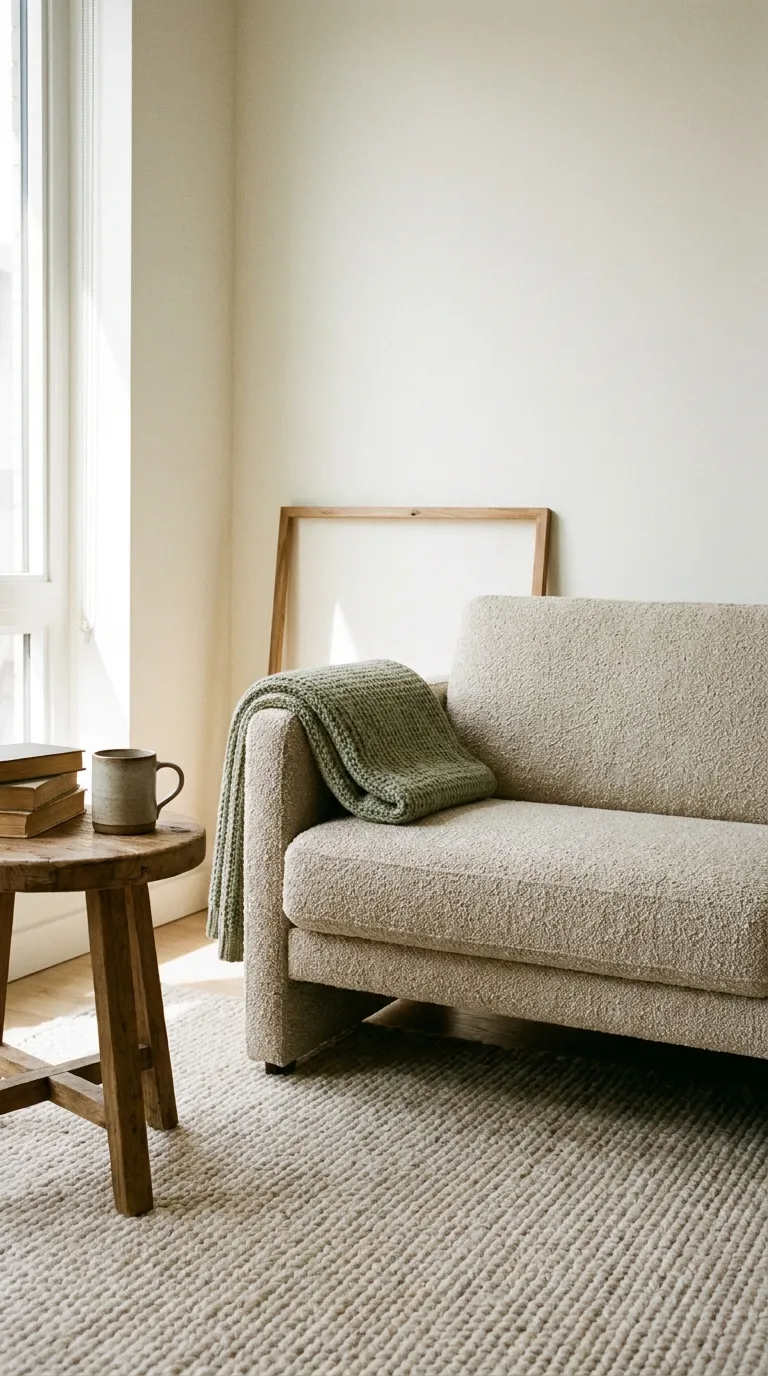
In a studio, one zone almost always gets the most use, and that zone deserves the biggest rug. It is usually the spot where you sit, since that is where your feet land most often.
Choosing an anchor gives the whole room a visual center. Everything else becomes a supporting piece, so the floor reads as a plan instead of a patchwork. The trade-off is that your smaller zones get less floor coverage, so they may need a mat or a runner instead of a full rug.
How to Do It
- Look at your sketch and pick the zone you use most.
- Find the largest piece of furniture in that zone.
- Draw that piece first and build the zone around it.
- Mark the zone’s outer edges with a pencil line.
- Decide which other zones need a rug at all.
Why It Works
A single anchor tells the eye where the room starts, which keeps a one-room home from feeling split into pieces. It also means your budget goes to the rug you will see and use most.
Common Mistakes to Avoid
- Giving every zone a rug of equal weight
- Picking the anchor by looks instead of daily use
- Anchoring on a spot that is also your main walkway
A Simple Rule to Remember
Choose the anchor by use, not by looks.
3. Choose the Right Rug Size
The big question is what size rug will cover your anchor zone without swallowing the floor around it. A rug that is too small looks like a doormat in the middle of the room, and one that is too large leaves no bare floor to rest the eye.
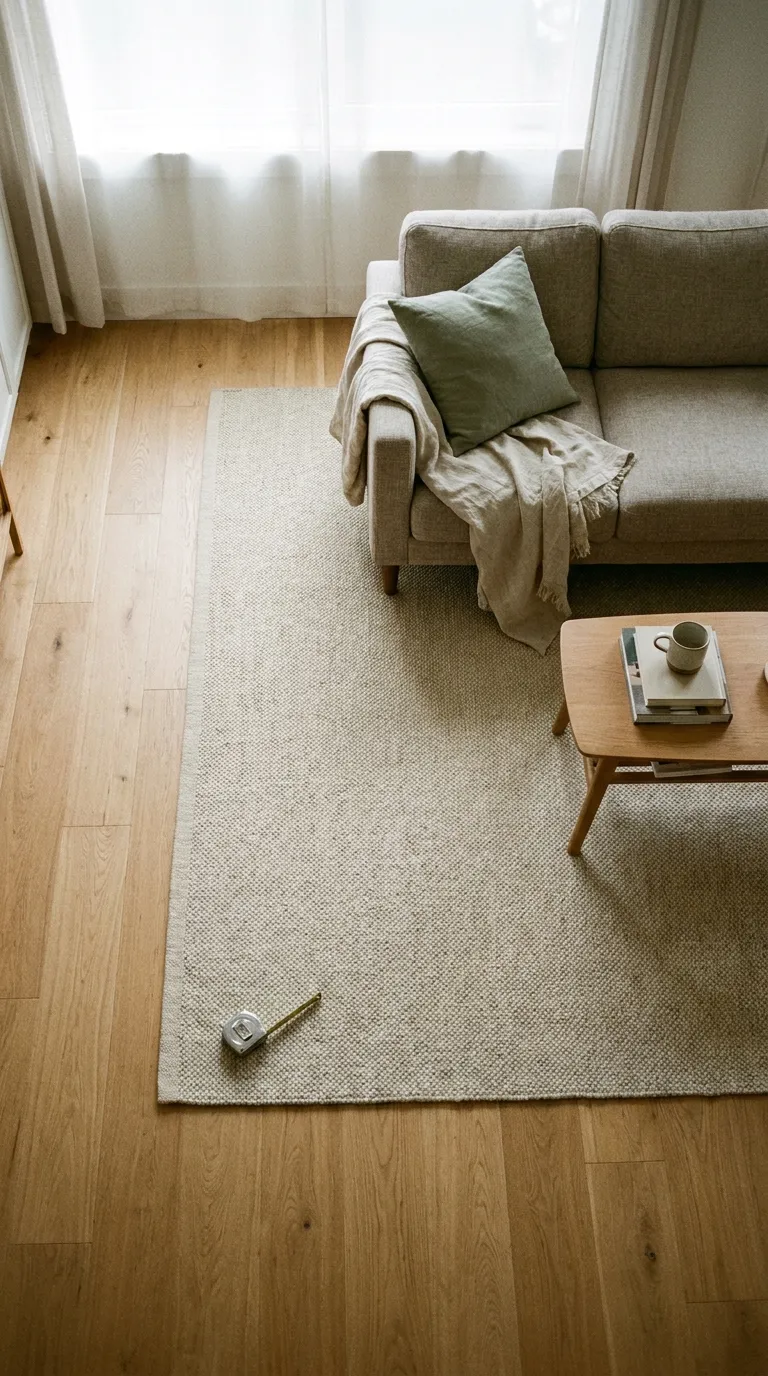
Measure the zone, not the whole room. In a studio, the rug belongs under the furniture group, not wall to wall. The trade-off is that a bigger rug is harder to move and can crowd the bed zone.
How to Do It
- Measure the length and width of your anchor zone in feet.
- Pick a rug that covers the main seating group, not the whole room.
- Check that the rug leaves about 18 inches of bare floor to the walls.
- Check that doors and drawers still clear the rug’s edge.
Here is how three common rugs tend to behave in a studio.
| Rug | Best for | Trade-off |
|---|---|---|
| 5×8 ft | Small sofa corner | Only front legs fit on it |
| 6×9 ft | Many studio sofa zones | Needs a clear border around it |
| 8×10 ft | Large open studio areas | Can crowd the bed zone |
Why It Works
A rug that covers the seating group ties the furniture together, and the bare border keeps the floor from feeling crowded. Sizing by the zone instead of the room also leaves space for your other areas.
Common Mistakes to Avoid
- Measuring the whole room instead of the zone
- Choosing a rug that stops short of the sofa
- Forgetting door and drawer clearance
A Simple Rule to Remember
Leave about 18 inches of bare floor between the rug and the walls.
Type in your room’s length and width in feet to check a standard rug for your living area.
4. Decide How Furniture Sits
Once the rug is chosen, decide where the furniture sits on it. This step changes how big the room feels more than most people expect.
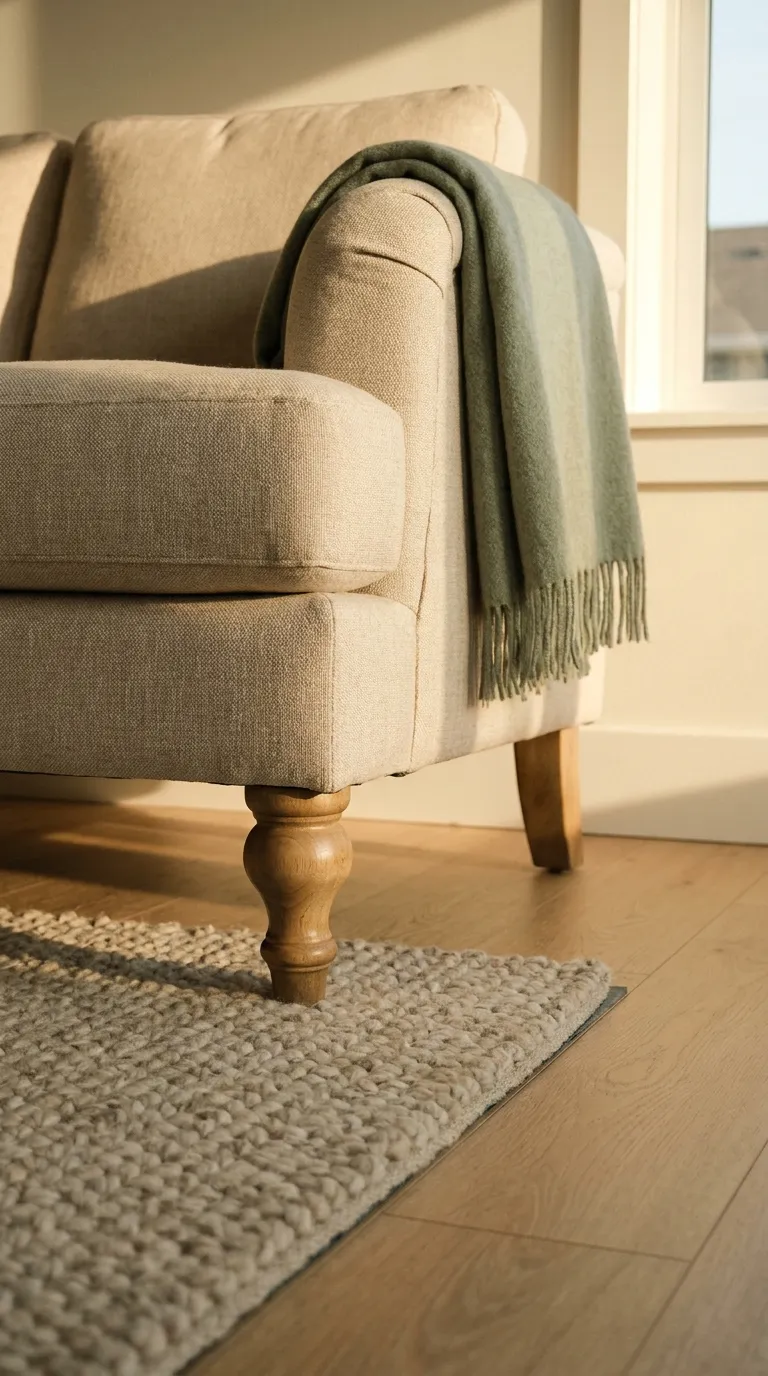
There are three options: all legs on the rug, only the front legs on, or all legs off. In a small studio, front legs on is the safest choice, because it links the furniture to the rug without using up extra floor. The trade-off is that the back legs sit on bare floor, so a rug pad helps keep things steady.
How to Do It
- Place your sofa or main seat on the sketch of your anchor zone.
- Choose a style: all legs on, front legs on, or all legs off.
- In a small studio, rest at least the front legs of every seat on the rug.
- Let the rug extend a little past each side of the sofa.
- Keep a clear walkway of roughly 30 inches around the zone.
Why It Works
When the front legs sit on the rug, the sofa and the rug read as one group instead of two separate objects. The room feels more connected, and your walkway stays open.
Common Mistakes to Avoid
- Floating the rug in the middle with every leg off it
- Resting legs right on the rug’s edge so the furniture wobbles
- Pushing the rug so far under the sofa that it disappears
A Simple Rule to Remember
Put at least the front legs of your main seat on the rug.
Try it: choose a furniture spot and see which legs land on the rug and which stay on bare floor.
5. Zone Sleeping and Living
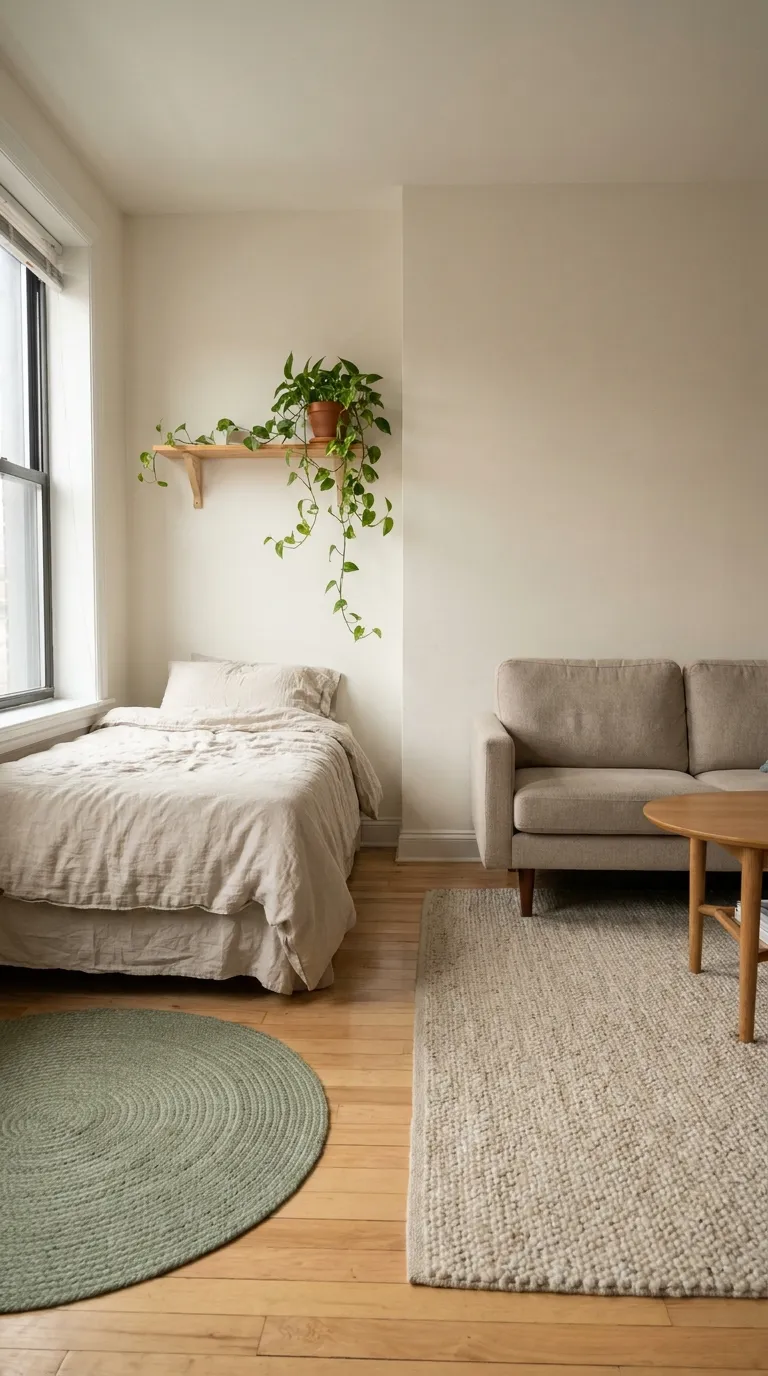
When the bed and the sofa share one room, a second rug can mark the sleeping area and keep it from blending into the living area. It also gives you something soft to step on first thing in the morning.
Start with the bed, then match the second rug to your anchor. Slide a rug under the bottom two-thirds of the bed and leave the headboard end bare. The trade-off is extra planning: if the bed and sofa sit only a few feet apart, one larger rug may work better than two.
How to Do It
- Place the bed on your sketch and mark where each side sits.
- Slide the rug under the bottom two-thirds of the bed, headboard end bare.
- Let the rug extend at least 18 inches past each side so your feet land on it.
- Choose a second rug in a similar tone but a different pattern or shape.
- Leave bare floor between the two rugs so their edges never overlap.
Why It Works
Two rugs give each zone its own boundary, so the room feels organized even without walls. Keeping the colors in one family stops the floor from feeling busy.
Common Mistakes to Avoid
- Placing a rug only under a bedside table
- Matching two rugs so closely that they look like a mistake
- Letting the edges of two rugs touch or overlap
A Simple Rule to Remember
Two zones, two rugs, one shared color family.
6. Match Pile, Shape, and Color
Once the sizes and positions work, the details decide whether the rugs feel right. Pile height, shape, and color all affect how the floor looks and how it behaves day to day.
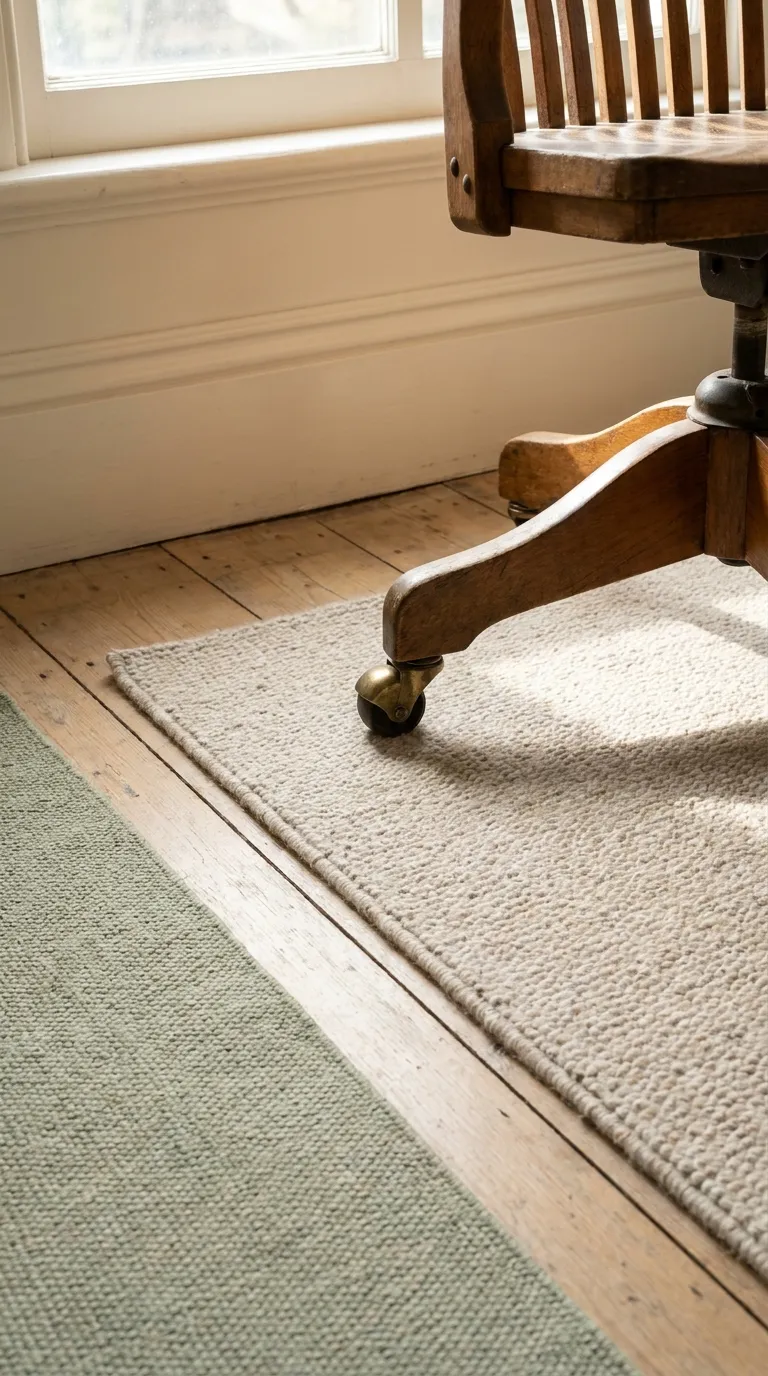
Choose a low pile or flat weave anywhere a chair rolls or a door swings, since thick pile catches wheels and edges. The trade-off is that low pile is less plush underfoot, so reserve softer texture for the bed zone, where you step barefoot.
How to Do It
- Pick low pile or flat weave for areas with a rolling chair or a door.
- Choose a shape that echoes the zone: a rectangle for the sofa, a round rug for a corner chair.
- Pull one or two colors from your walls or bedding.
- Add a rug pad and follow its label for your floor type.
- Check that each rug lies flat before you commit.
Why It Works
A calm, matching palette ties separate zones into one look, and a pad keeps rugs flat and in place. Choosing pile by use means your rugs stay easy to live with.
Common Mistakes to Avoid
- Putting high pile under a rolling desk chair
- Using a busy pattern on both rugs
- Skipping the rug pad
A Simple Rule to Remember
Keep one rug calm and let the other carry the pattern.
7. Test the Layout With Tape
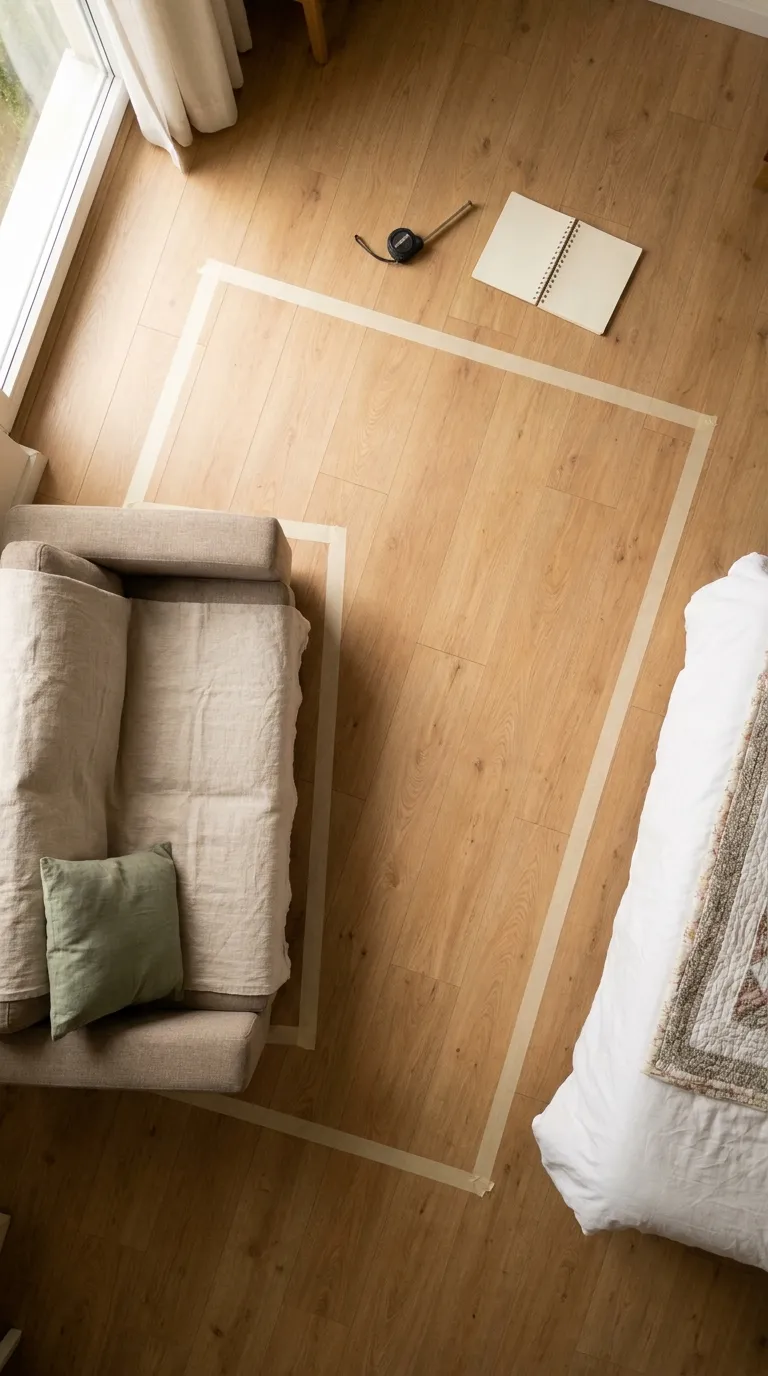
Before you buy anything, mark each rug on the floor with painter’s tape. It takes a few minutes and shows problems that a sketch can’t, like a door that clips the edge or a walkway that feels tight.
Live with the tape for a day or two before you commit. The trade-off is a little visual clutter while you test, but it costs far less than returning a rug that doesn’t fit.
How to Do It
- Outline each rug on the floor with tape at its planned length and width.
- Test a small hidden spot first, and follow the tape’s label for your floor type.
- Put your furniture in place and check which legs fall inside the outline.
- Walk from the door to the bed, the sofa, and the desk.
- Adjust the tape until the route feels easy, then buy.
Why It Works
The tape shows you the real footprint in your real light, with your real furniture. You catch problems while they are still free to fix.
Common Mistakes to Avoid
- Judging the outline only from the doorway
- Skipping the walk-through
- Leaving tape down for weeks on a delicate floor
A Simple Rule to Remember
Tape it, walk it, then buy it.
Quick Step Cheat Sheet
Here is every step at a glance, so you can check your plan before you shop.
| Step | Why It Works | Quick Fix |
|---|---|---|
| 1. Map your zones | Shows how many rugs you need | Sketch the floor and label each area |
| 2. Pick an anchor | Gives the room one visual center | Choose the zone you use most |
| 3. Choose the right rug | Ties the seating group together | Leave about 18 inches to walls |
| 4. Place furniture | Links furniture and rug into one group | Put front legs on the rug |
| 5. Zone sleeping and living | Gives each area its own boundary | Use two rugs in one color family |
| 6. Match pile and color | Keeps rugs easy to live with | Use low pile where chairs roll |
| 7. Test with tape | Shows problems before you buy | Walk the taped outline for a day |
The Principles Behind These Steps
Measure Twice, Buy Once
A rug is easy to order and annoying to return, so confirm every measurement before you pay. Measure the zone, then measure again with the furniture in place.
Start With the Biggest Piece
The largest item in a zone decides everything around it. Place the sofa or the bed first, then fit the rug and the smaller pieces to it.
Leave Breathing Room at the Edges
Bare floor around a rug makes a small room feel wider. About 18 inches to the walls and a walkway of roughly 30 inches keep the studio from feeling packed.
Test in Tape Before You Commit
Tape is the cheapest way to try an idea. If the outline feels wrong with tape, it will feel wrong in wool.
Common Studio Apartment Rug Layout Mistakes Worth Skipping
Buying a Rug That Is Too Small
A rug that stops short of the sofa looks like it was dropped there. Fix: measure the zone and get a rug that reaches at least the front legs of every seat.
Blocking the Walkway With Edges
Rug edges that sit right in the path from the door catch toes and corners. Fix: keep about 30 inches of clear floor along the routes you use every day.
Letting Two Rugs Compete
Two loud patterns side by side make the floor feel busy. Fix: keep one rug calm and one patterned, in the same color family.
Choosing a Pile That Fights the Furniture
Thick pile under a rolling chair or a swinging door gets stuck and wears fast. Fix: use low pile or flat weave in those spots and save the plush rug for the bed zone.
Final Tips for Success
Keep Walkways Clear
Walk the route from the door to the bed, the sofa, and the desk after you place each rug. If you have to step around an edge, move the rug.
Basics Worth Owning
- Tape measure
- Painter’s tape
- Rug pad
- Paper and pencil
Recheck When You Move Furniture
Your plan can change when a chair or a bookcase moves. Measure again before you move a rug or buy a new one.
Conclusion
A good studio apartment rug layout starts with a plan, not a purchase. Map the zones, pick one anchor, size the rug to the furniture group, and decide where each piece sits.
Then add a second rug for the bed if the floor allows it, match pile and color to how you use each spot, and test everything with tape.
Do those steps in order and the studio feels organized instead of crowded, even with one room doing every job.
Save this guide for the next time you rearrange the room.