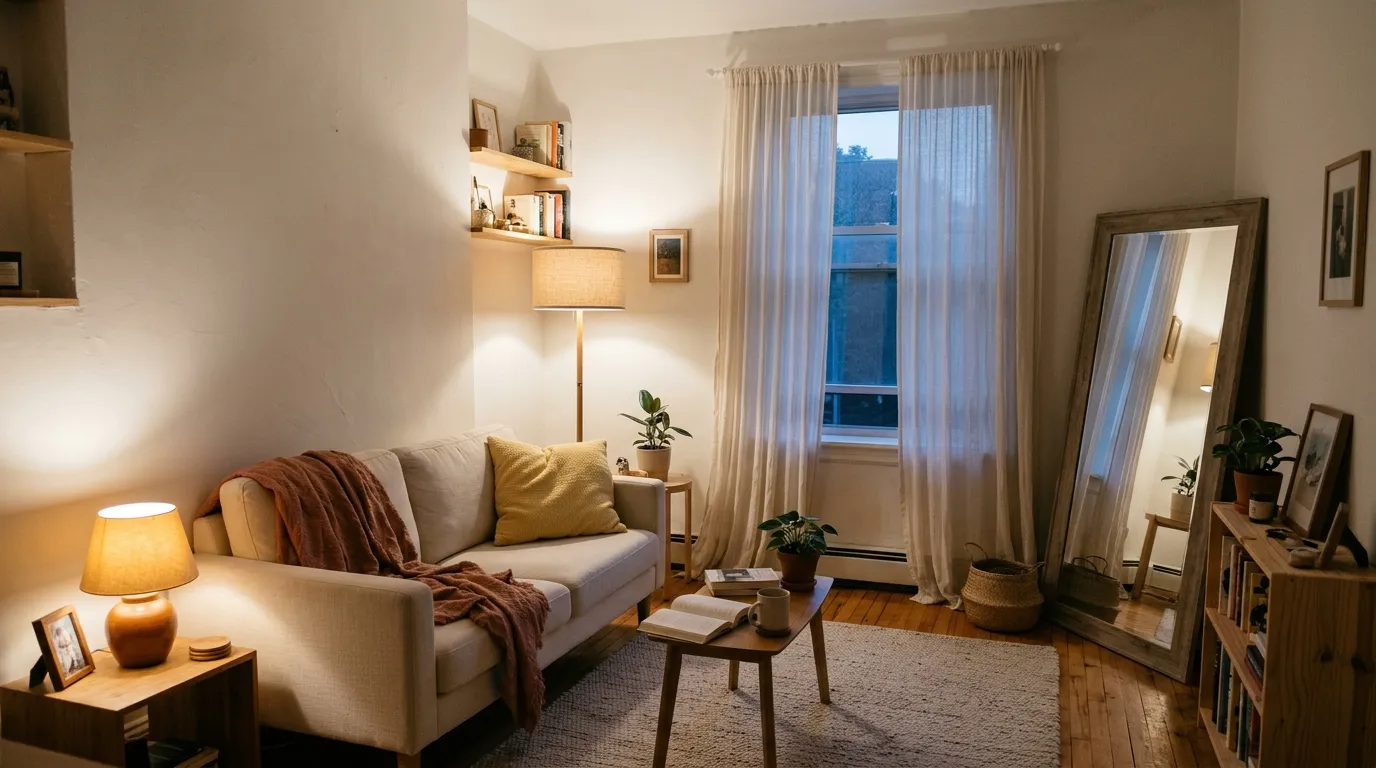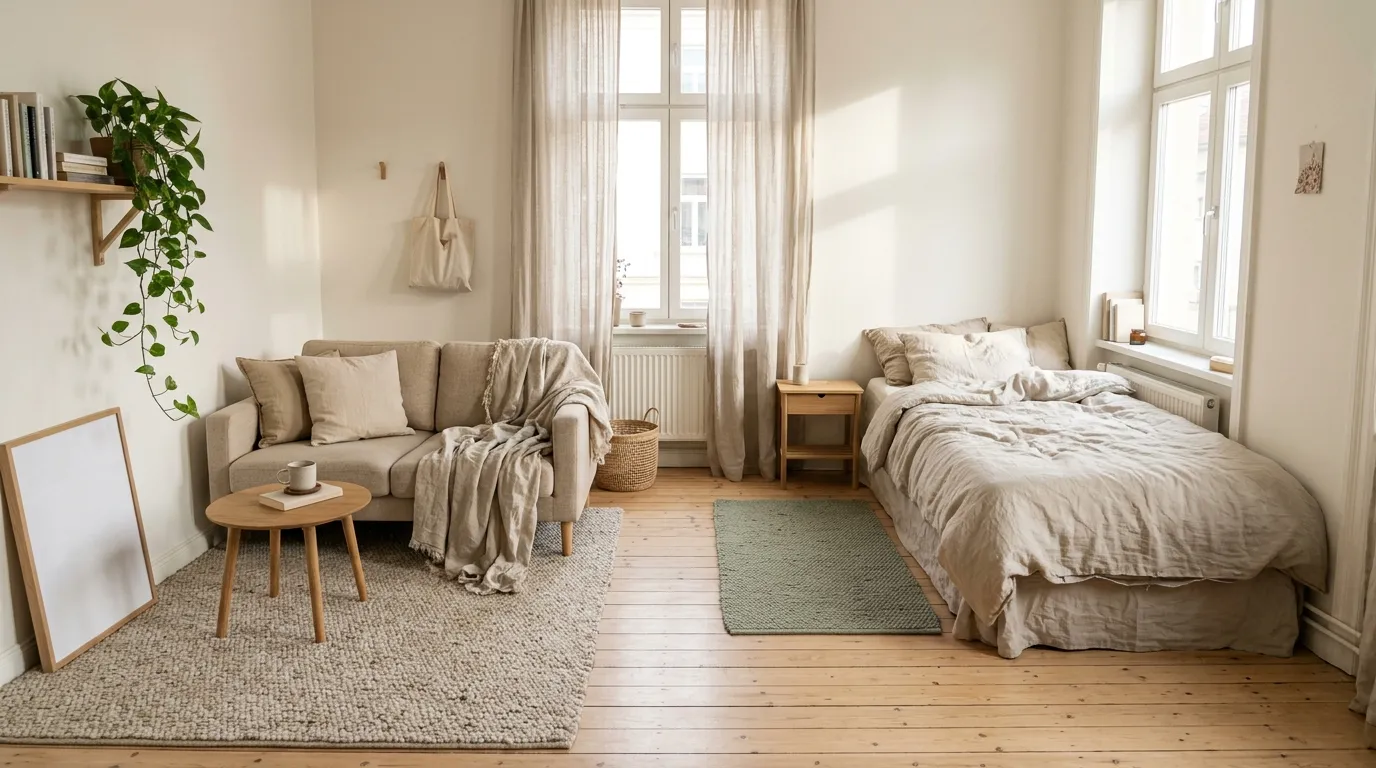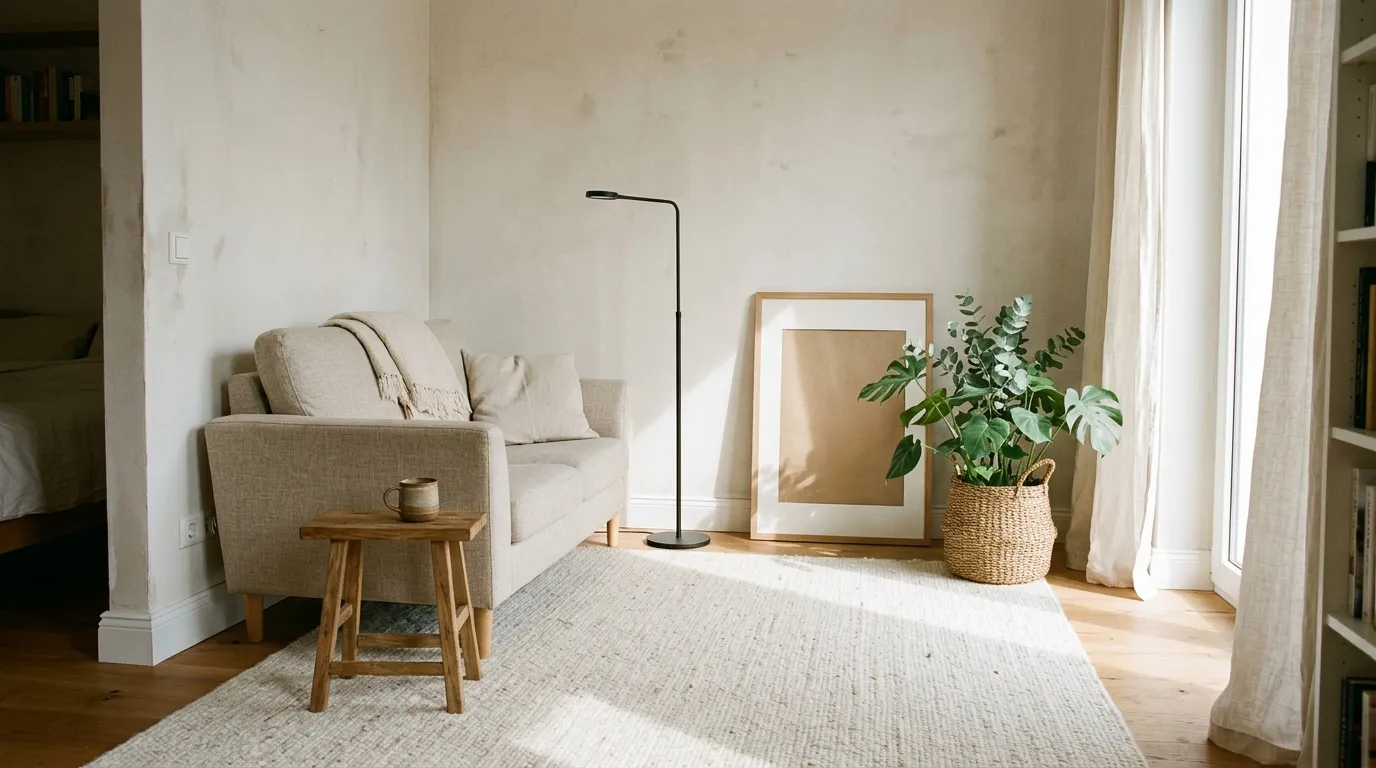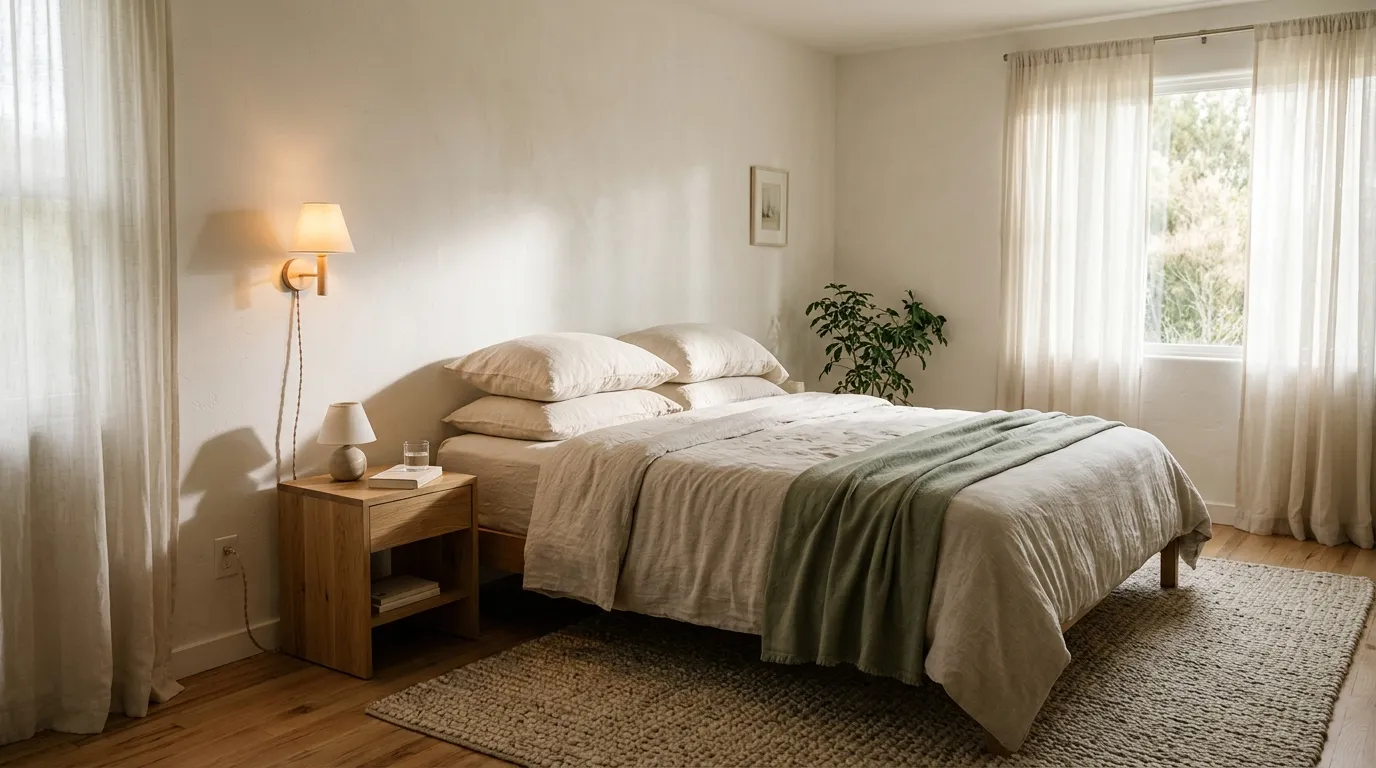

You walk in after a long day, drop your keys, and realize you can see your bed, your desk, and your stove from the same spot. When everything shares one room, it all blends together, and the question of how to divide a studio apartment starts to feel urgent.
What you need is not more walls. You need a clear spot for sleeping, working, eating, and relaxing, built from pieces you can move if your lease or your plans change.
I’d start with a tape measure and a pencil, then work through eight steps, one zone at a time.
Before You Start: Materials and Time
- Time: about 2 to 3 hours of planning, plus time to move furniture
- Difficulty: easy
- Budget level: budget-friendly
- Renter-friendly: yes
What You’ll Need:
- Tape measure
- Graph paper and a pencil
- Painter’s tape
- Scissors
- An area rug
- An open bookcase or low shelf
- A folding screen or a tension rod with a curtain
- Plug-in lamps
1. Measure Your Studio First
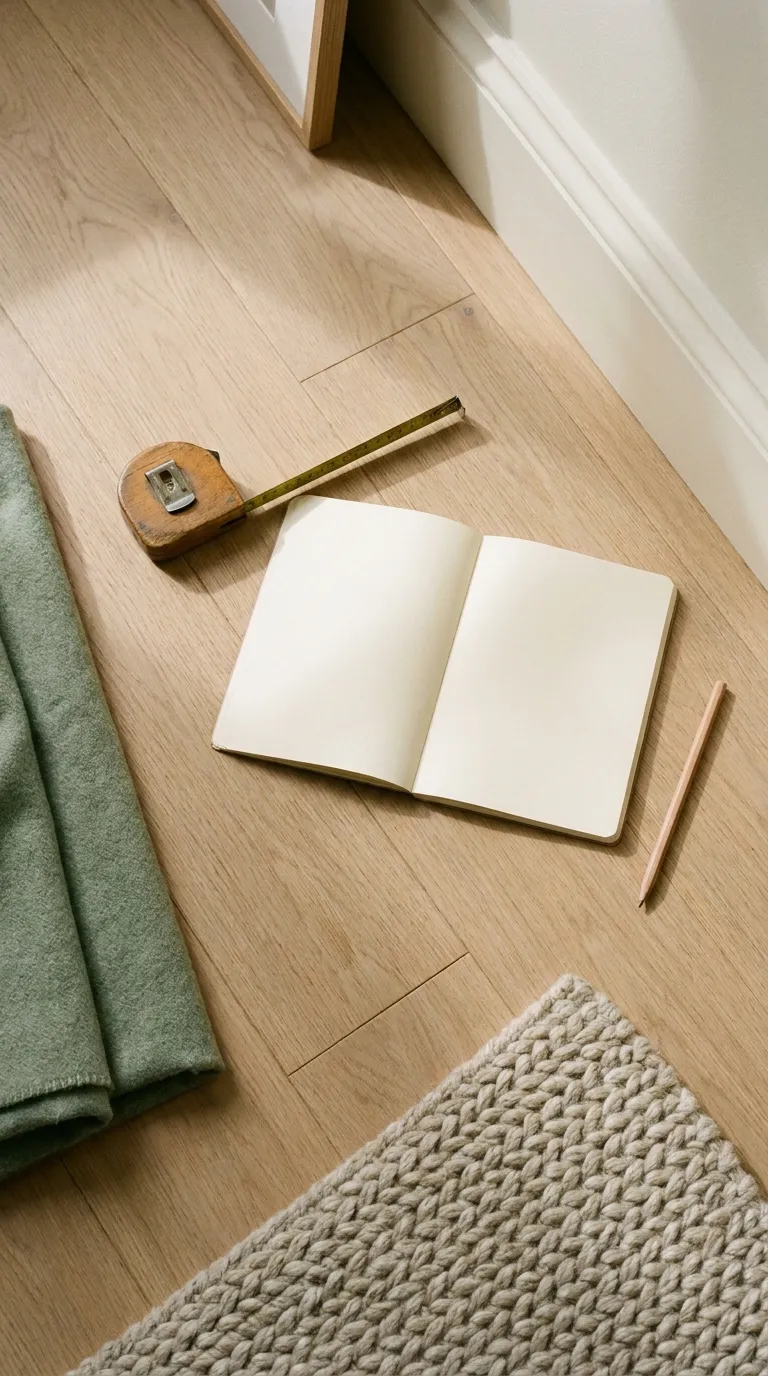
Every zone you create depends on real numbers. Guessing is how a sofa ends up blocking the door or a desk lands too close to the bed. A few minutes with a tape measure now saves you from moving heavy furniture twice.
Treat this step as collecting facts, not making decisions. You are only noting what the room already gives you: where the light comes in, where you walk, and where the outlets are.
How to Do It
- Measure the length and width of the room, then write both numbers down.
- Measure each wall that could hold furniture, skipping the space taken up by doors and windows.
- Mark the position of the windows, the front door, the closet doors, and every outlet.
- Note where the light falls in the morning and in the evening.
- Trace the main walking path from the door to the bed, the kitchen, and the bathroom.
Why It Works
Knowing the fixed points shows you which corners are usable and which paths must stay open. It turns one big blur of a room into a set of real options.
Common Mistakes to Avoid
- Forgetting outlet positions until a lamp cord falls short
- Skipping the walkway from the door to the bed
- Trusting memory instead of writing the numbers down
A Simple Rule to Remember
Measure twice, write it down, then move anything.
2. List What You Do Here
A studio has to do the work of several rooms. Before you place anything, decide which jobs the space really needs to handle every day. Otherwise you end up guarding a corner for an activity you never do.
Most people living alone need five basics: sleeping, working or studying, eating, relaxing, and storing things. Yours might be four, or six, and that is fine.
How to Do It
- Write down everything you do at home in a normal week.
- Group those tasks into sleeping, working, eating, relaxing, and storage.
- Circle the two zones you use the most.
- Cross out any zone you rarely use, or fold it into another one.
Why It Works
Ranking your zones by how often you use them tells you which ones deserve the best spots. The busiest zones get the best light and the clearest floor, and the rest fit around them.
Common Mistakes to Avoid
- Copying a setup built for someone else’s routine
- Giving every activity its own full zone
- Forgetting storage until the room is already full
A Simple Rule to Remember
Give the best light to the zone you use the most.
3. Sketch Your Zones to Scale
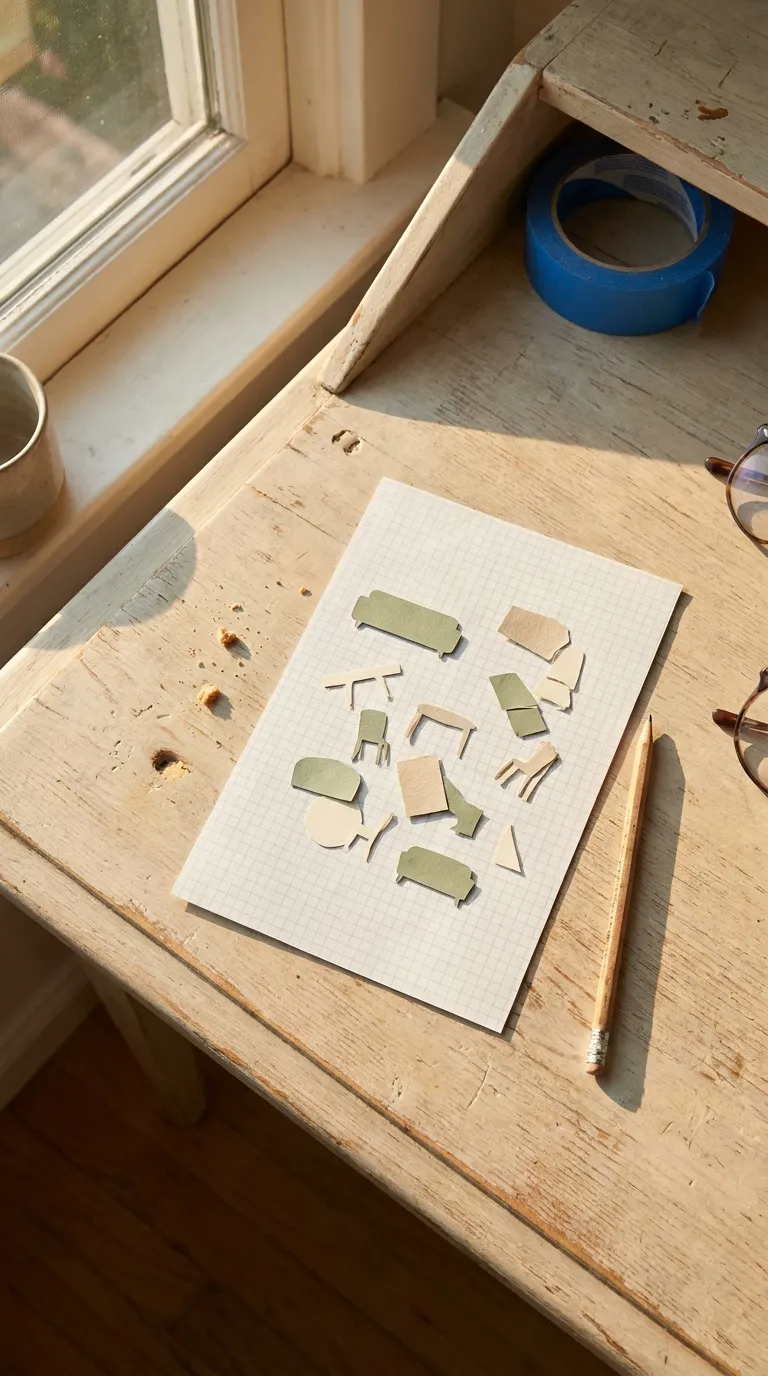
Now put your numbers on paper. A rough floor plan drawn to scale lets you test ideas in minutes instead of dragging a sofa across the room. Graph paper works well, and so does a simple drawing app.
Use one square for every foot, then cut a paper shape for each piece of furniture. You are looking for a spot where each zone has enough room and no zone steals the walking path.
How to Do It
- Draw the room outline on graph paper, using one square for each foot.
- Add the windows, doors, and outlets you marked in step 1.
- Cut a paper shape for each piece of furniture, scaled to match its real size.
- Group the shapes by zone and slide them around until each zone has its own area.
- Keep a clear walking path from the door to the bed and the kitchen.
Why It Works
Paper shapes show you right away when a piece is too big for its zone. When too much furniture covers the floor, the room feels crowded no matter how nicely it is styled.
Enter your room size and the furniture you own to see how much of the floor it covers.
Common Mistakes to Avoid
- Drawing furniture without checking its real measurements
- Filling every wall just because the space is there
- Blocking a door swing or a window
A Simple Rule to Remember
Keep the walking path clear before you place anything else.
4. Define Zones With Rugs
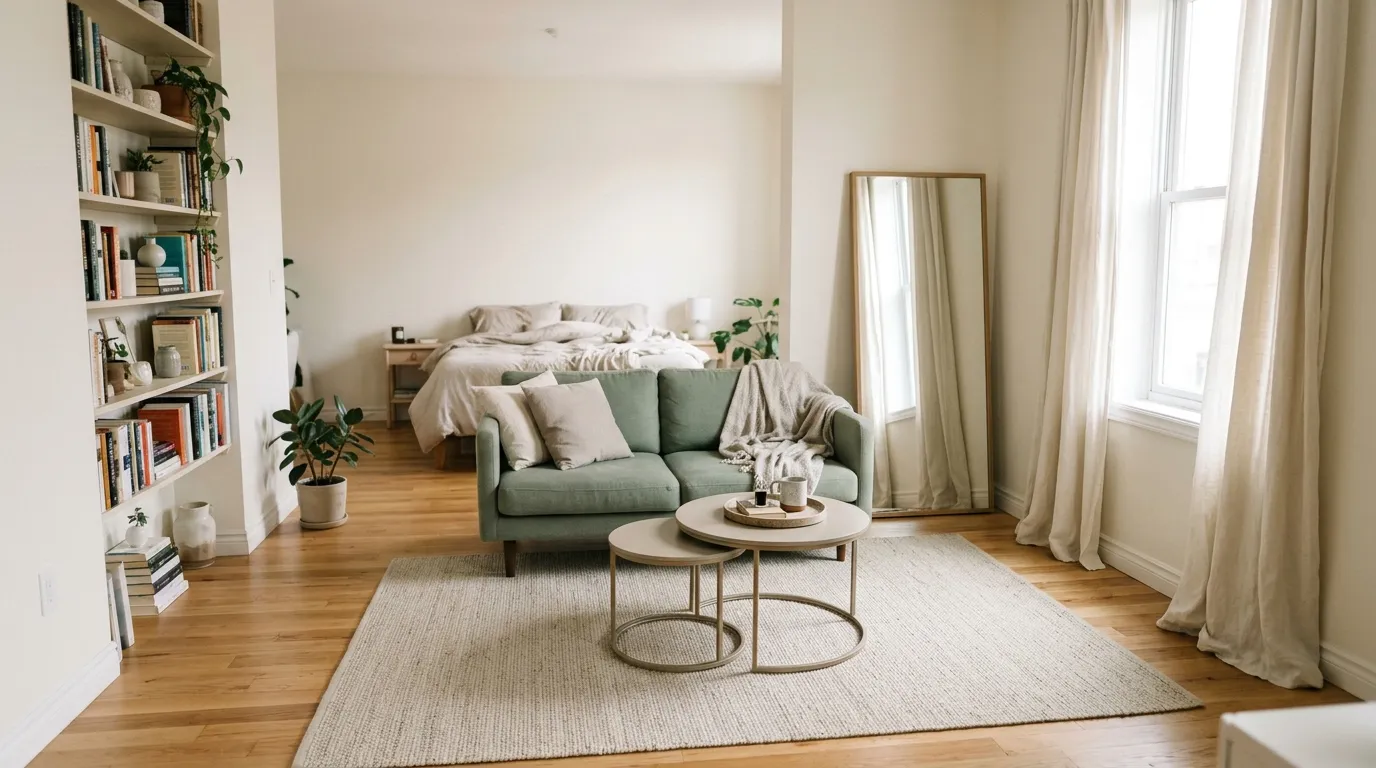
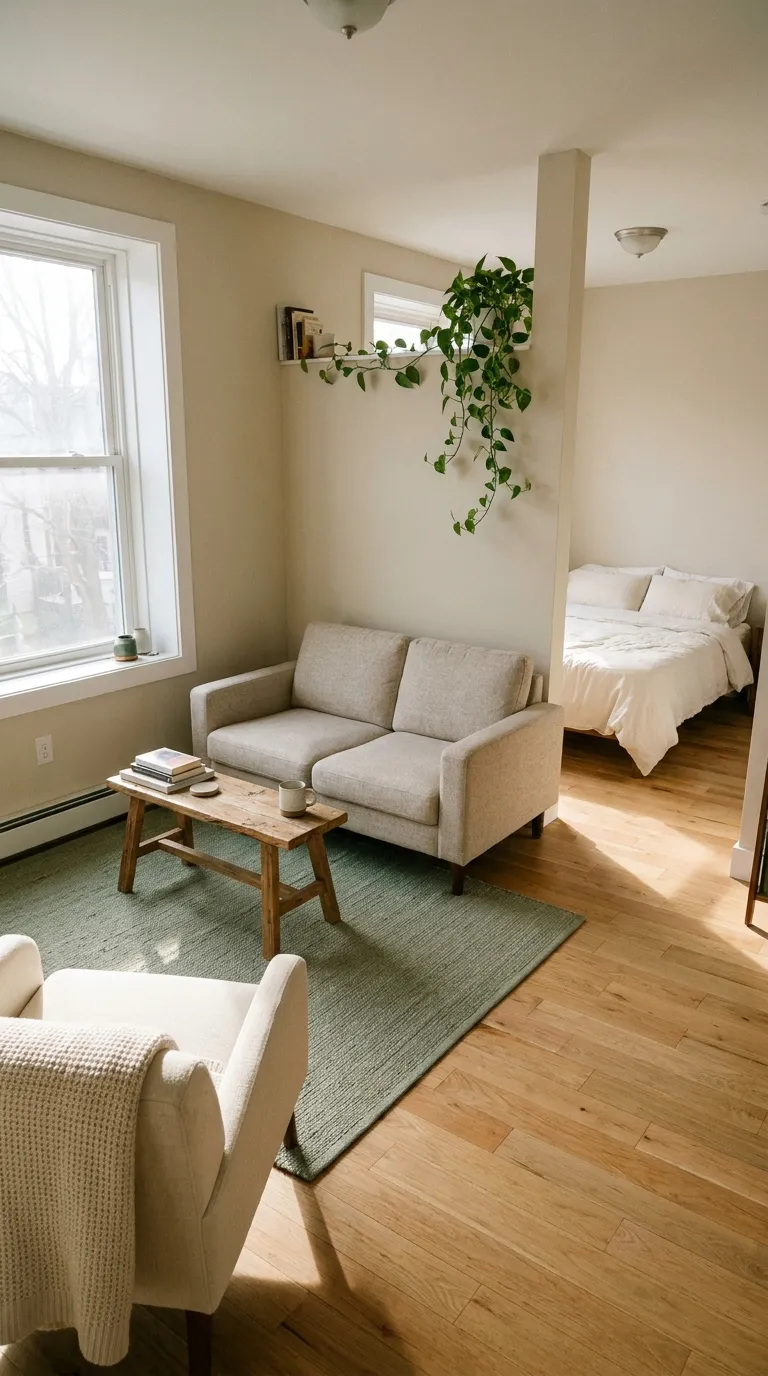
A rug is the easiest divider because it needs no tools and no permission. The edge of a rug draws a line on the floor, and your eye reads everything sitting on it as one zone.
Use one rug per zone only if the room can handle it. In a very small studio, a single rug under the seating area is enough to separate it from the bed.
How to Do It
- Mark each zone on the floor with painter’s tape, using your paper sketch as a guide.
- Pick a rug for the seating zone that is big enough for at least the front legs of the sofa and chair to rest on it.
- Add a second rug for the sleeping or work zone only if the floor has room.
- Keep the rugs in related colors so the studio doesn’t feel patchy.
- Leave a few inches of bare floor between rugs so each zone reads clearly.
- Put a rug grip or pad under each rug so it stays flat, following the product’s instructions.
Why It Works
A rug gives a zone a visible edge without a single screw. It also adds a softer layer underfoot, which helps the seating area feel separate from the bed.
Common Mistakes to Avoid
- Choosing a rug so small that the furniture floats off it
- Overlapping rugs with clashing patterns
- Skipping the grip and creating a trip hazard
A Simple Rule to Remember
Let the rug define the zone, then place the furniture on it.
5. Use Furniture as Dividers
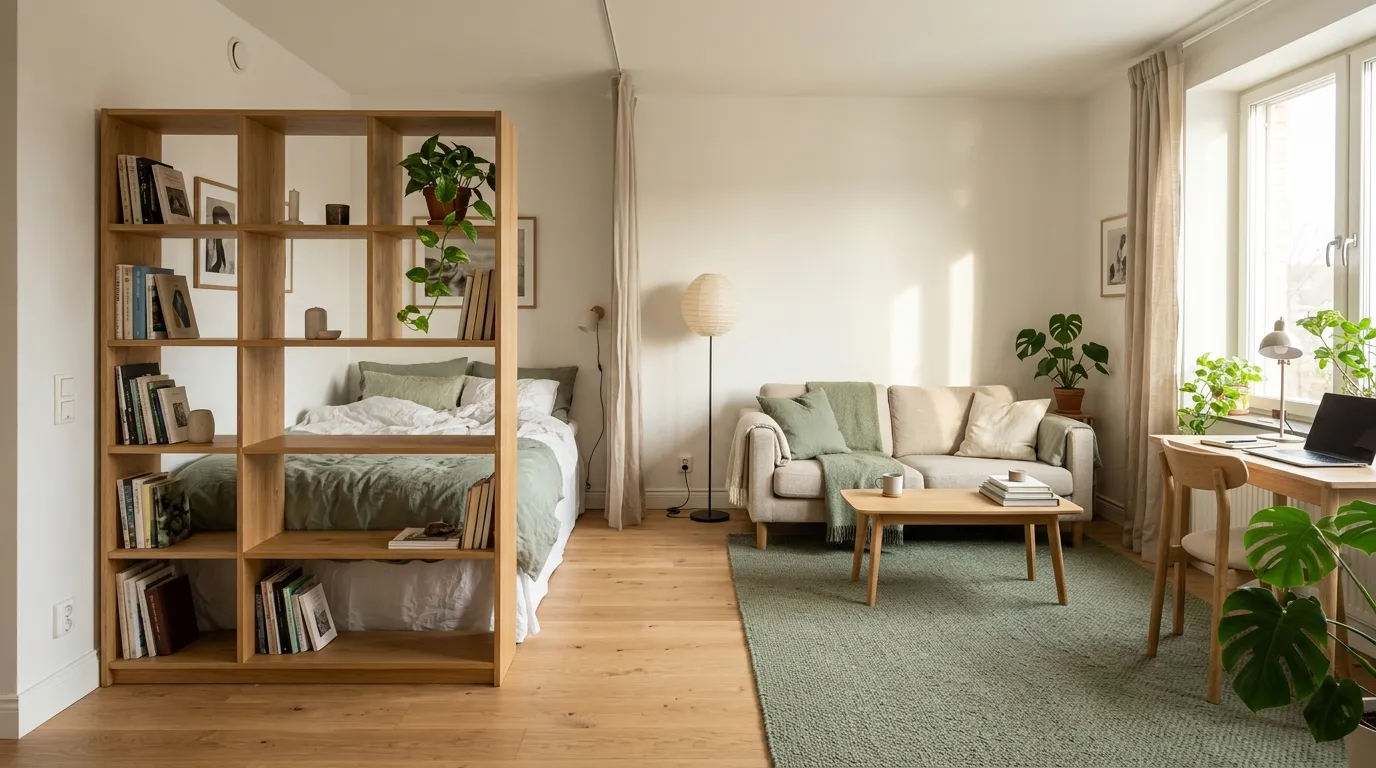
Furniture can do the job of a wall when you place it with a purpose. A low bookcase, the back of a sofa, or a narrow console table creates a boundary and gives you storage at the same time.
The trick is staying low or open so light can pass through. Before you buy a divider, measure your doorway and hallway to check if it fits through them, and still leaves a clear path once it is in place.
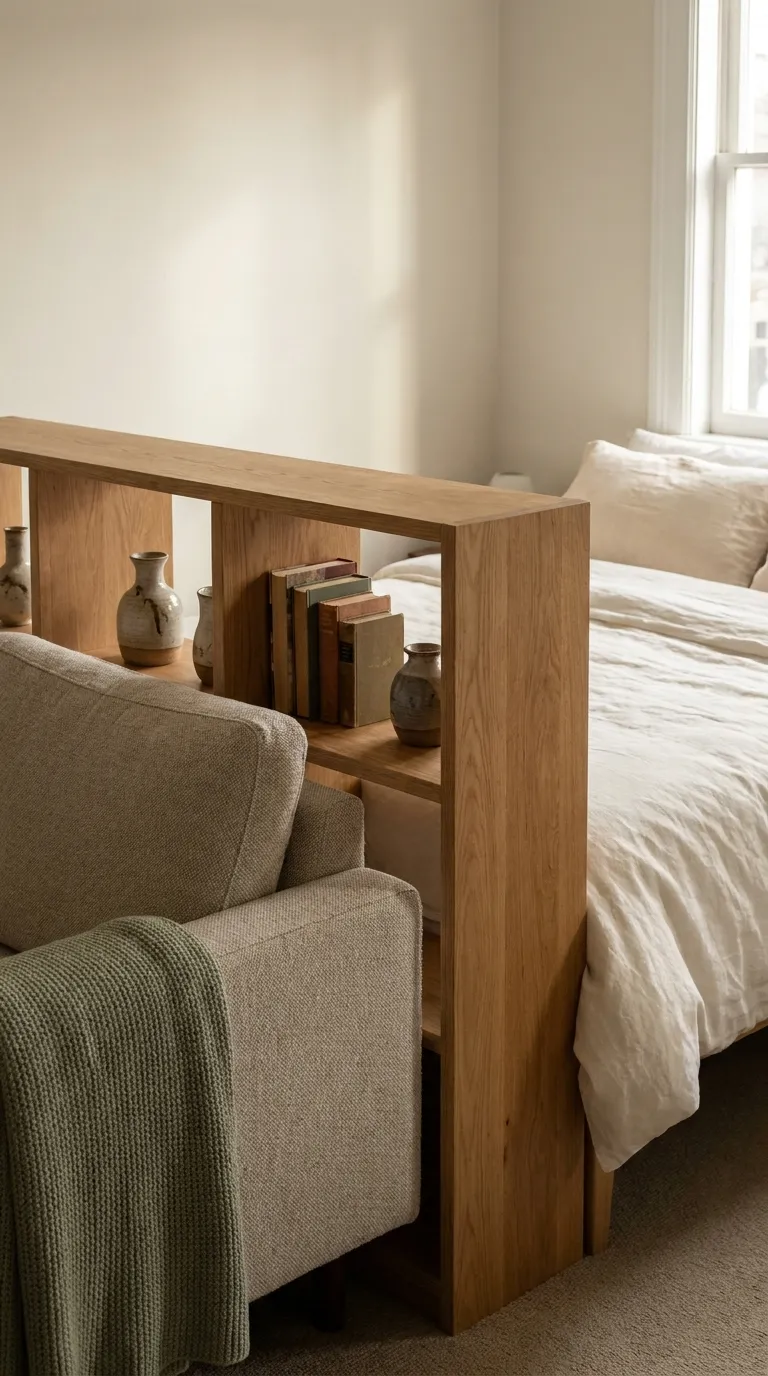
How to Do It
- Pick the boundary you need most, usually the line between the sleeping zone and the rest of the room.
- Choose an open-backed bookcase or a low shelf so light and sight lines pass through.
- Set the back of the sofa toward the bed, or place the bookcase between the two zones.
- Fill the shelves only partway and leave gaps so the divider stays light.
- Add a narrow console behind the sofa for storage and a surface for a lamp.
- Secure any tall shelf to the wall with anchors rated for its weight, following the product’s instructions.
Why It Works
A divider you can see through still marks a border, so the room feels organized without feeling closed in. It also adds storage you would otherwise have to find somewhere else.
Try it: sort each piece of furniture into the zone where it belongs.
Common Mistakes to Avoid
- Choosing a divider as tall as the ceiling
- Leaving the back of a shelf bare and messy
- Pushing the divider so close to the bed that you can’t walk around it
Renter Note
Anchoring a tall bookcase means drilling into the wall, so check your lease first. If drilling isn’t allowed, choose a lower, sturdier piece instead of a tall one.
A Simple Rule to Remember
Keep dividers low or open so light still travels through the room.
6. Create a Separate Sleep Nook
The bed is the biggest piece in the room, so it needs the clearest boundary. Even a soft one makes the sleeping area feel like its own space, away from where you work and eat.
You do not need to build anything. A curtain or a folding screen can hide the bed from the rest of the room and open back up in seconds.
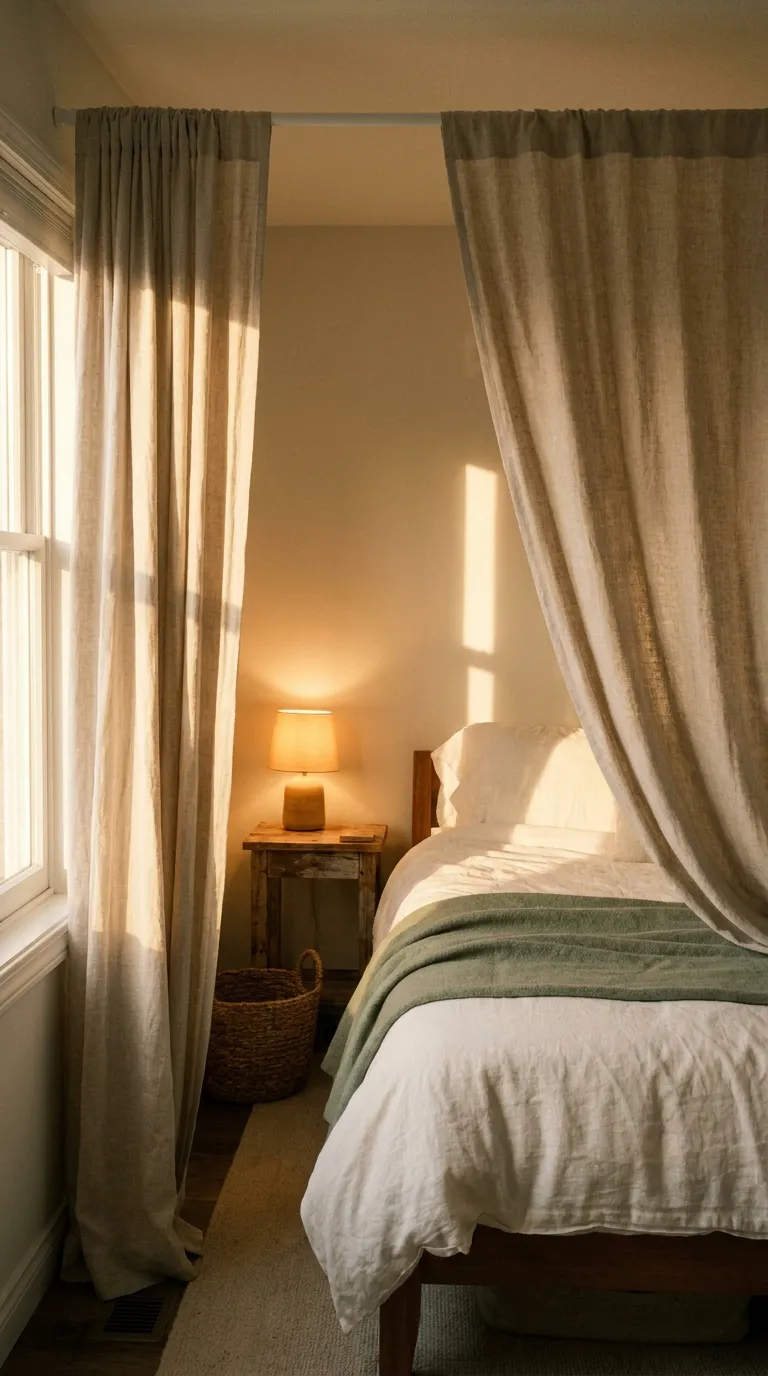
How to Do It
- Place the bed against a wall, in the corner farthest from the front door if you can.
- Hang a lightweight curtain on a tension rod between two walls, or on a ceiling track if your lease allows.
- Choose a folding screen if you can’t hang anything, and set it at the foot or the side of the bed.
- Pick a linen or cotton fabric in oatmeal or sage so it matches the rest of the room.
- Leave enough space to walk around the bed and open any drawers or closet doors.
- Push the curtain or screen open during the day so light still reaches the room.
Why It Works
Softening the bed makes the room feel like a living space during the day. At night, the same curtain or screen makes the sleeping area feel tucked away and cozy.
Common Mistakes to Avoid
- Hanging a heavy curtain on a rod that can’t hold it
- Closing the nook off from every window
- Choosing a screen too short to hide the bed
Renter Note
A tension rod needs no drilling, so it is the safest choice in a rental. A ceiling track does need drilling, so check your lease first and follow the product’s instructions for the weight it can hold.
A Simple Rule to Remember
Soften the bed zone first, because it is the biggest piece in the room.
7. Give Each Zone Its Own Light
Light is one of the quickest ways to mark a zone. A single ceiling light flattens the whole room, but a lamp in each zone makes every area feel separate.
Plug-in lamps are all you need for this. They require no wiring, and they move with you when you leave.
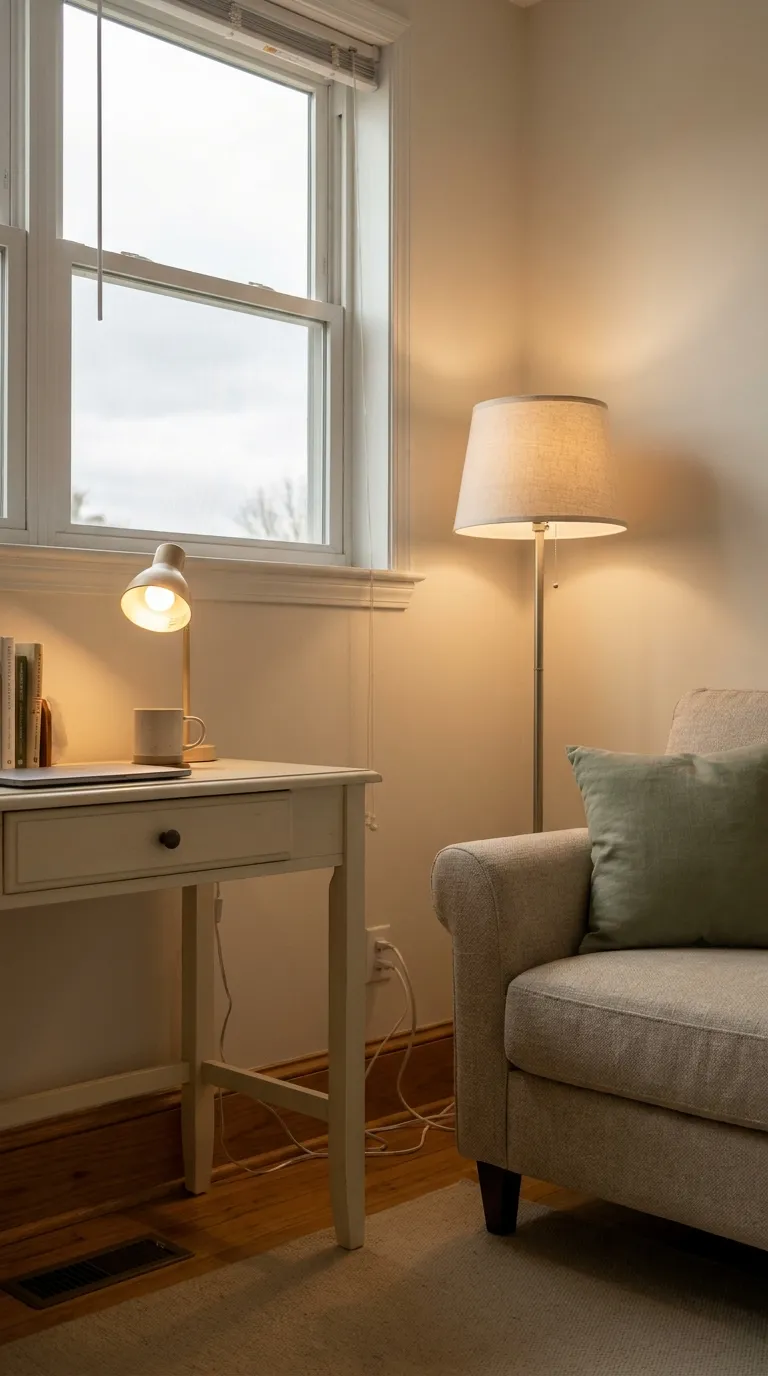
How to Do It
- Give the work zone a task lamp that lights the desk surface.
- Add a floor lamp or table lamp in the seating zone for a softer glow.
- Place a small lamp by the bed, behind the curtain or screen if you added one.
- Use warm-toned bulbs in the seating and sleeping zones so they feel softer.
- Switch off the lamps in zones you aren’t using so the lit zone stands out.
- Tuck cords along the baseboard or use cord covers so none cross the walking path.
Why It Works
Each pool of light acts like an invisible wall. When one zone is lit, the others fall into the background.
Common Mistakes to Avoid
- Relying on one overhead light for the whole room
- Mixing bulb colors so the zones look mismatched
- Letting cords cross the walking path
Renter Note
Stick to plug-in lamps in a rental. Replacing a ceiling fixture or adding an outlet is electrical work, so hire a licensed electrician and check your lease first.
A Simple Rule to Remember
Give every zone its own light source.
8. Tie the Zones Together
Zones should feel separate, not like separate rooms. If every zone has its own colors and style, the studio starts to look chaotic. A few repeated colors and materials keep the whole space calm and connected.
Use the palette you already own. The goal is to repeat, not to match perfectly.
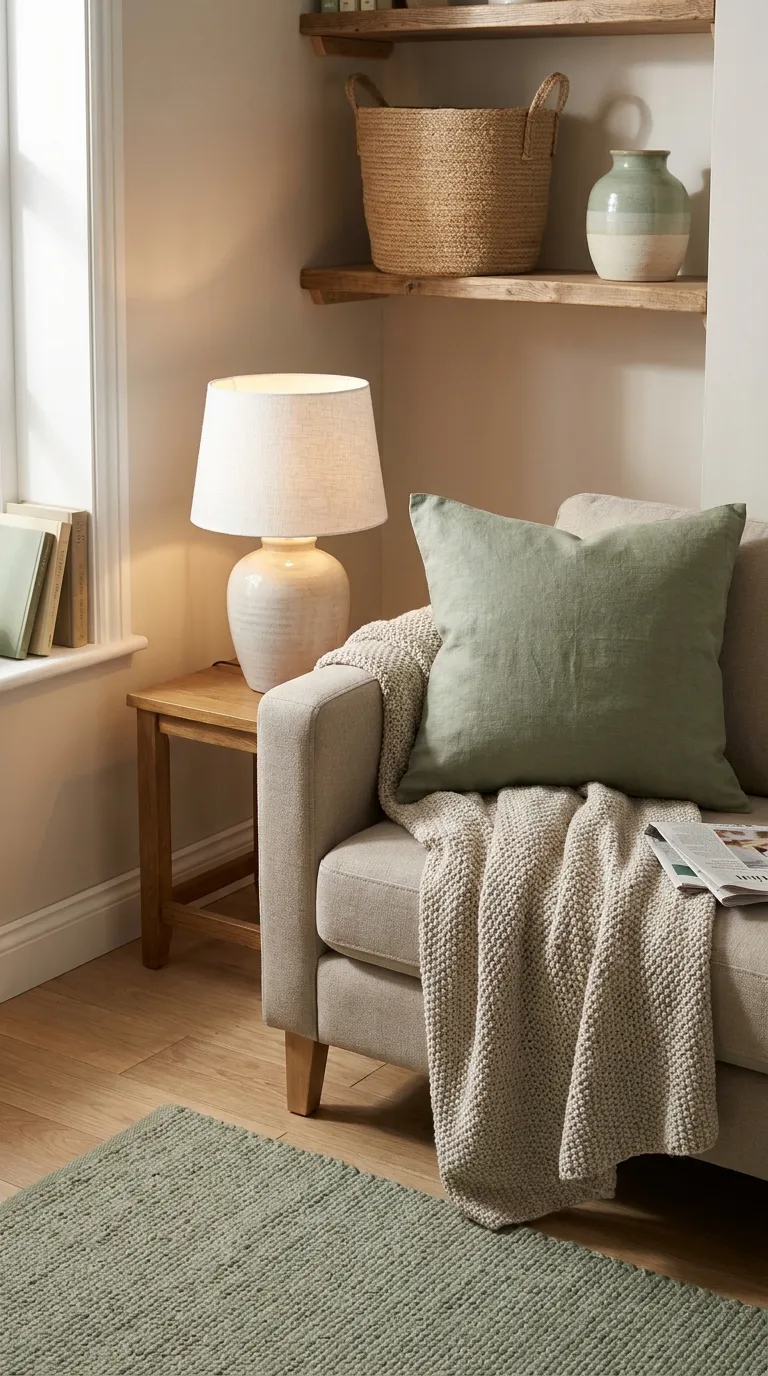
How to Do It
- Choose two or three colors to repeat across all zones.
- Repeat one material, such as wood, linen, or woven baskets, in every zone.
- Echo a color from the rug in a pillow, a vase, or a throw in the next zone.
- Keep large pieces in calm, neutral tones and let small items carry the accent color.
- Stand at the front door and check that your eye moves across the room smoothly.
Why It Works
Repetition tells the eye that every zone belongs to the same home. The room reads as one calm space made of parts, not a pile of separate corners.
Common Mistakes to Avoid
- Giving every zone a different color scheme
- Using too many patterns at once
- Matching everything so exactly that the room feels flat
A Simple Rule to Remember
Repeat two or three colors in every zone.
Quick Step Cheat Sheet
Keep this table handy when you are ready to move furniture.
| Step | Why It Works | Quick Fix |
|---|---|---|
| 1. Measure Your Studio First | Fixed points show usable corners | Re-measure and mark every outlet |
| 2. List What You Do Here | Busy zones get the best spots | Merge zones you rarely use |
| 3. Sketch Your Zones to Scale | Paper shapes reveal oversized pieces | Remove one piece from the sketch |
| 4. Define Zones With Rugs | Rug edges mark zones visibly | Add a grip and resize the rug |
| 5. Use Furniture as Dividers | Open pieces divide without closing in | Swap a tall shelf for a low one |
| 6. Create a Separate Sleep Nook | Soft boundary hides the biggest piece | Add a tension rod curtain or screen |
| 7. Give Each Zone Its Own Light | Pools of light act like walls | Add a plug-in lamp per zone |
| 8. Tie the Zones Together | Repeated colors make one calm space | Echo one rug color in each zone |
The Principles Behind These Steps
Measure Twice Before You Move Anything
Heavy furniture is hard to shift, so checking the numbers twice saves effort. A mistake on paper costs a minute, but a mistake in the room can cost an afternoon.
How to Divide a Studio Apartment Without Losing Light
Tall, solid dividers block the window and make the space feel smaller. Use low shelves, sheer curtains, rugs, and lamps so light still travels across the whole studio.
Keep a Clear Walking Path
Every zone should be reachable without squeezing past furniture. If you have to turn sideways to reach the bed, one zone has too much in it.
Start Small and Adjust
Change one zone at a time and live with it for a few days. Small moves are easier to undo than a full rearrangement.
Common Studio Zoning Mistakes Worth Skipping
Blocking the Window
It is easy to push the tallest piece against the brightest wall. Move it to a side wall and keep the window clear so light reaches every zone.
Using Too Many Dividers
Three dividers in one room can make a studio feel like a maze. Choose one main divider and let a rug and a lamp do the rest.
Skipping the Walkway
A zone that blocks your path will never feel finished. Pull the furniture back until you can walk from the door to the bed without turning sideways.
Final Tips for Success
Test Before You Commit
Mark each zone with painter’s tape for a few days before you buy anything new. Living with the outlines shows you what works and what doesn’t.
Plan for Change
Choose pieces that move easily, since your needs and your lease may change. Rugs, screens, and plug-in lamps all go with you.
Basics Worth Owning
These few items cover most of the work:
- A tape measure
- Painter’s tape
- A rug grip
- A tension rod
- A plug-in lamp for each zone
Conclusion
Learning how to divide a studio apartment comes down to a few simple moves: measure, plan, and let rugs, furniture, curtains, and light draw the lines for you.
You do not need walls or a big budget. You only need a clear idea of what each part of the room is for.
Start with one zone this weekend, then add the next when the first one feels right. A studio that works for you will always look a little different from the one in a photo.
Save this guide for the next time you rearrange the room.